")
Unofficial CM12.1 Android 5.1 Lollipop ROM For Xiaomi Redmi 1S
CynogenMod 12.1
Android 5.1 Lollipop Unofficial CM12
You Might Like :-
- Official Mokee Android 5.0 Lollipop ROM For Xiaomi Redmi 1S – NEW
- MIUI 6 Themed Rise OS UI For Xiaomi Mi Redmi 1S – NEW
- Ultimate L Android 5.0 Themed Rom For Xiaomi Mi Redmi 1S – NEW
- RD Custom ROM For Xiaomi Redmi 1S
- MIUI 6 Custom Rom for Xiaomi Redmi 1S
- Crystal Rom for Xiaomi Redmi 1S (Custom Stable Rom)
- D.O.T.S Android 5.0 Lollipop Rom For Xiaomi Redmi 1S
- Innos S1TH Rom For Xiaomi Redmi 1S (Android 4.3 Custom ROM)
- Android 5.0 Mokee For Xiaomi Redmi 1S
- Android 5.0 Lollipop ROM For XIaomi Redmi 1S
- AICP Android 4.4.4 Custom ROM For Xiaomi Redmi 1S
- Ultimate Mokee OS Beta 1 For Xiaomi Redmi 1S
- Nameless Kitkat Rom for Xiaomi Redmi 1S
- Mi Xperia (Sony Xperia UI Based) Custom Rom for Xiaomi Redmi 1S –
- MIUI Adria ROM for XIaomi Redmi 1S
- LiquidSmooth Rom for Xiaomi Redmi 1S
- Carbon Rom for Xiaomi Redmi 1S
- Android 5.0 Lollipop Experience Rom for Xiaomi Redmi 1S
- MiRed Rom For Xioami Redmi 1S (Stable Bugless)
- CM11 Stable for Xiaomi Redmi 1S
- AOSP ROM for Xiaomi Redmi 1S
- Stock ROM/Firmware for Xiaomi Redmi 1S (MIUI V5 ROM)
- Android 4.4.4 Kitkat ROM (Mokee) For Xiaomi Redmi 1S
- Paranaoid Android 4.6 ROM For Redmi 1S
- MIUI 6 ROM For Xiaomi Redmi 1S
- Baidu Cloud OS ROM For Xiaomi Redmi 1S
- Sony Xperia Themed ROM For Xiaomi Redmi 1S
- Pac-Man Android 4.4.4 Kitkat ROM For Xiaomi Redmi 1S
- AOKP Rom for Xiaomi Redmi 1S
- List of All the Custom Roms for Xiaomi Redmi 1S
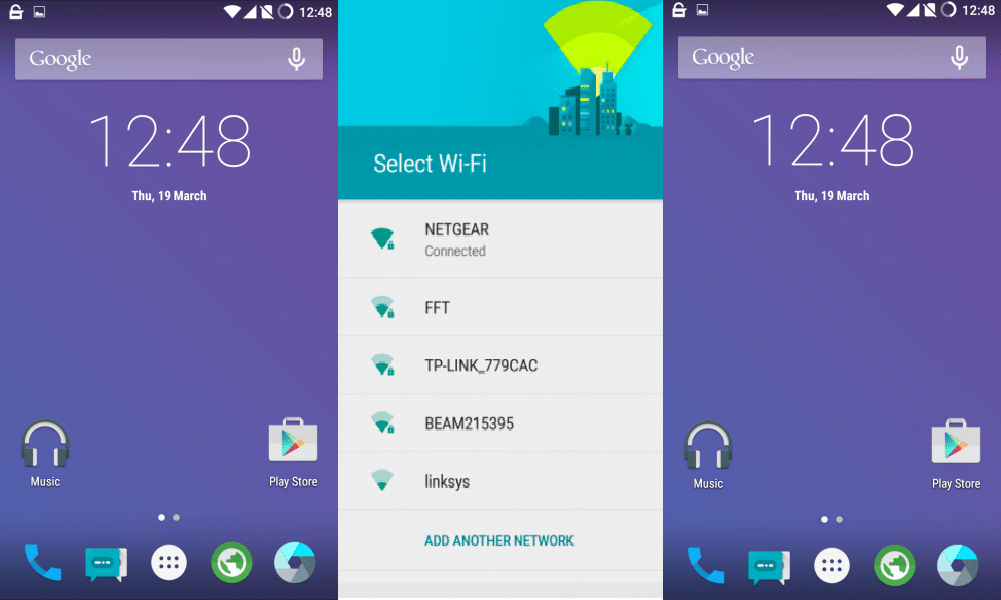
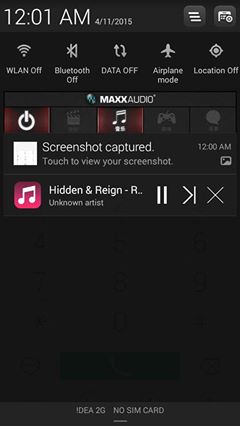
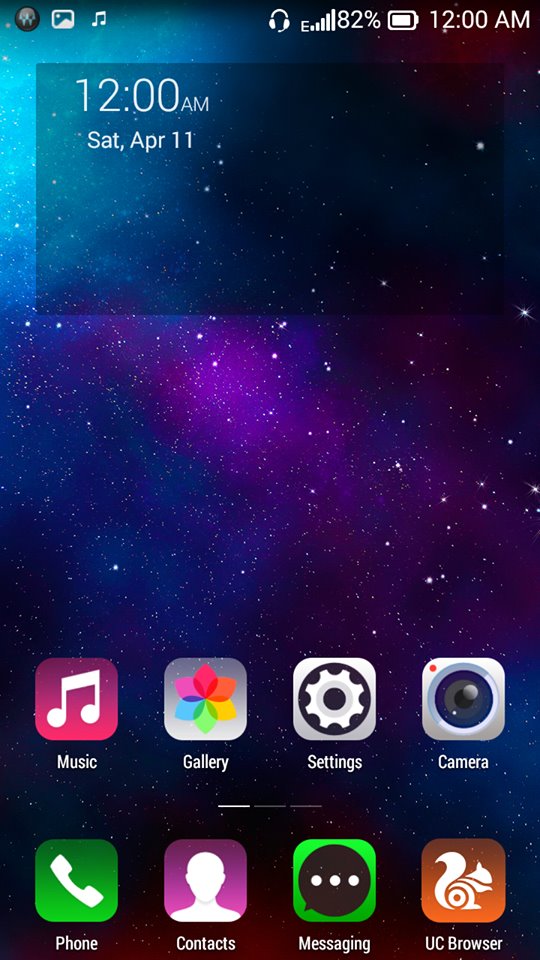
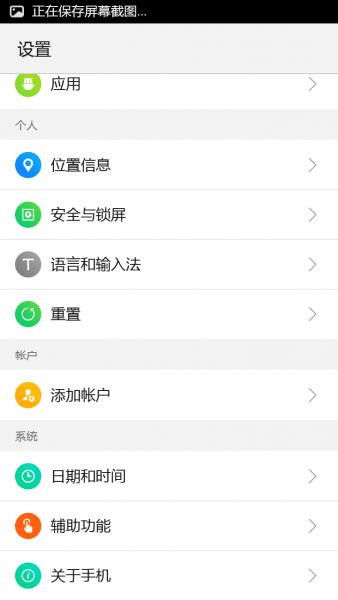
Screenshots :-
Installation Instructions :-
Step 1 :- First make sure that you have flashed CWM or TWRP Recovery, if not then follow this guide to do so.
Step 2 :- Go to Recovery mode.
Step 3 :- Wipe Cache, System, Data and Delvik Cache and do a full factory reset.
Step 4 :- Now flash Downloaded ROM zip, after that flash Gapps.Zip.
Step 5 :- That’s it, Now Reboot your device and start using the CM 12.1 ROM.
Downloading :-
Credits :-
Share you experience with this ROM in the comment section below.
If you face any problem then please comment below.
List of All the Custom Roms for Xiaomi Redmi 1S
Subscribe to our Mailing list for more Xiaomi Redmi 1 S Roms.
Like Our Facebook Page for Development and Support about Xiaomi Redmi 1S


")