The market of smartphone is increasing on wide range. You can find wide ranges of smartphones in the market available manufactured by leading brands. With the increase in technology there are numbers of smartphones available with great specifications and features. The quality of these Smartphone’s is awesome. They have an amazing stylish and sleek design. Companies manufacture smartphones according to the demand of the consumers. If you are planning to buy a new smartphone then you must check out the market. As the year started there are wide ranges of smartphone coming soon by various manufacturers. Below are top 10 upcoming smartphones mentioned below, just have a look
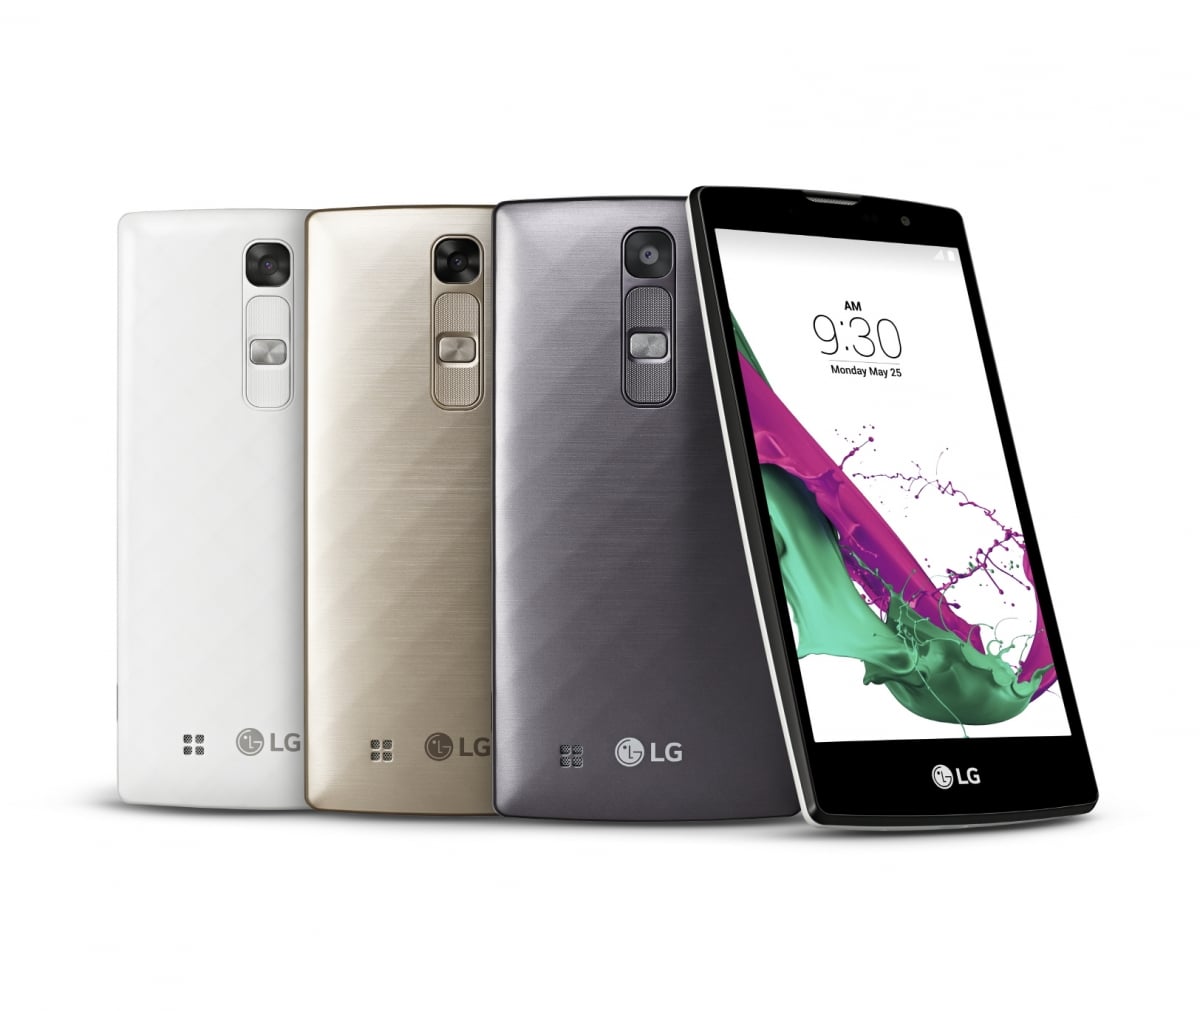
LG G5
This is a new upcoming smartphone by LG which is a biggest brand. It is coming with eye scanner. It is quite sleek and smart design amazingly loved by the users. It has full QHD display or UHD display. This smartphone has an amazing performance of 4 or 5 GB RAM. It runs on Snapdragon 810 or any other classy processor. It has 21 MP camera which is quite amazing and gives you high-quality pictures and videos.
Buy these Smartphones with good discounts by using Amazon India.
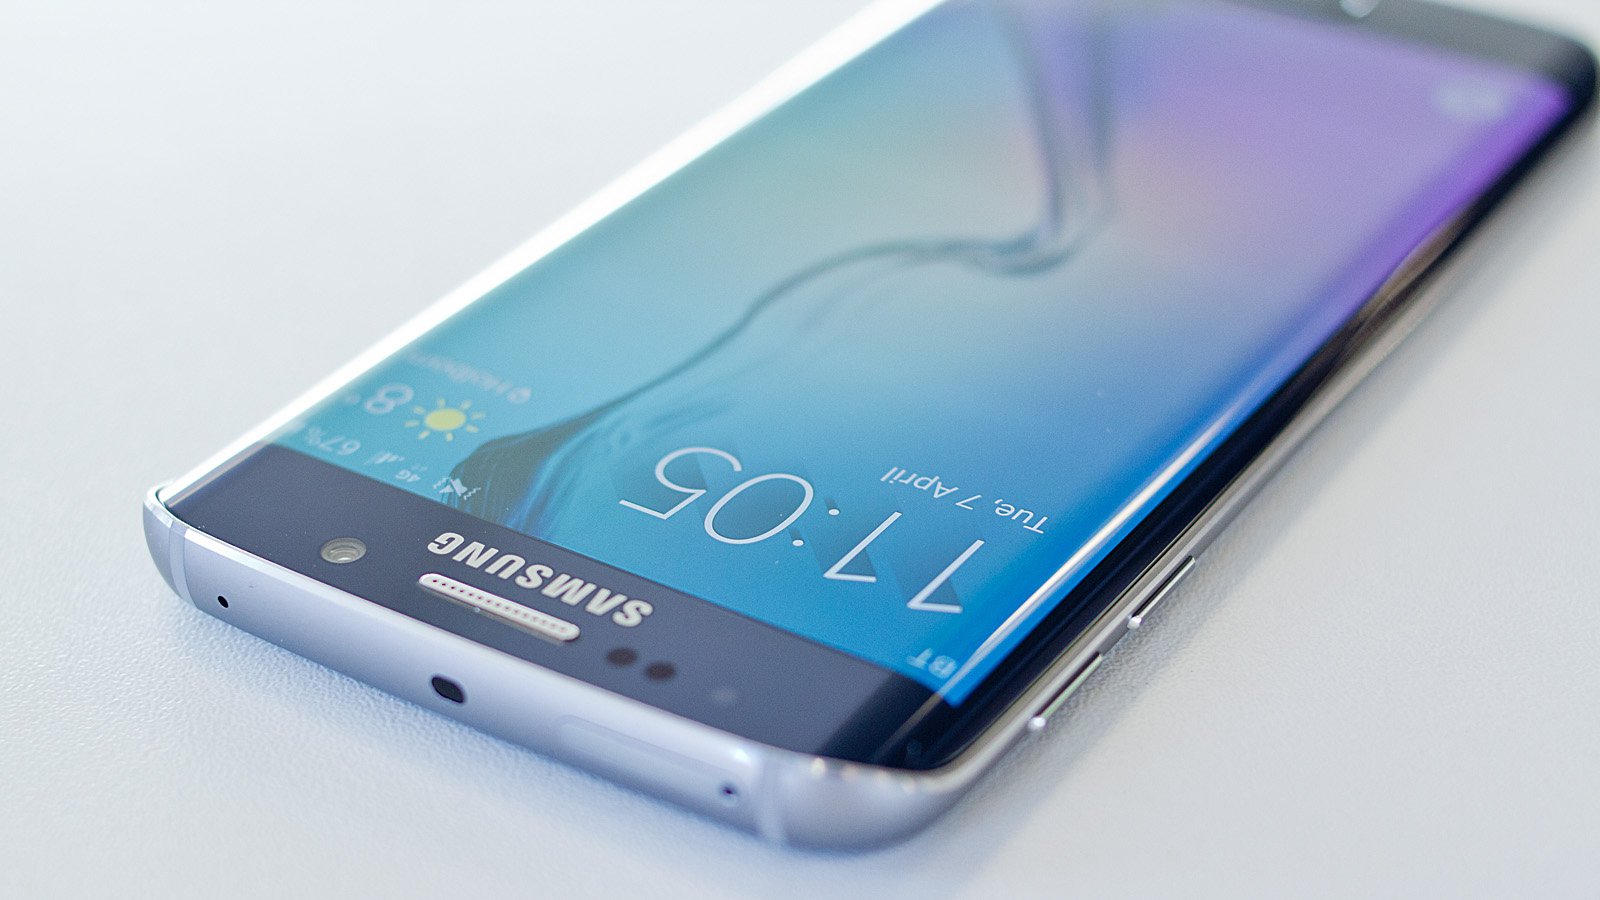
Samsung Galaxy S7
Samsung is the leading manufacturer of technical products. Samsung Galaxy S7 is an upcoming smartphone by Samsung. This new smartphone will come with great features next from S6 and S6 edge. It runs over Android 6.1 OS and have Snapdragon 820 and 4-6 GB RAM. This phone expected to launch in March to April 2016.
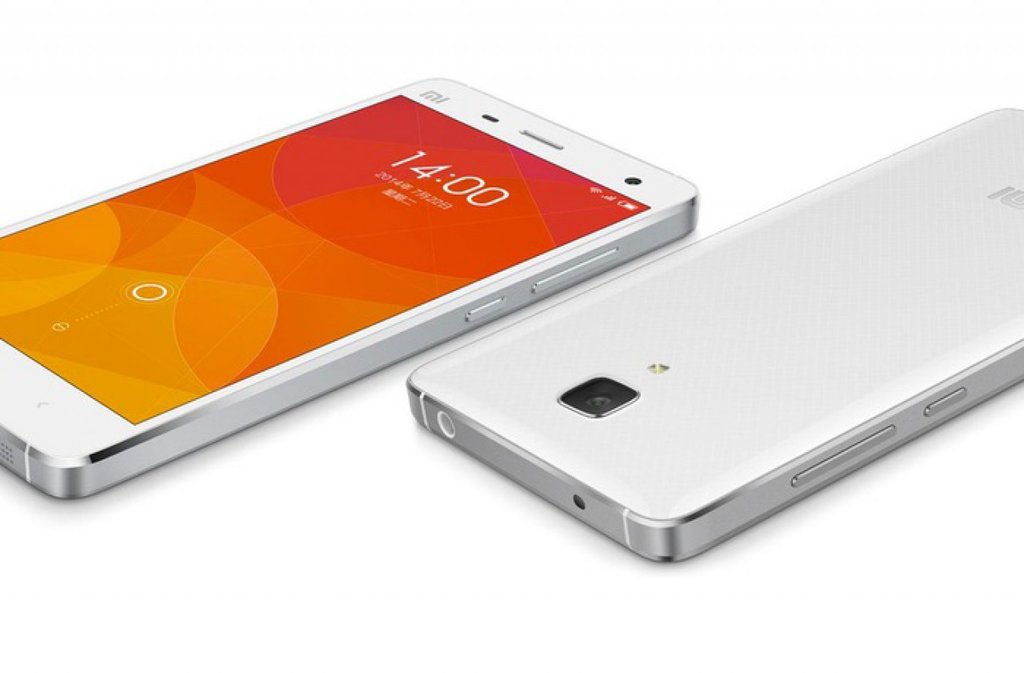
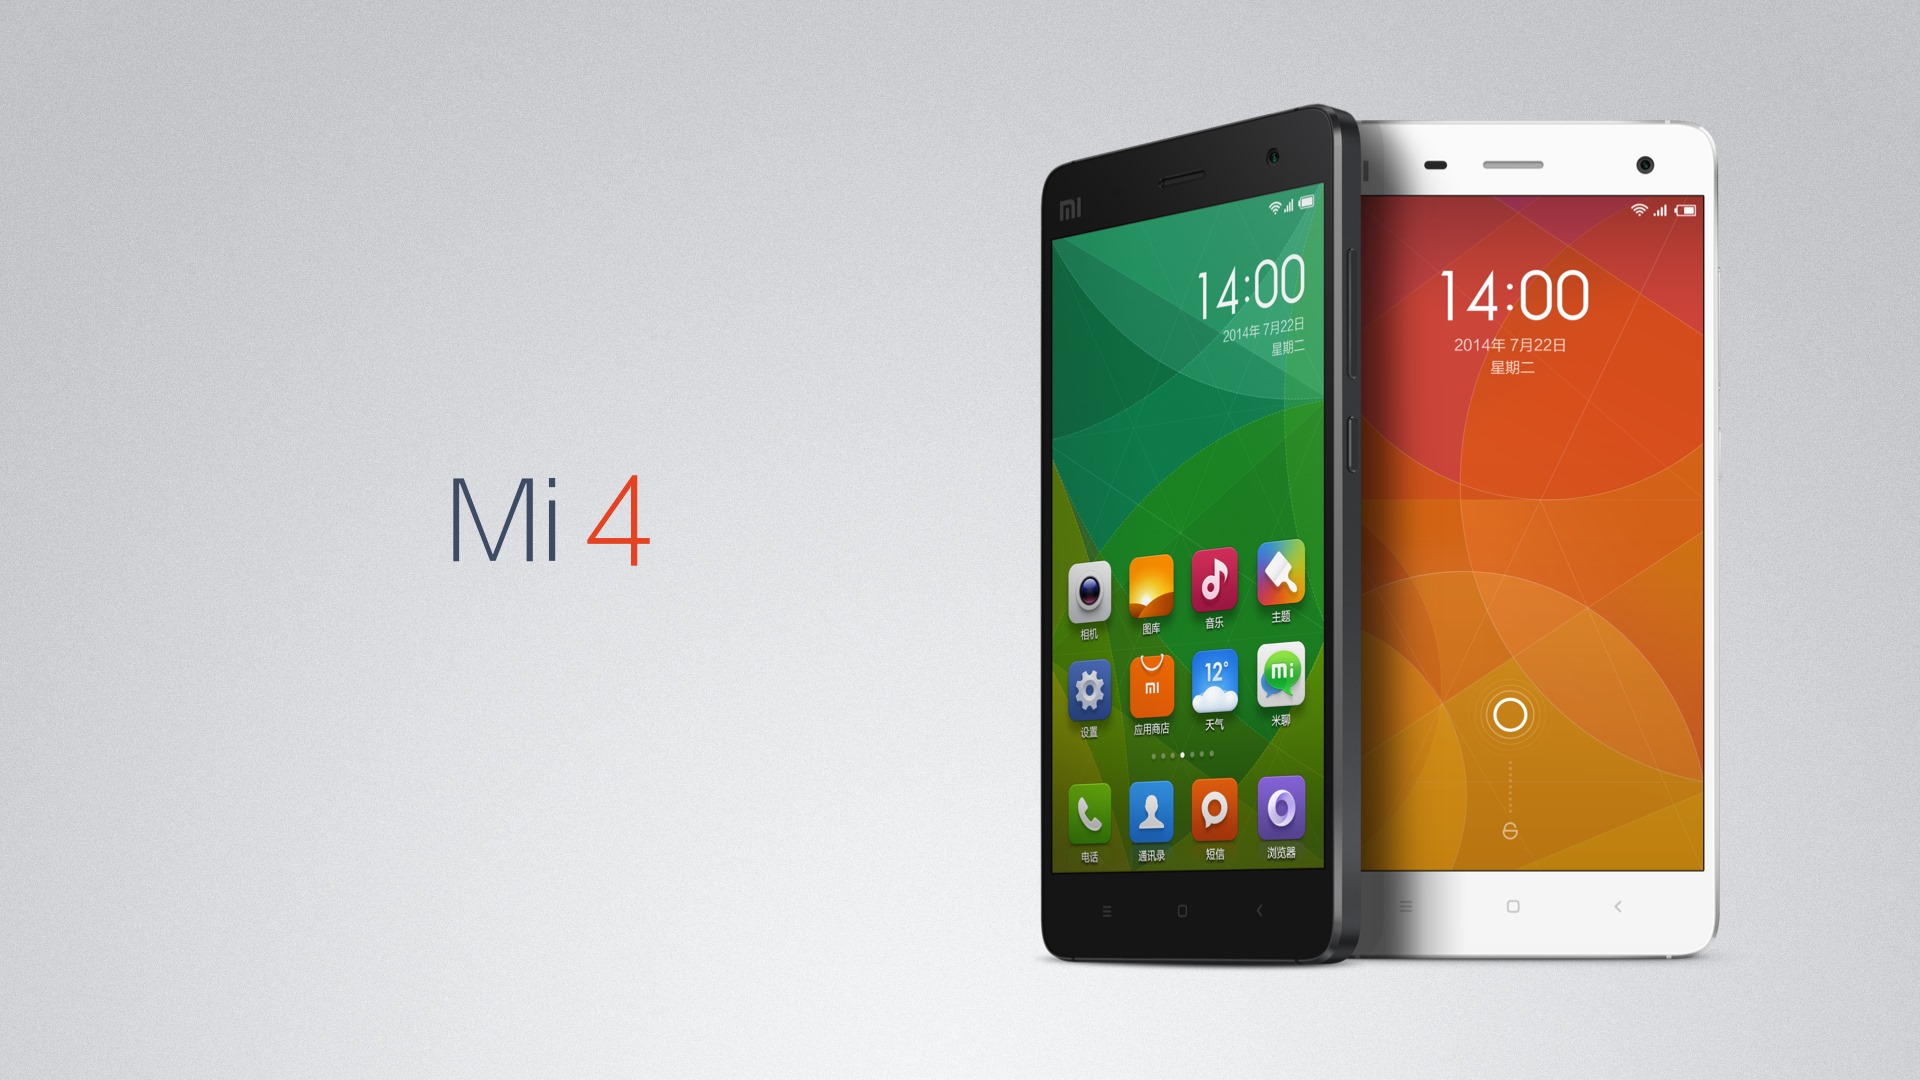
Xiaomi Mi 6
This is quite amazing smartphone having 21 MP camera. It gives really high-quality pictures and videos. The phone has 4 GB RAM and ultra HD 2160×3840 pixels screen resolution of super AMOLED display.
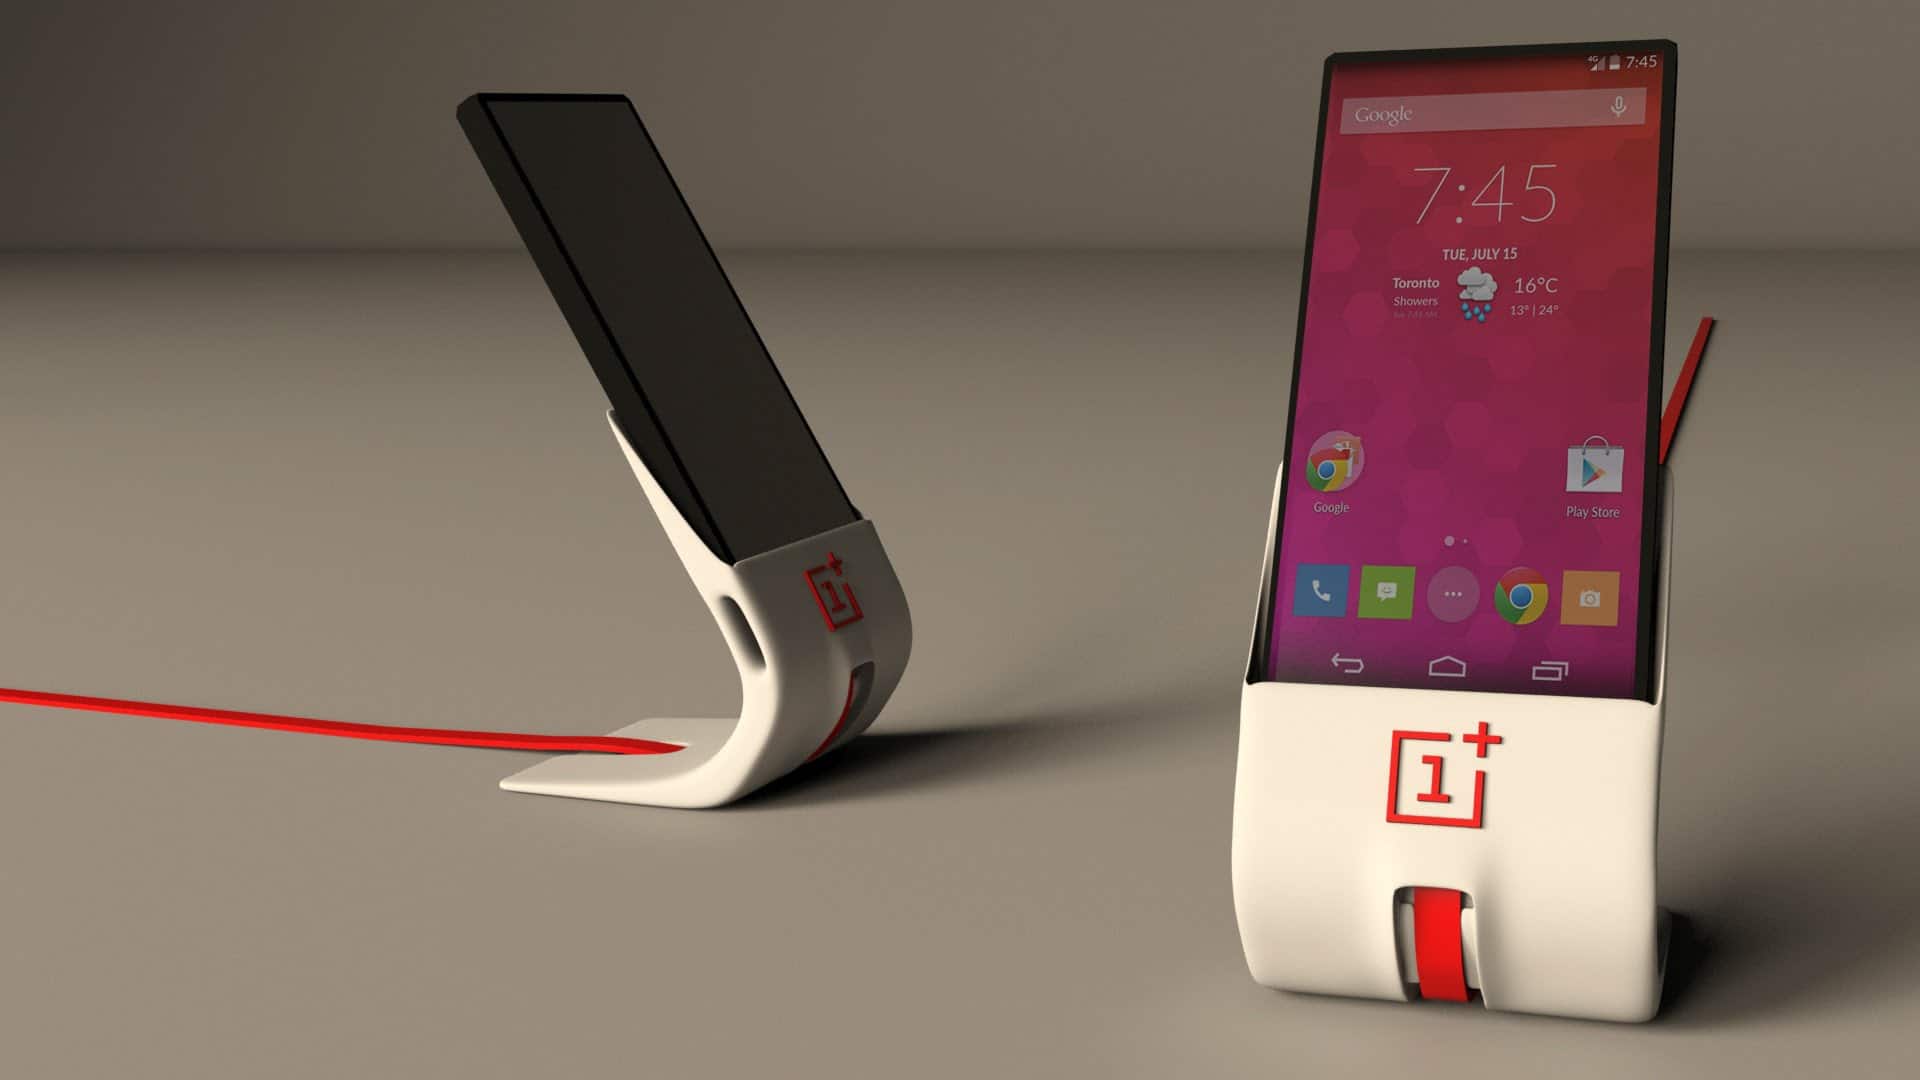
OnePlus three (3)
This is quite stylish and trendy phone having 5 GB RAM. It has great features and specs and runs over Snapdragon 820 processor. It has 5.5-inch UHD display and 4400mah battery. It runs on run on Oxygen OS with android M and has 21 MP rear camera and 13 MP front camera.
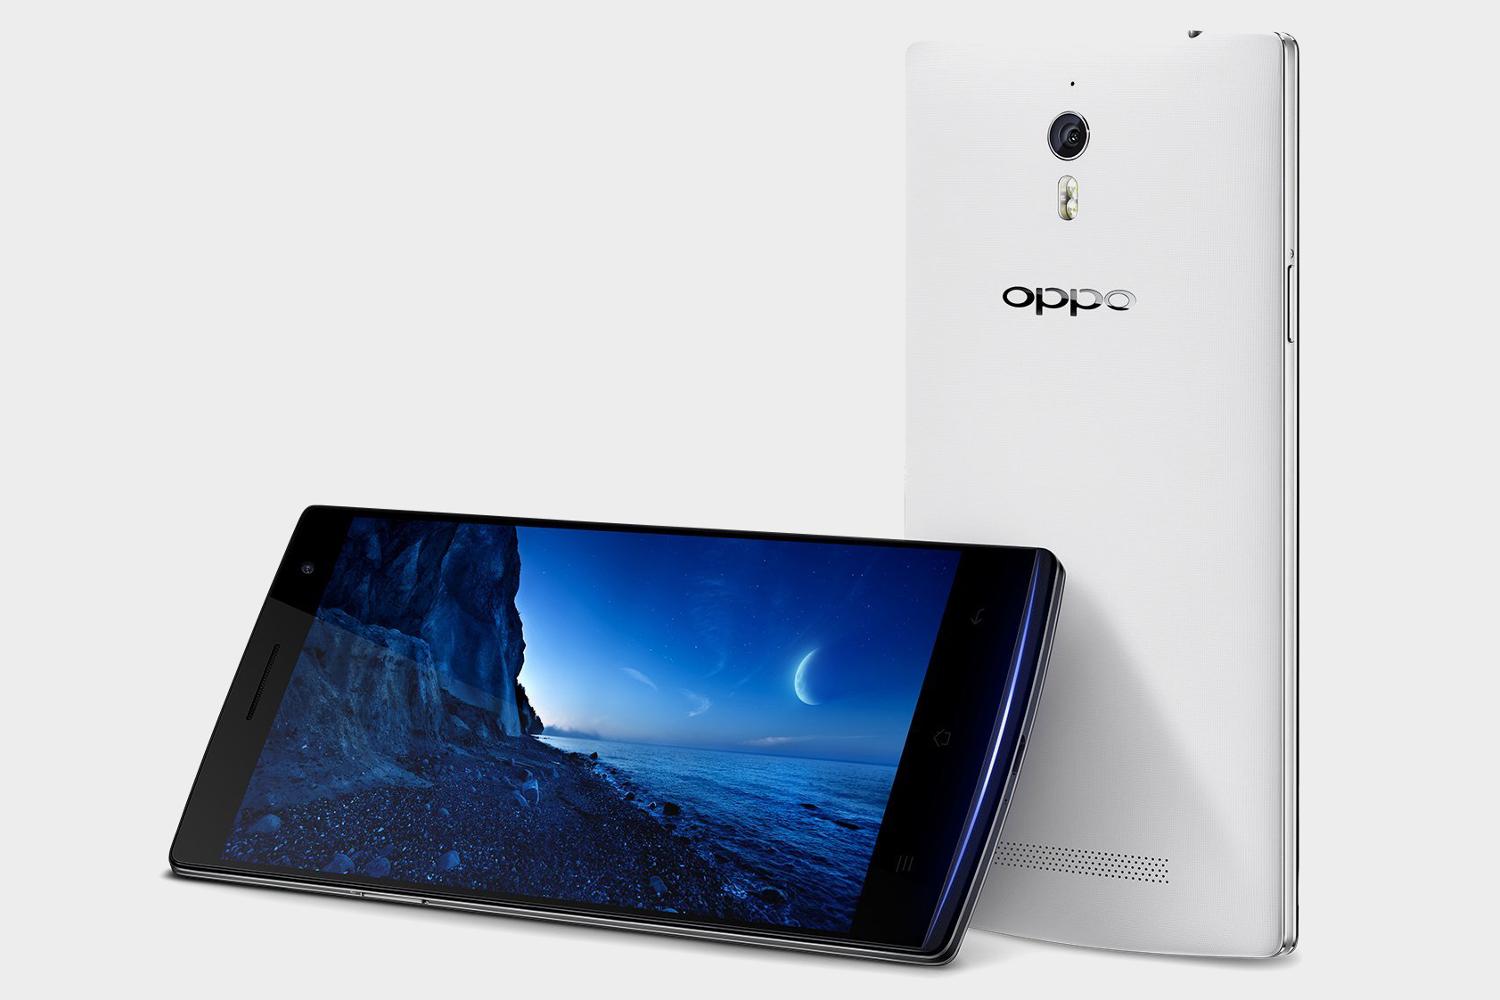
Oppo Find 9
This is quite amazing upcoming smartphone by Oppo. It has minimum 4 GB RAM. It will come with 20 MP rear camera and 8 MP front camera. The screen resolution is 2560×1440 pixels. The inbuilt memory of this phone is 64 GB. The phone is coming soon in the market.
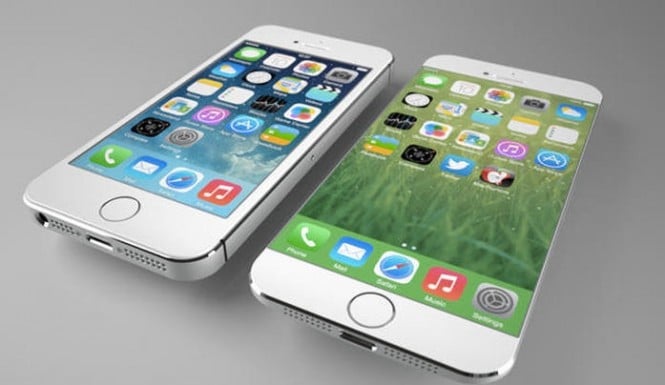
Apple iPhone 7
After the success of 6s series Apple is going to launch iPhone 7 soon. The iPhone has great specs and features as it runs over iOS 10. It has upgraded A10 chipset processor. The iPhone has reversible USB charger and may come with sidewall display.
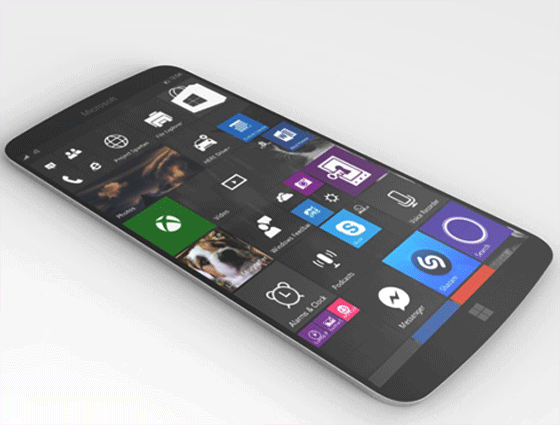
Microsoft Lumia 940 & 940 XL
The specs of both Lumia 940 and 940 XL are similar. The phone has 1440 x 2560 pixel QHD screen resolution. The Lumia 940 XL runs on Octa-Core Snapdragon 810 and Lumia 940 with Hexa-Core Snapdragon 808. It has 3GB RAM and windows 10. It has 20 MP rear camera and 5 MP front camera.
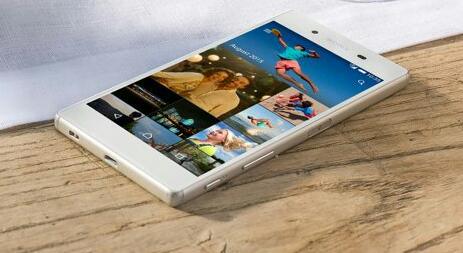
Sony Xperia Z6
This new Xperia Z6 by Sony comes with retina scanner. It has 4 or 5 GB RAM and 128GB on-board storage memory. It runs on true Octa-Core chip 3GHz+ processor.
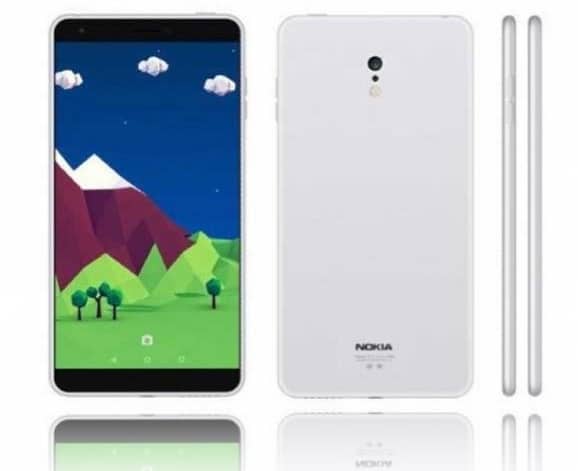
Nokia C1
Nokia is the brand. This phone has 2 GB of RAM and 32 GB internal memory. It has 5 inch screen display and high quality camera.
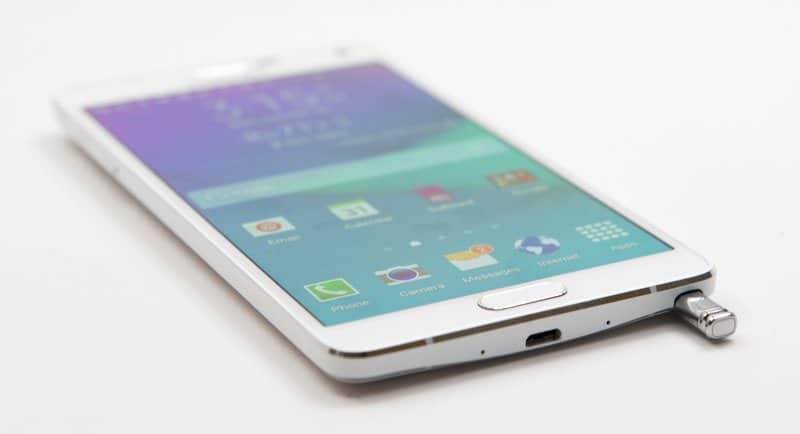
Samsung Galaxy Note 6
This is quite stylish and trendy smartphone having 6 GB RAM and touch to 8 GB. It has high quality camera for both rear and front. Its storage capacity is 16GB to 256GB. This smartphone is coming soon.
These are top 10 upcoming smartphone 2016 that you can buy and available some discount using coupons for Flipkart.


")


")