More
    Home Blog Page 183

    Greenie L Rom For Micromax A114 Canvas 2.2 (Lollipop Themed)

    25

    Greenie L Android 5.0 Lollipop Themed Rom For Micromax A114 Canvas 2.2 and MyPhone Agua Cyclone

    Greenie L ROM

    Android 5.0 Lollipop Themed Rom For Micromax Canvas 2.2 A114, MyPhone Agua Cyclone and Clones by Anunay Sagar

    Before proceeding further please make sure that your handset is rooted and have install CWM Recovery, if not then visit below links to do so :-

    This is a Custom Rom for Micromax Canvas 2.2 A114 and MyPhone Agua Cyclone and clones (As both of these phones have same specifications).

    More Roms for Micromax A114 that you might like :-


    Rom Features

    • Deodexed.
    • Highly tweaked.
    • Best in class RAM performance
    • Original AOSP Lollipop UI
    • Transparent statusbar
    • 98% free from bugs.
    • Micromax Q380 boot animation.
    • Android L specs
    • Android Lollipop Easter egg.
    • Micromax Boot Logo
    • Debloated
    • Zipaligned
    • Smooth UI
    • More then 50 Material Wallpapers
    • Many More to discover


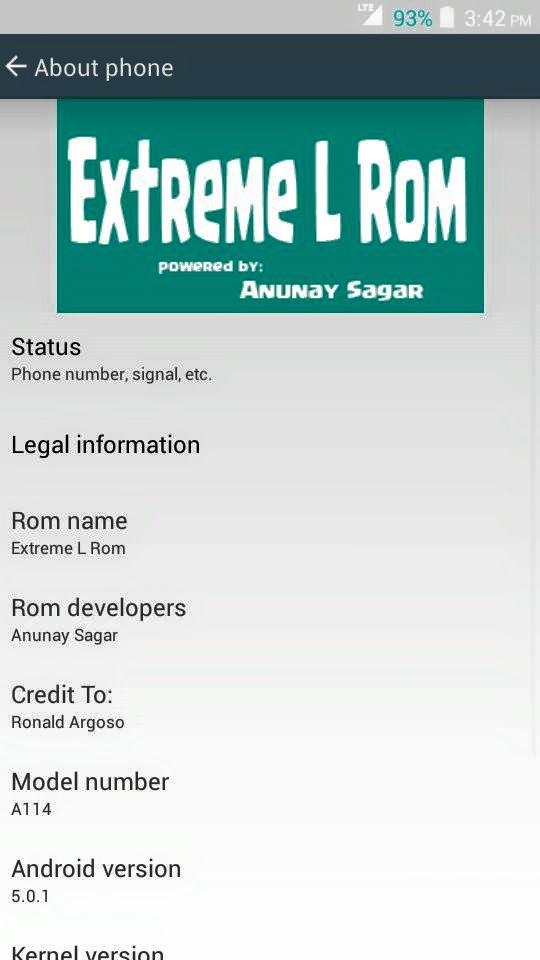
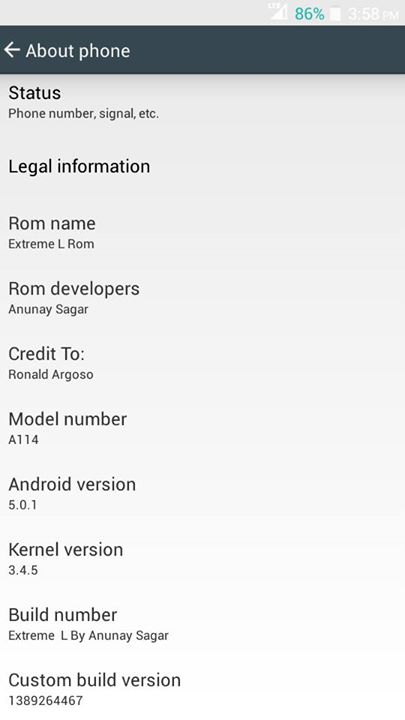
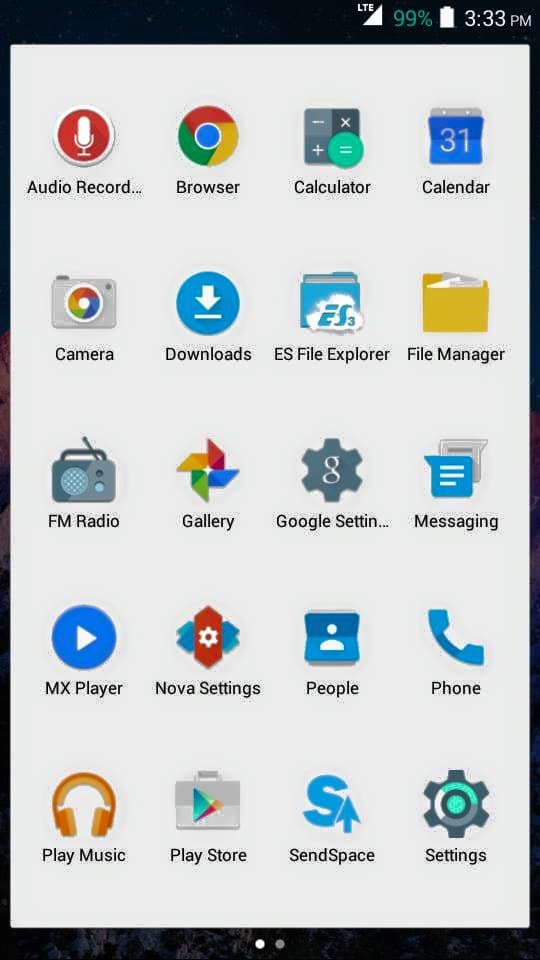
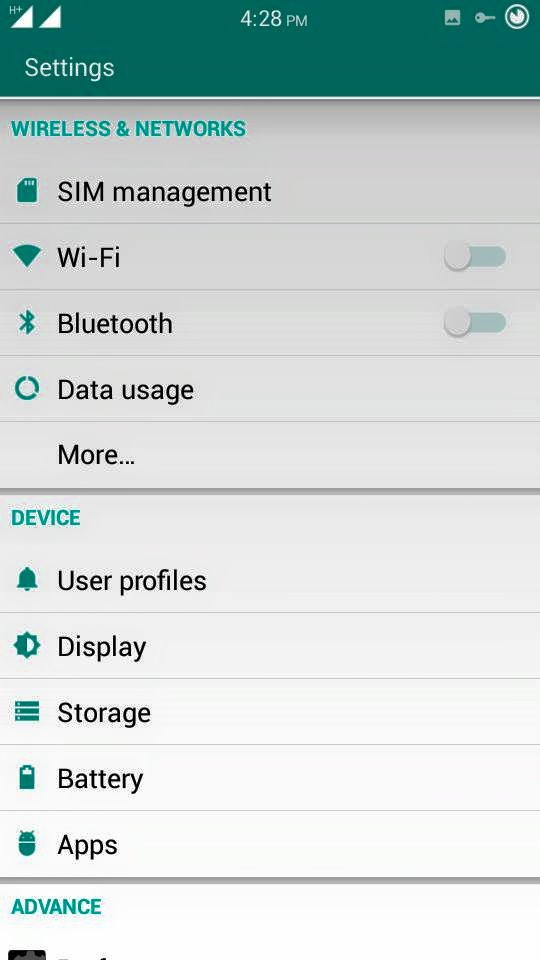
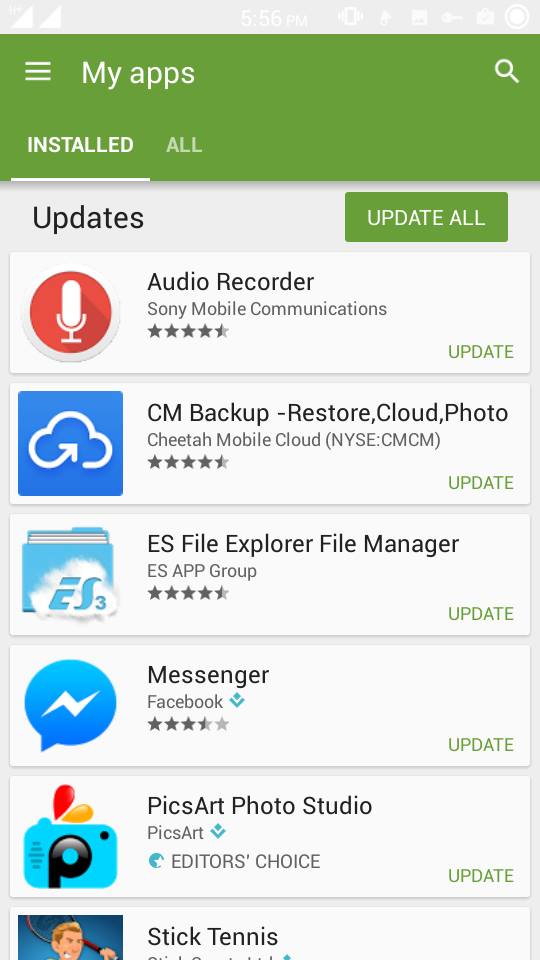
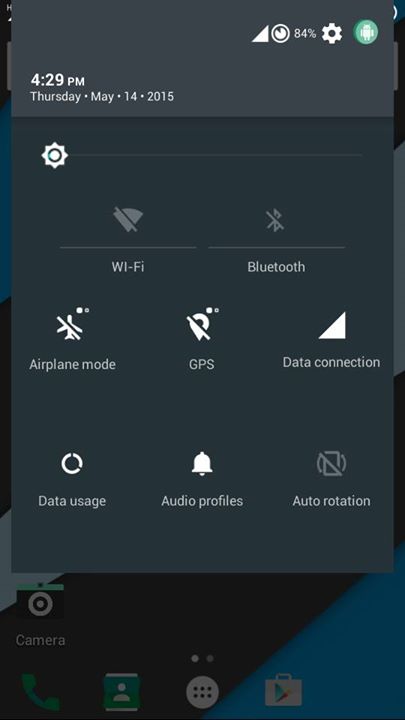
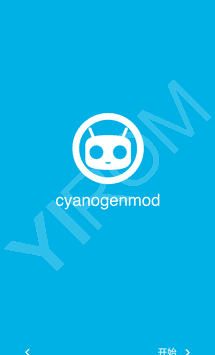
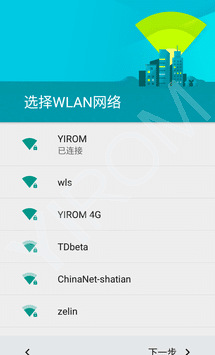
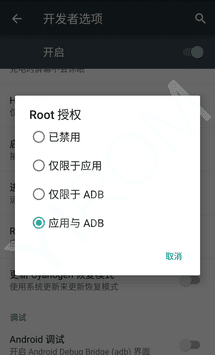
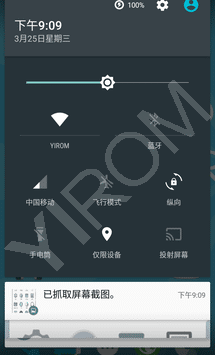
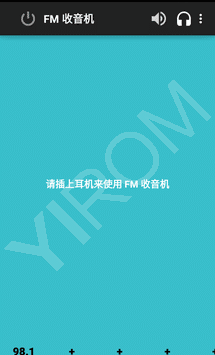
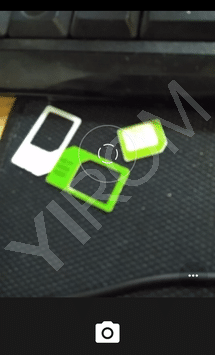
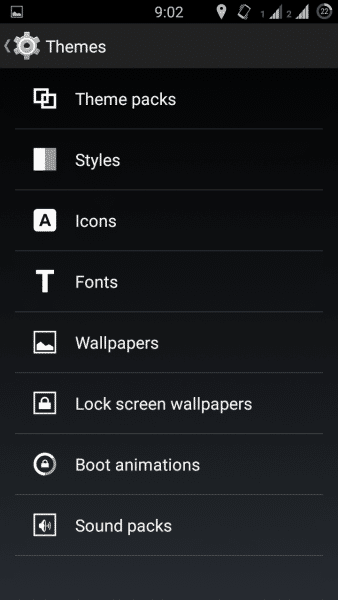
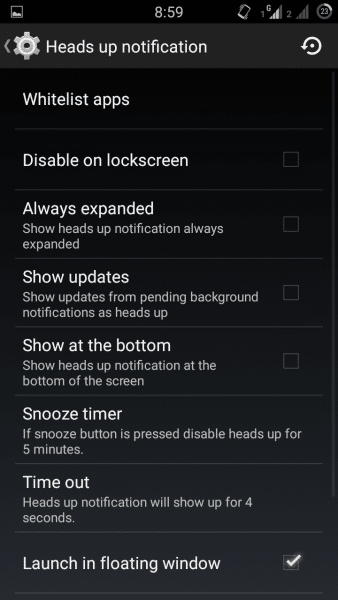
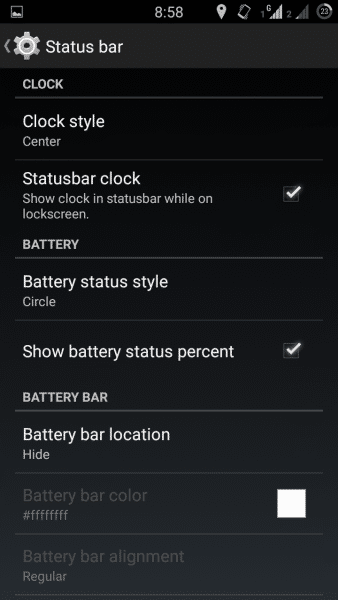
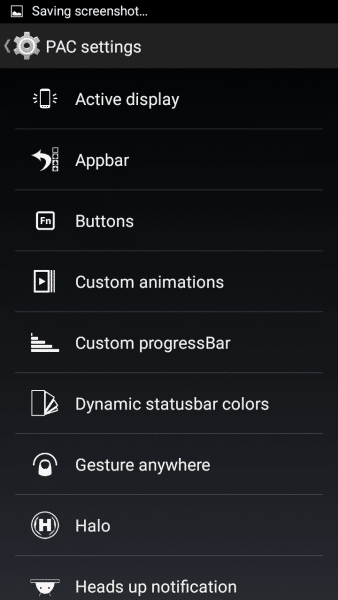
    Screenshots


    Installation

    Step 1 :- Please make sure that you have rooted device and installed CWM Recovery.

    Step 2 :- Backup your current ROM using CWM Recovery.

    Step 3 :– Download the ROM zip file from download section below.

    Step 4 :– Put the zip file in the root of your sdcard.

    Step 5 :- Now go to Recovery Mode and do a Wipe data/factory reset, Go to advance and wipe dalvik cache.

    Step 6 :- Now Select Install Zip from SD Card and then select downloaded zip file and flash it.

    That’s it, after successful installation reboot your device and start using Greenie L ROM.


    Downloading


    Credits

    • Anunay Sagar – Follow him on Google+ For more updates


    More Roms for Micromax Canvas 2.2 A114 and MyPhone Agua Cyclone

    If you face any problem regarding this Rom then please comment below and also share your feedback.

    For More Micromax A114 Canvas 2.2 ROMS Subscribe to our Mailing List below.

    CM12 Android 5.0 Lollipop Rom For Xiaomi Redmi 2

    1

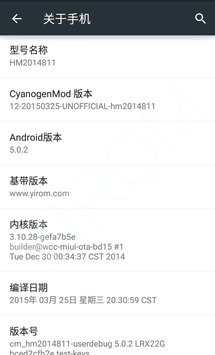
    Unofficial CyanogenMod 12 Android 5.0.2 Lollipop For Xiaomi Redmi 2

    Unofficial CyanogenMod 12

    [alert variation=”alert-warning”]This Rom is still not stable, it contains a lot of bugs, please see the Bugs section below before installing. Don’t flash it if you wanna use it for daily purpose, but if you want to try Lollipop Experience then go ahead.[/alert]


    You Might Like :-


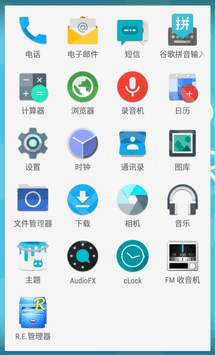
    Screenshots

    Note : The ROM is available in English Language


    Installation Instructions

    Step 1 :- First make sure that you have flashed TWRP 2.8.4.1 Recovery (Only TWRP 2.8.4.1 is supported for this ROM), you can download TWRP 2.8.4.1 Recovery for your device model from below and for installation instruction visit this guide, just use recovery downloaded from below in that guide.

    Download TWRP 2.8.4.1 Recovery for :

    Step 2 :- Now enter into Recovery and Select wipe-Advanced Wipe,  Wipe Data, Cache, Dalvik-cache, System and do a factory reset.

    Step 3 :- Now flash the downloaded Rom Zip File after that flash Gapps.

    That’s it, Wait for it to flash and then Reboot, After reboot during setup select your desired language, first boot may take around 3-5 minutes.


    ROM Status

    What’s Working and What’s Not?

    Last Update : 25/03/2015

    • WIFI: ok
    • Dual SIM Network : Ok Working
    • Bluetooth: ok (tested Bluetooth headset, transfer files, Bluetooth sharing networks, etc.)
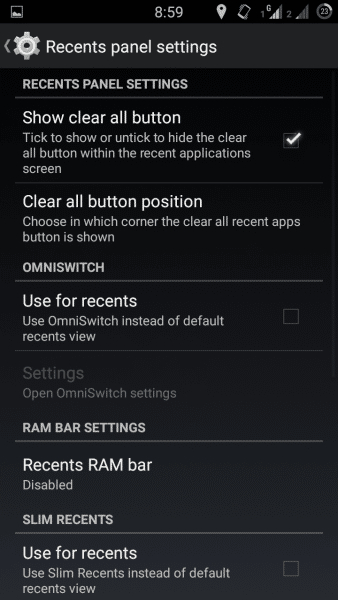
    • Network / 3G: signal ok, mobile data is not working
    • Off charge: ok
    • GPS: ok
    • Camera: ok
    • Display driver (gpu etc.): ok
    • SELinux: ok
    • Sound driver (mic and speak, etc.): ok
    • Distance sensor: no
    • Light sensor: no
    • Direction (three-axis) sensor: no
    • Video playback: ok
    • Touch driver: ok
    • USB OTG: ok Working
    • WFD (Wireless Display): Unknown (to be tested wfd TV function)
    • MTP USB Drives, etc: ok
    • Tethering: no
    • Vibration: ok
    • Notification light: ok (You can change light colors and duration)
    • FM radio: ok
    • WiFi Mac Address : Not Working


    Downloading


    Credits

    • Syhost
    • Yi Rom Team

    Share you experience with this ROM in the comment section below.

    If you face any problem then please comment below.


    List of All the Custom Roms for Xiaomi Redmi 2

    Subscribe to our Mailing list for more Xiaomi Redmi 2 Roms.

    Like Our Facebook Page for Development and Support related with Xiaomi Redmi 2


    [trending included_categories=”175″ postsperpage=”5″]


    How to Install Xposed Framework in Lollipop [Android 5.0 & 5.1]

    Xposed Framework For Android 5.0 & 5.1 Lollipop

    Xposed Framework is one of the Best app if you are a rooted android smartphone user, it unlocks the true potential of you android device, In short Xposed Framework is a way to make system-level changes to your Android operating system without installing a custom ROM. All you need is root access. There are no limits on what you can do with Xposed Framework.

    As far now Xposed Framework if only available till Android 4.4.4 Kitkat, lollipop support is not live till now but  a few days back Xposed Framework’s original developer ‘rovo89’ posted on XDA that alpha version of Xposed Framework is out now and is working for most of the lollipop based devices, however many of the modules are still not compatible but as far now the alpha version is pretty good and working all fine.

    Why Xposed Kitkat is not compatible Lollipop?

    If you’ve used Xposed before, you are no doubt aware that it was designed to work on Android’s Dalvik runtime which was base on Kitkat, but in Lollipop it was replaced with ART, so as Xposed Framework is basically runs with hardware support it was not possible to run it on Android ART based lollipop version.

    How to install Xposed Framework on Lollipop?

    [blockquote]Frequently asked Questions and Answers Regarding Xposed for Lollipop (Have a look at them before installing).

    Xposed for Lollipop FAQs[/blockquote]

    Requirements :

    [lists style=”attention” color=”#1e73be”]

    • Android Lollipop Running Device
    • Rooted Device
    • Custom Recovery Installed
    • ARM V.7 or Higher

    [/lists]


    Instructions for Android 5.0

    Note : This is still a alpha version and i can’t guarantee that it will work on your device or you might end up in bootloop. To make sure that it works for your device visit its official thread on XDA Forums and search for your device, if you can’t find anything on your device then try it on your own risk.

    Step 1 : Before proceeding further make sure to take a complete nandroid backup if anything goes wrong.

    Step 2 : Now to install Xposed framework on your Android 5.0 device you need to download these three files.

    1. xposed-sdk21-arm-*.zip: Must be flashed with a custom recovery to install the framework.
    2. XposedInstaller_3.0-alpha*.apk: Must be installed to manage installed modules
      No, it’s not using material design yet. Yes, there are more important topics for now.
    3. XposedBridgeApi-20150213.jar: The API for module developers, in case they want to make use of some new features. Might be changed slightly until the stable release!

    Head over to the thread on XDA Forums (link below) and download latest version of the above three files and get back here for the installation instructions.

    Download the above 3 files From XDA

    Step 3 : Now after downloading boot into recovery mode and flash the first file ‘xposed-sdk21-arm-*.zip’ with custom recovery.

    Step 4 : Now install the second apk file, do a reboot and start using Xposed Framework.

    Step 5 : That’s it, if you don’t end up in bootloop during the above steps then your installation is successful, above third file is for developing purpose, if you want to develop a module for xposed then you can download that one.


    Instructions for Android 5.1 

    Officially no version of Xposed is available for Android 5.1 but one fellow developer ‘romracer’ made an unofficial version from the 5.0 alpha and also working for most of the Android 5.1 device users.

    Step 1 : Make sure to take the full nandroid backup of your system.

    Step 2 : Download and flash ‘xposed-sdk22-arm-20150514.zip’ for 32 bit and ‘xposed-sdk22-arm64-20150514.zip’ for 64 bit architecture depending on your hardware with custom recovery.

    Step 3: Now the apk for Xposed Framework is same as above 5.0’s, so head to the XDA thread (link below) and download the ‘XposedInstaller_3.0-alpha2.apk’ and install it.

    Download apk from XDA

    Step 4: That’s it, do a reboot and start using Xposed Framework.


    Compatible Xposed Modules with Lollipop :

    Only a few modules are currently compatible with Xposed Framework on lollipop, visit below link for the list of compatible modules.

    Lollipop Compatible Xposed Modules


    [alert variation=”alert-info”]

    For more info, Updates, Changelog, Bug Fixes and more visit its official thread on XDA Forums.

    Official Xposed For Lollipop Thread

    Thread for Bug Fixes, Discussions & More

    [/alert]


    That’s it for now, keep visiting this space for more updates regarding Xposed Framework release, do share your reviews in comments below about this.

    How to Increase max_input_vars value in PHP in Ubuntu

    Increase max_input_vars value in php.ini file in Web Server

    A few days back when i was migrating my WordPress Blog to a new theme i face a weird problem that i was not able to save new themes settings as the saving wheel keeps spinning, i searched a lot about this problem and found one solution that this was due to my max_input_vars value in php.ini (PHP configuration file) is low which was 1000 and for WordPress to run perfectly it needs to be atleast 2000.

    Many of Webhost providers already provide their hosting with suitable value of max_input_vars but as i was using a self owned Virtual Private Server with self installed OS and WordPress this was not the case with me.

    So, i’m sharing this tutorial to increase the max_vars_value in php.ini file. I’m using a VPS with no CPanel running on Ubuntu 14.04 and with a fresh installed LAMP Server (Linux, Apache, MySQL, PHP).

    What is Max Input Vars value?

    It limits the number of input variables, this limit affects $_GET, $_POST and $_COOKIE superglobal separately, If you are using any dynamic site in your host like WordPress then you will surely face this problem.

    Note : The Solution also works when you face a problem like below:

    Warning: parse_str() [function.parse-str]: Input variables exceeded 1000. To increase the limit change max_input_vars in php.ini. in/home/user/public_html/path/t0/file/causing/this/error.php on line 459


    How to increase max_input _vars value in php.ini file in Ubuntu?

    Step 1 : So, first of all you need to have root access of your Server with FTP.

    Step 2 : To increase max_input_vars value first we need to find the php.ini file.

    Step 3 : As i’m using Ubuntu with FTP access via FileZilla this file was present in php5 folder inside etc folder, the correct structure to that file is /etc/php5/php.ini.

    Step 5 : Now edit that file with either Notepad or i would recommend Notepad++.

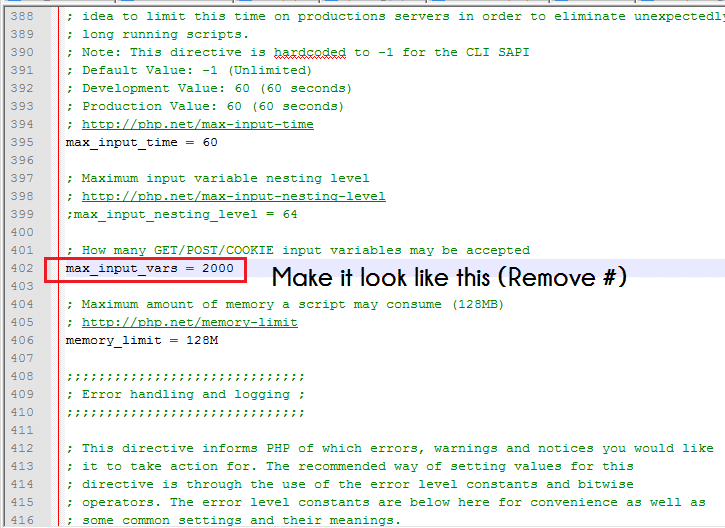
    Step 6 : Next search for phrase max_input_vars in php.ini file, in my case this phrase was present on line 402, you will see that its been commented out so just remove the ‘#’ hash sign from front of that line and change that value to your desired preference, if you are using WordPress then i would recommend changing that value to 2000 (See below image for reference).

    max_input_vars in PHP ini
    max_input_vars in PHP ini

    Step 7 : Save the file and upload it to same directory.

    Step 8 : Now to make the changes occur you need to restart your apache server, you can do this by either restarting your whole server or by entering the below command in via terminal ssh.

    sudo service apache2 restart

    Step 9 : To make sure that the changes have been done you need to create a php file in public_html directory, create a file with any name say info.php and add the following into it

    <?php phpinfo(); ?>

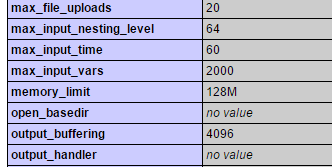
    and save it, now open your browser and type http://your-address.com/info.php, now search for phrase max_input_vars and you will see that you value have been updated.

    max_input_vars value
    max_input_vars value


    Method 2 (For Godaddy WebHosting Users):

    In your site root (commonly the public_html folder) you must create the php.ini file and add the following lines to it:

    max_input_vars = 5000
    suhosin.post.max_vars = 5000
    suhosin.request.max_vars = 5000

    [alert variation=”alert-info” dismiss=”dismiss”]Get $10 Referral Amount When you a Purchase a VPS from Digital Ocean using below button

    Get $10 in Digital Ocean for Free[/alert]

    That’s it, now your problem of max_input_vars has been solved, if you face any problem doing thsis then feel free to comment below and also share your reviews about this tutorial.

    Don’t forget to subscribe to our mailing list for more tutorials like this.

    Micromax Unite 3 Leaked Online : Features & Specs

    Micromax Unite 3 Q372 Features, Price, Specs and Release Date.

    After the huge success of its most selling Android Smartphone Unite 2, Micromax found to be working on its successor Unite 3.

    Two images posted on Facebook showing the back and front of Micromax Unite 3 box.

    These images are posted below.


    Micromax Unite 3 Leaked Online

    Micromax Unite 3 Leaked (thebroodle.com)


    According to the details mentioned on the box Micromax Unite 3 may come with

    • Android 5.0 Lollipop
    • 1.3 Ghz Quad Core Processor
    • 4.7 Inch Screen
    • 1GB RAM, 8GB ROM
    • 2000 Mah Battery
    • 8 MP Rear Camera
    • Preloaded with Indian Languages
    • Model No. Q372

    Expected Price : Rs. 5000 – 7000

    Expected Release Date : June 2015


    That’s it, do share your views about this in the comments below.

    CynogenMod 11 For Micromax Unite 2 A106 (CM Themed Cynite Ultra ROM)

    1

    CM11 Themed Cynite Ultra V 3.0 For Micromax Unite 2 A106

    Before proceeding further please make sure that your handset is rooted and have install CWM Recovery, if not then visit below link to do so :-

    This is a Custom Rom for Micromax Unite 2 A106MyPhone Rio Lite and Wiko Bloom (As  these phones have same specifications).

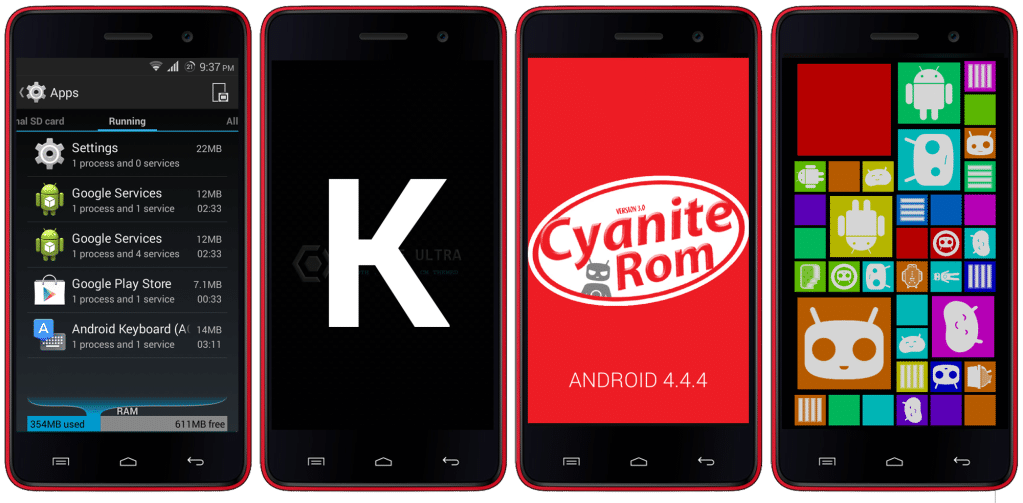
    Cynite Ultra Version 3.0

    CynogenMod 11 Themed with CM Theme support and more

    Rom Features :-

    • Pre Rooted
    • CynogenMod 11 Themed Android 4.4 Kitkat
    • CM Theme Support
    • BusyBox Installed
    • Pre Added Lollipop Theme
    • SuperUser
    • Zipaligned
    • Better Ram Management
    • Deodexed
    • CM Clock
    • CM Gallery
    • OTG Fixed
    • CM Camera
    • CM Browser
    • CM Sounds
    • CM Themes
    • DSP Manager
    • CM Calculator
    • CM Wallpapers
    • CM File Manager
    • CM Boot Animation
    • Apollo Music Player
    • CM Sound Recorder
    • Blotwares Removed
    • Cache and Dalvik are cleared automatically in proper periods
    • Reduces the system services for faster charging while charger connects
    • Best Battery + Best Performance
    • Highest Antutu Score
    • No bugs at all


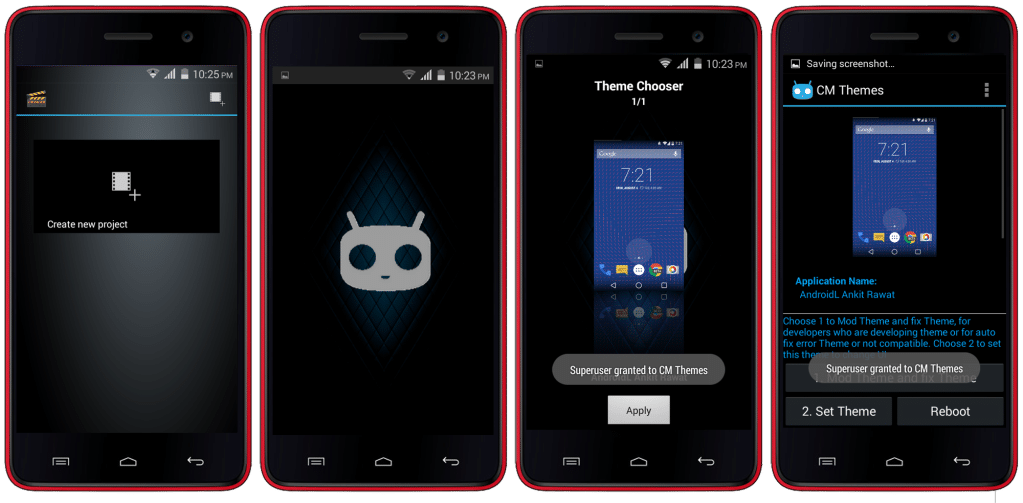
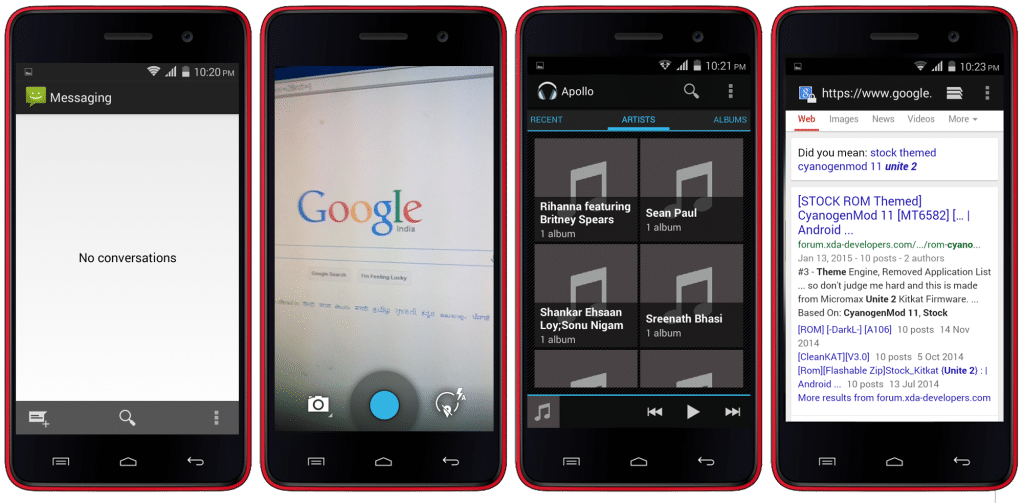
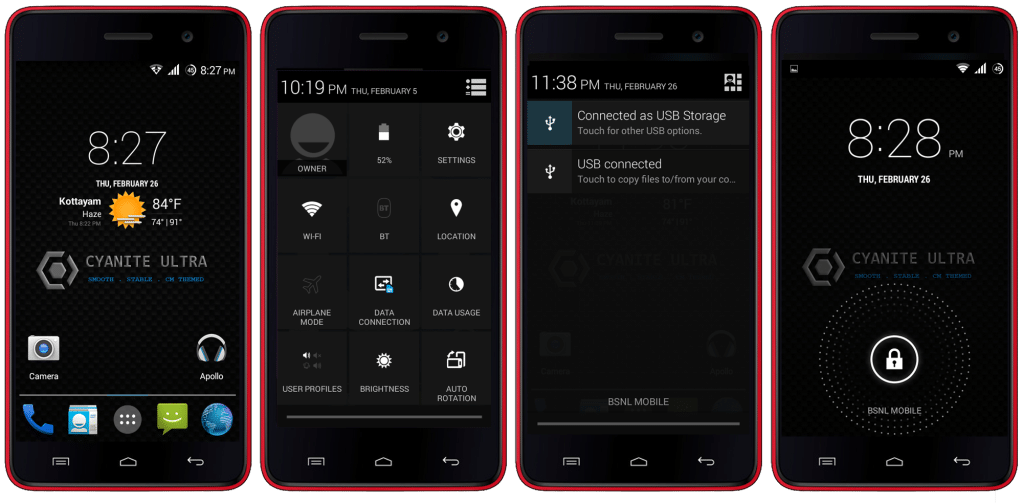
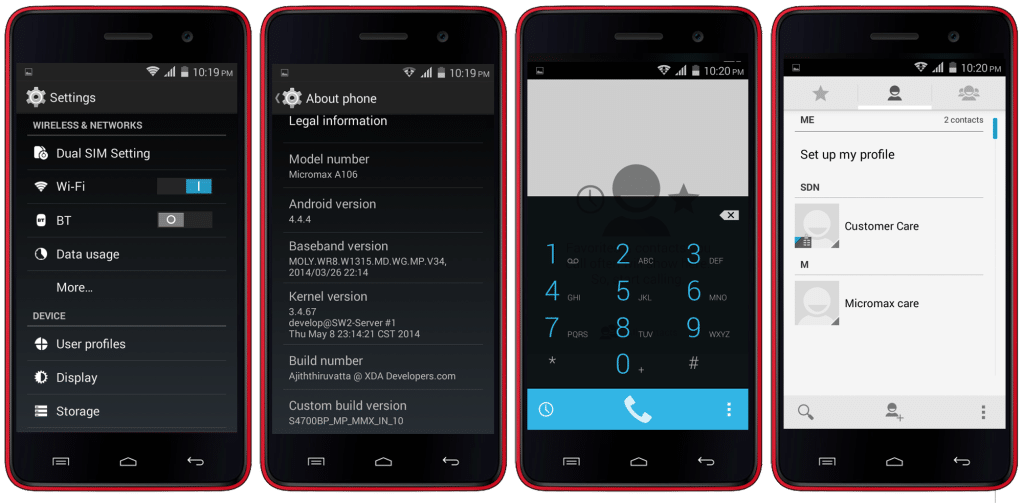
    Screenshots :-

    Click on any image to view its larger screenshot.


    Installation Instructions :-

    Step 1 :- Firstly make sure that you have successfully rooted and installed CWM Recovery in your device, After that proceed further.

    Step 2 :- Now Go to Recovery Mode by pressing Vol+ and Vol – and Power Button simultaneously and do complete backup of your current rom.

    Step 3 :- Now download and Place ROM zip to the root of your SD card.

    Step 4 :-  Again go to Recovery mode by pressing Vol+ and Vol – and Power Button simultaneously.

    Step 5 :- Do a complete Wipe Data, Cache and Delvik Cache.

    Step 6 :- Now Choose Install Zip from SD card & Click Yes.

    Step 7 :- Wait for a while till it finishes.

    Step 8 – After completion Reboot your device and setup your ROM.

    Step 9 :- Now again boot into the Recovery mode and flash the live wallpaper patch (if you want to use live wallpapers, if not then leave this step) and reboot.

    That’s it, Now Enjoy pure AOSP, and don’t forget to leave a comment below about your experience with this ROM.


    F.A.Q. :

    Frequently asked questions related with CM Themes, how to use them and what themes are supported.

    • What is “CM Themes” app?
      It’s HK Theme Manager Module. It is slightly modded by me.
    • How to use “CM Themes” app?
      1. Go to Xposed Framework Installer > Modules
      2. Enable CM Themes,
      3. Reboot
      4. Enter CM Themes app.
    • Which themes are supported in “CM Themes” app?
      The link for supported themes is added below, use that link for future theme updated.
      All Themes which use “xml/redirections.xml”, will work, i.e, Themes upto CM10 will work in this theme manager.
    • Installed themes doesn’t show in “CM Themes” app?
      You have to use the refresh button.

    Supported Themes with Theme Manager :

    List of Supported Themes & their links to Download


    Downloading :-


    Credits :-

    More Roms for Micromax A106 Unite 2 Roms

    For More Micromax A106 Unite 2 ROMs subscribe to our mailing list below, if you face any problem then comment below.

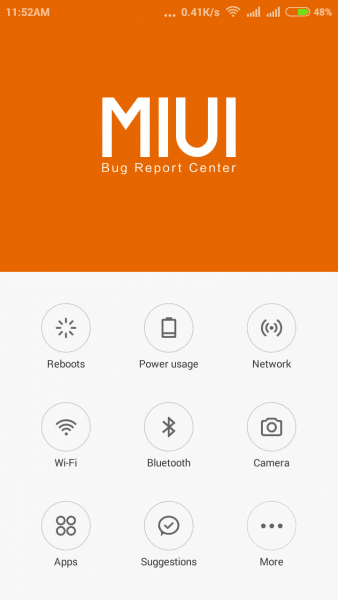
    Official MIUI 6 Beta Rom For Xiaomi Redmi 1S

    1

    Official MIUI V.6 Android 4.4.4 Kitkat Developers Edition Beta ROM For Xiaomi Redmi 1S

    Official MIUI 6 (Developers Edition)

    Stable MIUI 6 Beta Edition Global ROM


    You Might Like :-


    ROM Features :

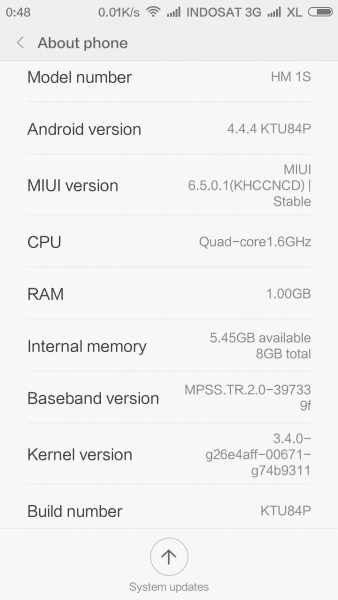
    • Latest MIUI Version 6
    • Global Version (Supported Every Language and Country)
    • Official Developers Edition with OTA Support and almost no bugs.
    • Running on Android Kitkat (4.4.4 KTU84P)
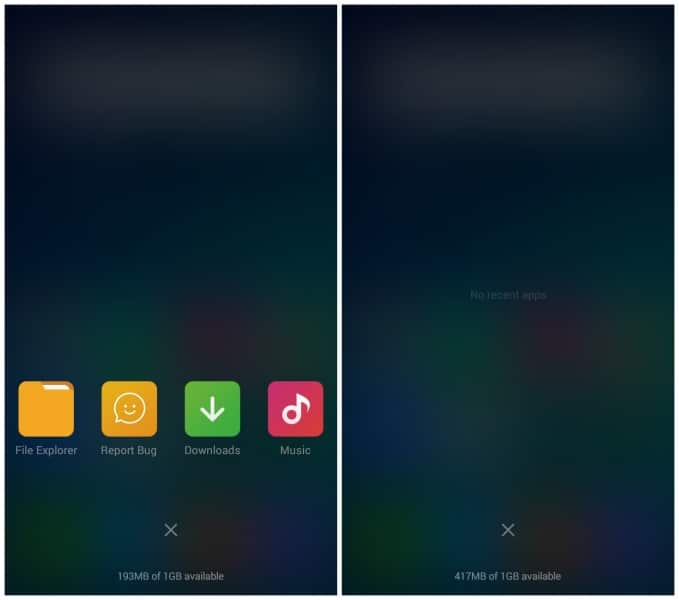
    • Better Ram management and multitasking
    • Different touch of design sense
    • Flat, neat and elegant User Interface
    • Packed with powerful features
    • New Widgets
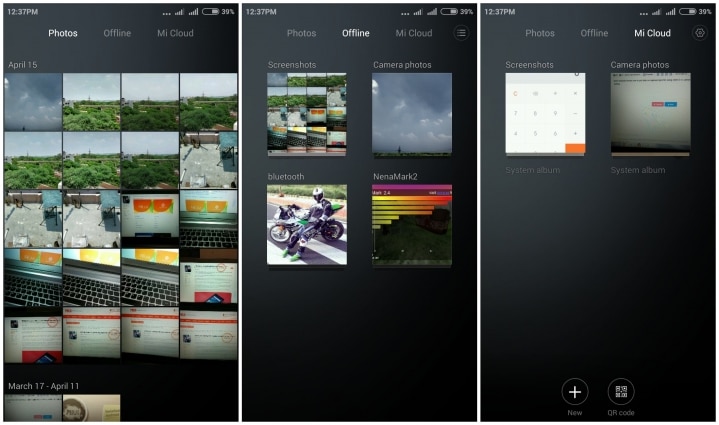
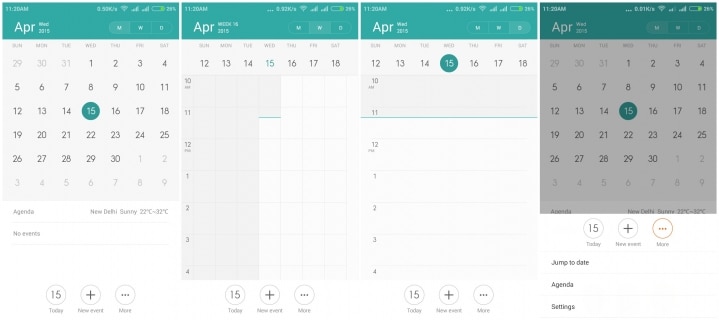
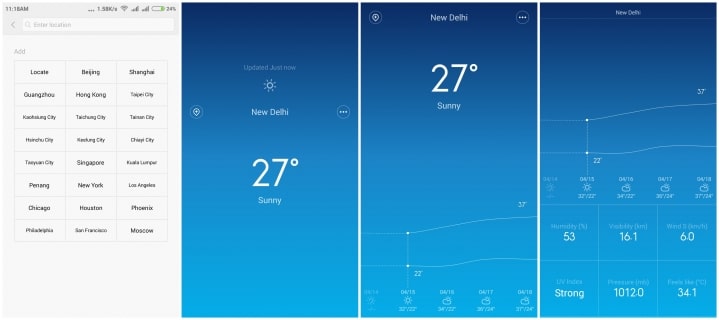
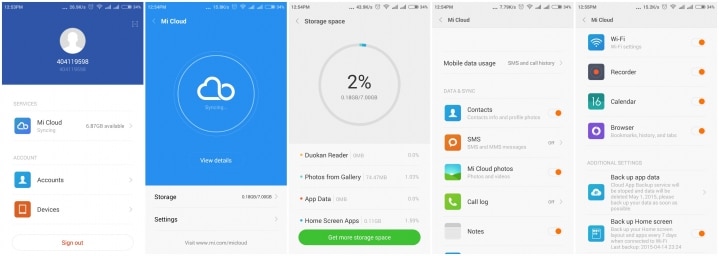
    • New Camera Interface and more features
    • Build on latest release 5.4.10
    • Less heating as compared to MIUI 5
    • More beautiful and vivid display
    • Many more features to discover


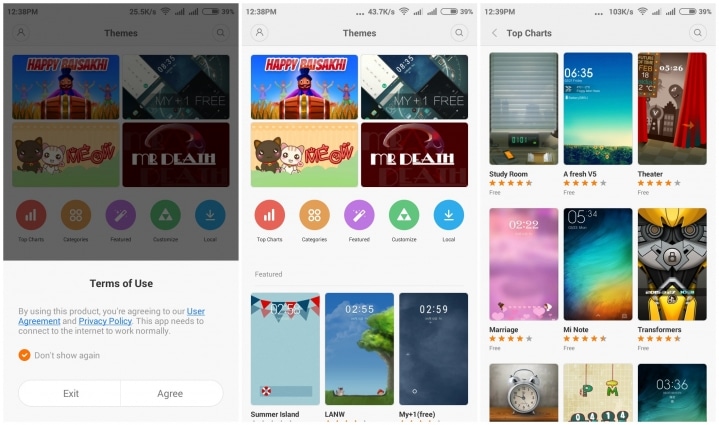
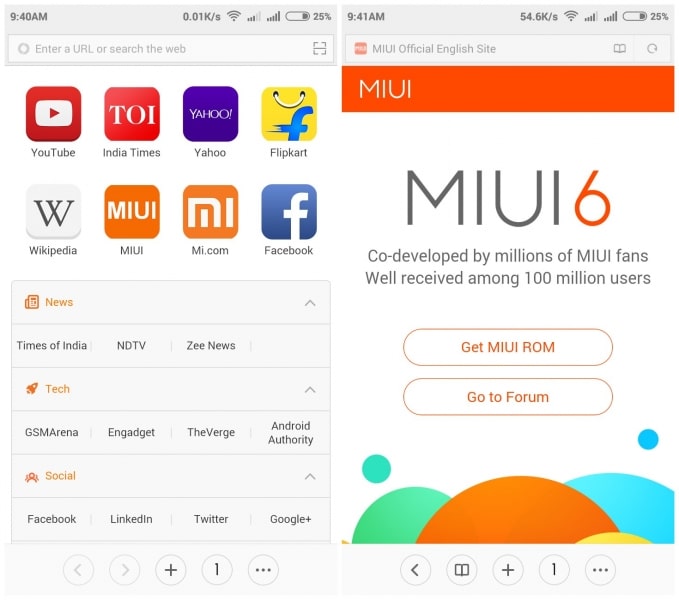
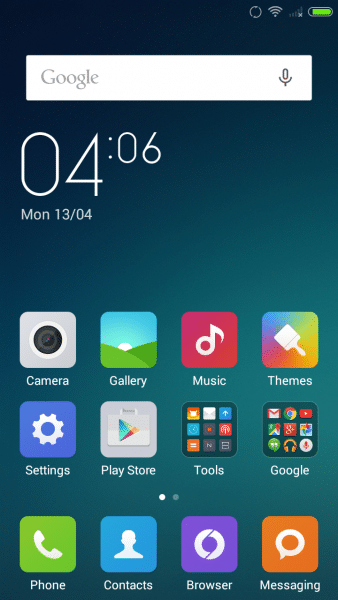
    Screenshots :


    Installation Instructions :-

    Follow the MIUI Official installation guide by visiting the below link.

    MIUI 6 Installation Instructions


    Downloading :-


    Credits :-

    • MIUI Team


    Share you experience with this ROM in the comment section below.

    If you face any problem then please comment below.

    List of All the Custom Roms for Xiaomi Redmi 1S

    Subscribe to our Mailing list for more Xiaomi Redmi 1 S Roms.


    Like Our Facebook Page for Development and Support about Xiaomi Redmi 1S

    Mokee Android 4.4 Kitkat ROM For Xiaomi Redmi 2

    4

    Mokee Android 4.4.4 Kitkat Stable ROM For Xiaomi Redmi 2


    Unofficial Mokee ROM

    You Might Like :-


    Screenshots :-

    Note : The ROM is available in English Language


    Installation Instructions :-

    Step 1 :- First make sure that you have flashed CWM or TWRP Recovery, if not then follow this guide for CWM or this for TWRP to do so.

    Step 2 :- Now enter into Recovery and Select wipe-Advanced Wipe,  Wipe Data, Cache, Dalvik-cache, System.

    Step 3 :- Now flash the downloaded Rom Zip File after that flash Gapps.

    Step 4 :- Now clear cache and Dalvik Cache and then Reboot.

    That’s it, Wait for it to flash and then Reboot, After reboot during setup select your desired language, first boot may take around 3-5 minutes.


    Downloading :-


    Credits :-


    Share you experience with this ROM in the comment section below.

    If you face any problem then please comment below.


    List of All the Custom Roms for Xiaomi Redmi 2

    Subscribe to our Mailing list for more Xiaomi Redmi 2 Roms.


    Like Our Facebook Page for Development and Support related with Xiaomi Redmi 2


    PAC-Man Rom For Xiaomi Redmi 2 (Stable Custom ROM)

    2

    Unofficial AOSP Pac Man Custom ROM For Xiaomi Redmi 2


    Unofficial Pac-Man ROM

    You Might Like :-


    ROM Features :

    • AOSP ROM Based on CM, AOKP and PA Features
    • Lock screen notification and related settings: Settings – inside the lock screen
    • Transparent lock screen
    • Status bar speed settings and update frequency
    • HALO and related settings
    • Notification reminders
    • Display WLAN name
    • Appears in the drop-down notification bar
    • PacMan console useless deleted
    • Pac Man performance
    • Recent Tasks panel, and set
    • Pie and related settings
    • Custom progress bar
    • Custom Animation
    • Wake lock interceptor
    • Display CPU information
    • Recent memory task
    • Navigation-related settings (only the default display navigation machine)
    • Key operational and related settings


    Screenshots :-

    Note : The ROM is available in English Language


    Installation Instructions :-

    Step 1 :- First make sure that you have flashed CWM or TWRP Recovery, if not then follow this guide for CWM or this for TWRP to do so.

    Step 2 :- Now enter into Recovery and Select wipe-Advanced Wipe,  Wipe Data, Cache, Dalvik-cache, System.

    Step 3 :- Now flash the downloaded Rom Zip File.

    That’s it, Wait for it to flash and then Reboot, After reboot during setup select your desired language, first boot may take around 3-5 minutes.


    Downloading :-


    Credits :-


    Share you experience with this ROM in the comment section below.

    If you face any problem then please comment below.


    List of All the Custom Roms for Xiaomi Redmi 2

    Subscribe to our Mailing list for more Xiaomi Redmi 2 Roms.


    Like Our Facebook Page for Development and Support related with Xiaomi Redmi 2


    CM12.1 Android 5.1 Lollipop For Xiaomi Redmi 1S (armani)

    4

    Unofficial CM12.1 Android 5.1 Lollipop ROM For Xiaomi Redmi 1S

    CynogenMod 12.1

    Android 5.1 Lollipop Unofficial CM12


    You Might Like :-


    Screenshots :-

    CM12.1 Android 5.1 Lollipop ROM For Xiaomi Redmi 1S


    Installation Instructions :-

    Step 1 :- First make sure that you have flashed CWM or TWRP Recovery, if not then follow this guide to do so.

    Step 2 :- Go to Recovery mode.

    Step 3 :- Wipe Cache, System, Data and Delvik Cache and do a full factory reset.

    Step 4 :- Now flash Downloaded ROM zip, after that flash Gapps.Zip.

    Step 5 :- That’s it, Now Reboot your device and start using the CM 12.1 ROM.


    Downloading :-


    Credits :-


    Share you experience with this ROM in the comment section below.

    If you face any problem then please comment below.

    List of All the Custom Roms for Xiaomi Redmi 1S

    Subscribe to our Mailing list for more Xiaomi Redmi 1 S Roms.


    Like Our Facebook Page for Development and Support about Xiaomi Redmi 1S