Unofficial CyanogenMod 12 Android 5.0.1 Lollipop Rom For Micromax A116 Canvas HD (Alpha Build)
Unofficial CyanogenMod 12 Alpha
Android 5.0.1 Lollipop Rom Based on CyanogenMod 12 (Alpha Build) for MT6589
Note : This Rom is under Alpha Build and is not suitable for daily use as it may contain a lot of bugs, but if you want to enjoy a true lollipop experience then try this rom at your own risk.
Before Proceeding further please make sure that you have a rooted device and have successfully installed CWM Recover, if not then follow the below tutorials to do so.
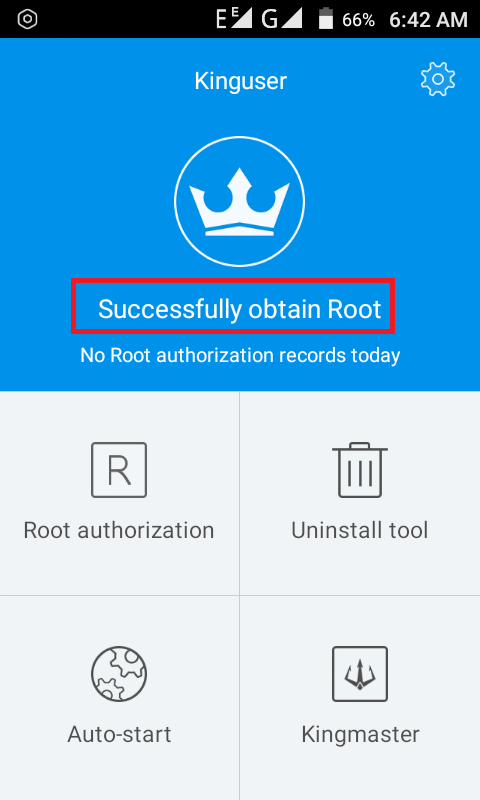
- Rooting and CWM :- How to Root Micromax Canvas HD A116 and Install CWM or TWRP Recovery (Easiest Guide – Without PC}
This is a Custom Rom for Micromax A116 Canvas HD, FLY IQ451 /MYphone 919i Duo / Wiko Cink 5 / Qmobile A600 and clones (As all of these phones have same specifications).
What’s Working?
- WiFi
- Bluetooth
- RIL (partially, no calls etc)
- LED
- Sensors
What’s Not Working / Bugs?
- Calls and Mobile data!
- Camera
- HWComposer
- Audio
- Everything else!
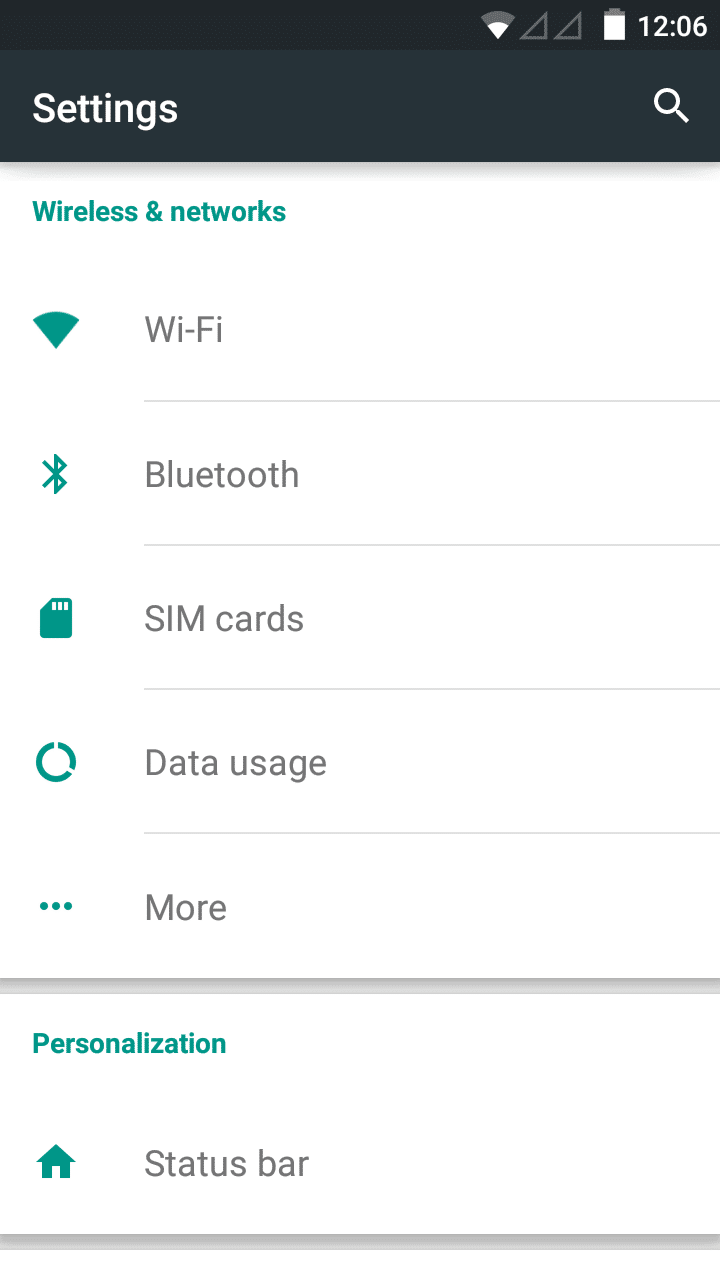
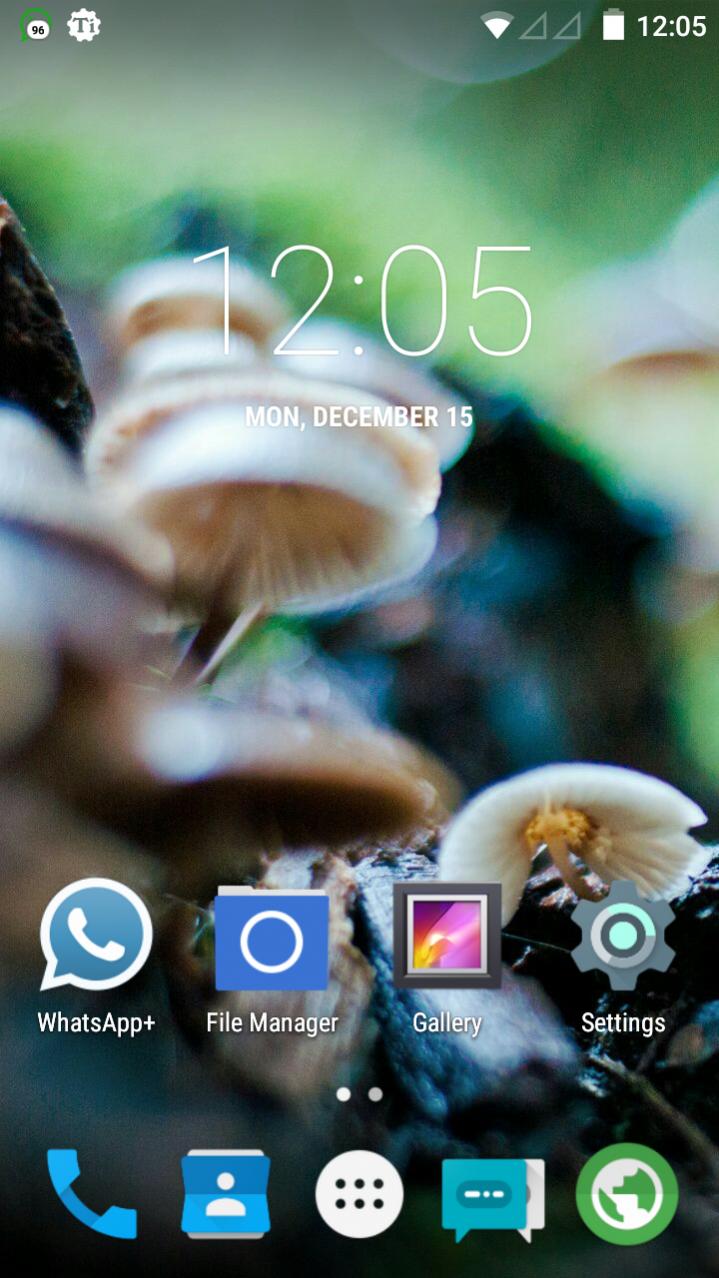
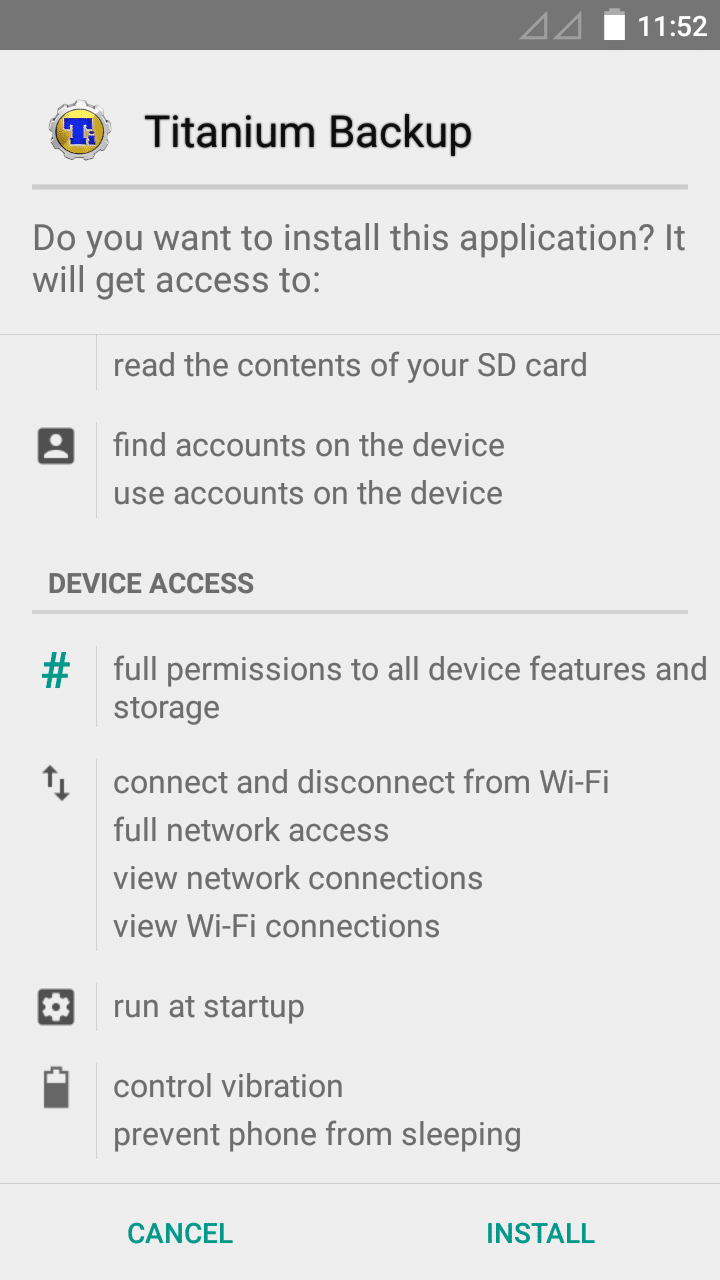
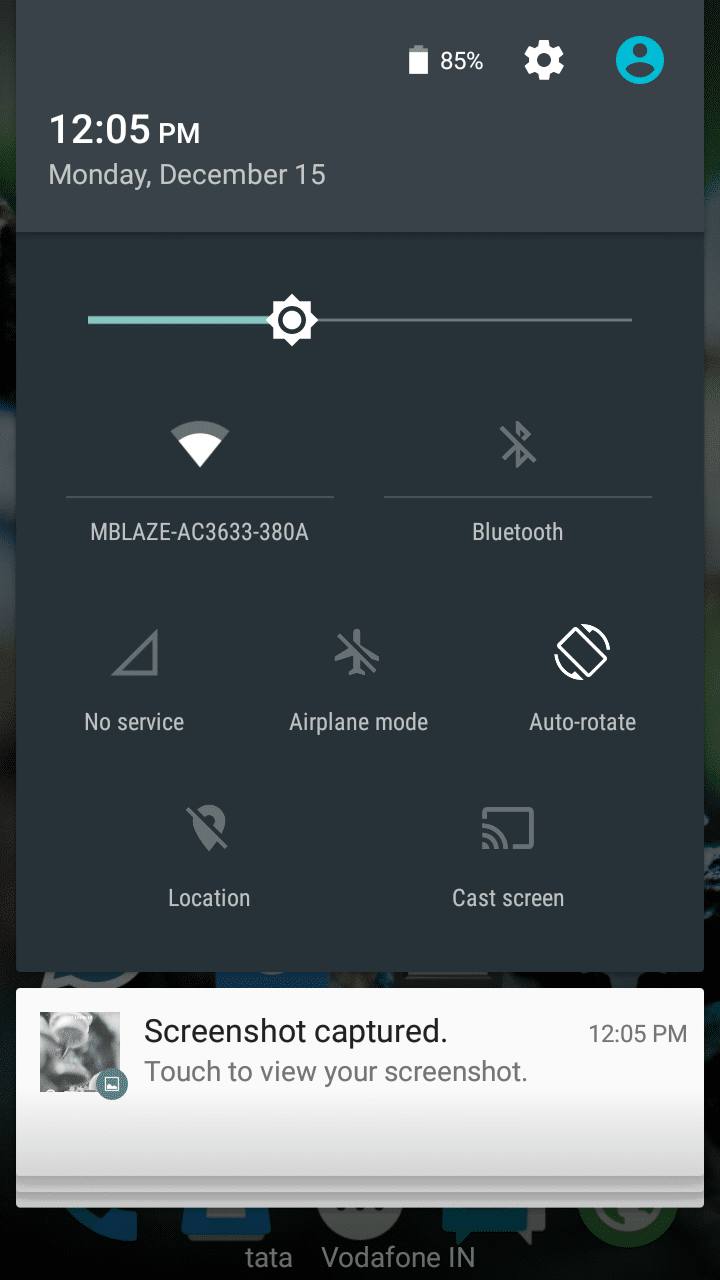
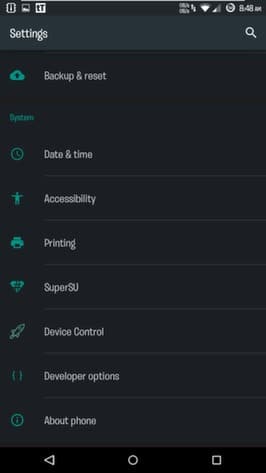
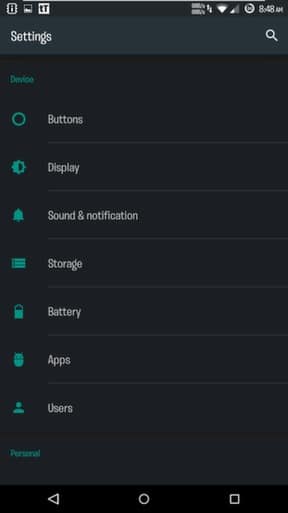
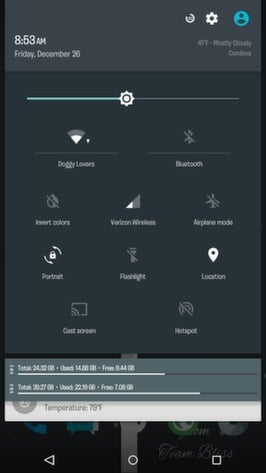
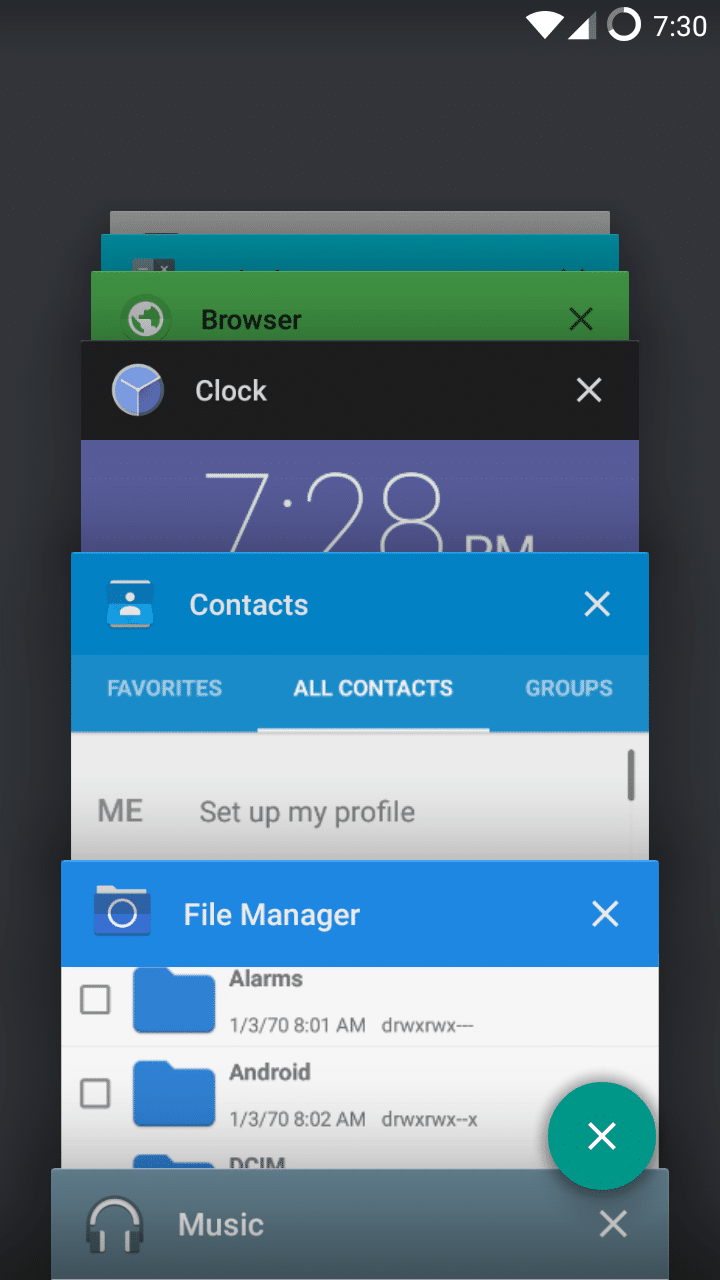
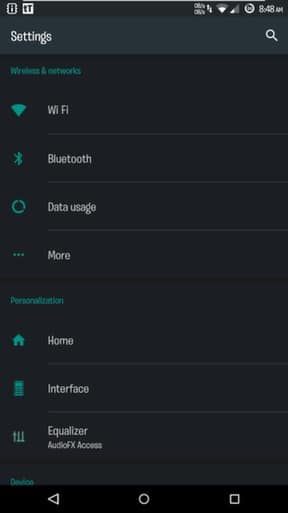
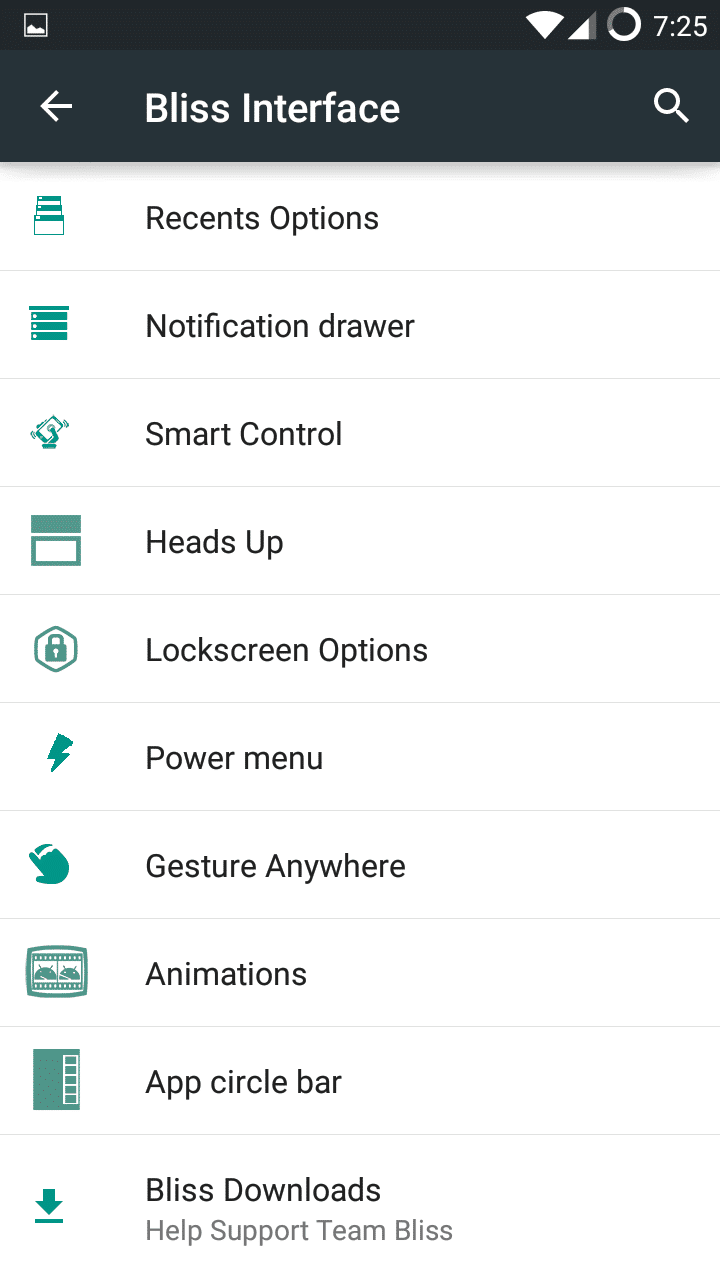
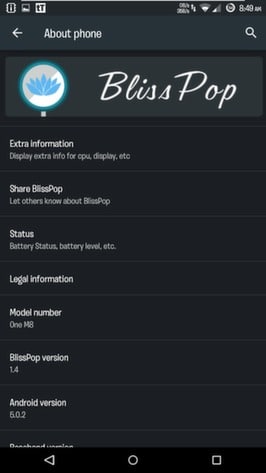
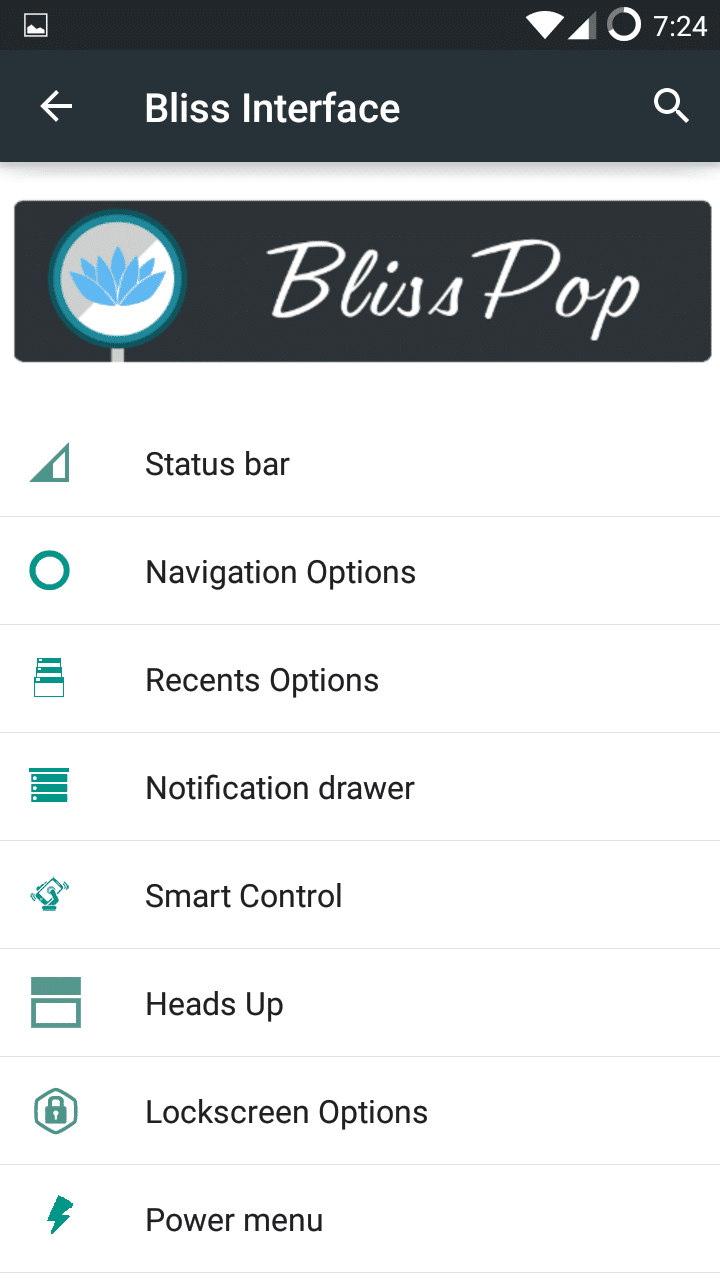
Screenshots


Installation
Step 1 :- Please make sure that you have rooted device and installed Philz Recovery (Philz Recovery is Required).
Step 2 :- Backup your current ROM using Philz Recovery.
Step 3 :– Download the ROM zip file and Gapps from download section below.
Step 4 :– Put the Rom Zip and Gapps in the root of your SD Card (Root of SD Card means in home directory of your SD card outside from any folder).
Step 5 :- Now go to Recovery Mode and do a Wipe data/factory reset, Go to advance and wipe dalvik cache.
Step 6 :- Now Select Install Zip from SD Card and then select downloaded rom zip file and flash it after that flash the Wifi Patch followed by Gapps zip.
That’s it, after successful installation reboot your device, see below video for detailed instructions.
Visit its Original Thread on XDA Forums for Updates, Patches and Bug Fixes.

Downloading
Credits
- kashifmin
- Santosh M
- MWisbest
- chrmhoffmann
- CyanogenMod Team
More Roms for Micromax Canvas HD A116
If you face any problem regarding this Rom then please comment below and also share your feedback.
For More Micromax A116 Canvas HD ROMS Subscribe to our Mailing List below.
")


")


")