Nokia X, The First Android Device from Nokia with many exiting Windows Phone Features, As many of us already have purchased it with WhatsApp Pre installed but from June 9, 2014, as pre installed WhatsApp version gets outdated Nokia X Starts showing “Device Not Supported Error” when we use WhatsApp. So, today i am posting this tutorial to Fix that error and so that you can again use WhatsApp on your Nokia X.
You Might Like :- Nokia X Features and Specs : Is it Worth to Purchase?
How to Install and Use WhatsApp in Nokia X, X+ and XL :-
The standard WhatsApp version does not support the Nokia X, XL and X+ Software Platform, so we will make use of a little advanced version, i.e. WhatsApp Plus. Here’s how to make WhatsApp work on the Nokia X Devices (inc. Nokia X, X+ and XL)
In order to make WhatsApp Plus work, you firstly need to download the standard/official version of WhatsApp, activate it, remove it and then the WhatsApp Plus version.
Step 1 :- Install WhatsApp (original) on your Nokia X Device.
- Connect to the internet and open your internet browser (Nokia Xpress).
-
Type in http://whatsapp.com/android in the URL field and tap on go. If you’re viewing this post on your phone, you can also tap on this link.
-
On the WhatsApp website, click on the green Download Now button.
-
Now Open fastlane to see the download progress. When it finishes, tap on the 1 file downloaded. The app installer will open, install it.
-
Now, Open it and complete the initial setup.
Step 2 – Remove WhatsApp (original) and Install WhatsApp Plus
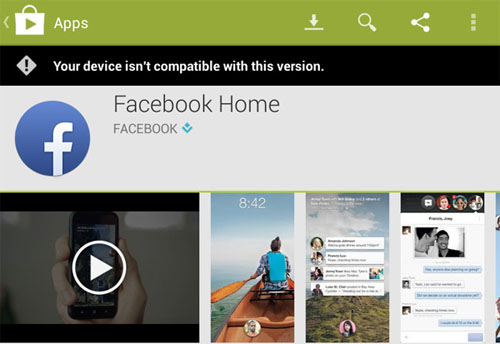
- Exit WhatsApp when it says that Your Device is not Supported and open the homescreen.
-
Long tap on the WhatsApp icon and tap on the red cross to remove it.
-
Now Download WhatsApp+ by clicking on the below button.
Download Latest Version of WhatsApp+
- Install it just the way you install your normal apps. Make sure to use the same phone number as you used in the original WhatsApp as otherwise it will not work.
-
Now, Open WhatsApp Plus and use it just the way you use WhatsApp.All your Chats will be there.
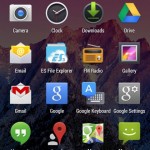
WhatsApp+ works fine on the Nokia X devices! Below are some images of it in action. Tap on them to enlarge.


If you Face any Problem then please comment below.
")