Review : Everything that you need to know")
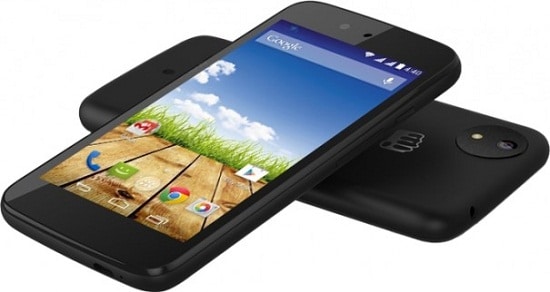
Today on 15th September, 2014 at sharp 03:30 PM Micromax launched its Android One Smartphone on Amazon.
Android One is a series of low budget smartphones announced by Google in its I/O 2014. Along with Micromax, Spice and Karbonn also launched their Android One Smartphones today.

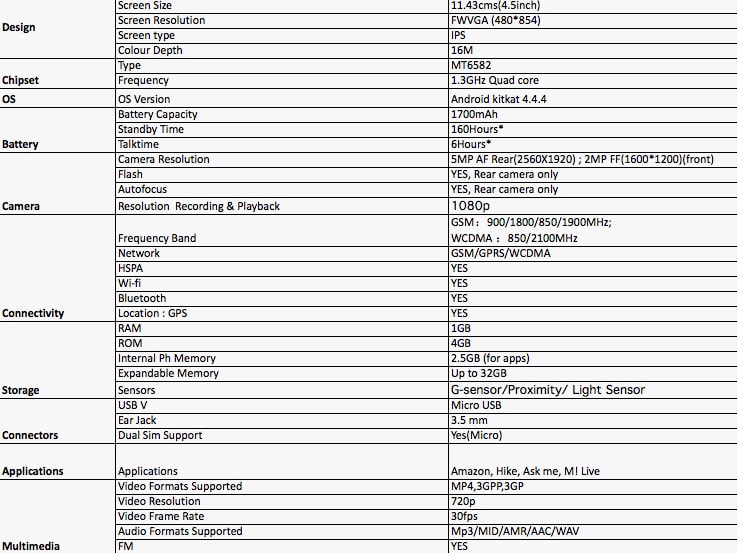
Micromax Android One (Canvas A1) Detailed Specs :-
Our Review :-
Camera :-
The primary camera in the Micromax Canvas A1 is a 5 MP with LED flash. This sensor is likely to support HD 720p video recording as well. Along with this, there is a front-facing 2 MP shooter that that can take care of video conferencing. At this price bracket, the market has numerous such smartphones making the Micromax offering an average offering.
Storage :-
The internal storage is standard at 4 GB that is pretty common in the entry-level segment. However, there is expandable storage support up to 32 GB via a micro SD card. For the 4 GB haters, there is enticing news as the handset comes packed with 35 GB of free Google Drive cloud storage capacity.
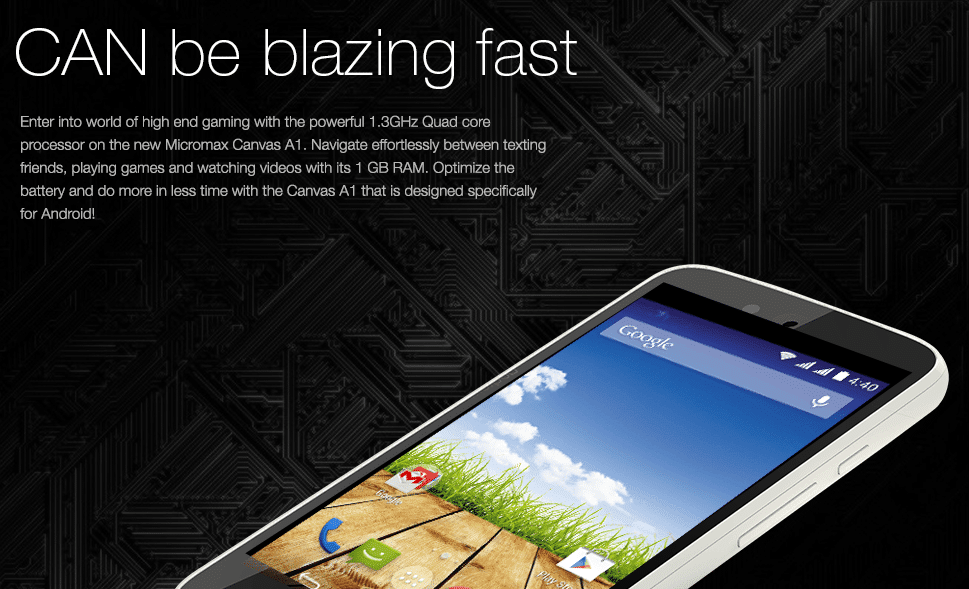
Processor :-
The chipset used in Canvas A1 is a 1.3 GHz quad-core MediaTek MT6582 (same as Canvas 2.2 A114 and Gionee M2) processor that employs 1 GB of RAM to render decent mutli-tasking and Mali 400 GPU for good graphic handling. This hardware combination of a quad-core processor and moderate RAM makes the Micromax phone a competent entry-level smartphone.
Battery :-
A 1,700 mAh battery that powers the Micromax Canvas A1 from within and it is believed to render acceptable hours of life to the device.
Display and Features :-
There is a 4.5 inch IPS display has carries a FWVGA resolution of 854×480 pixels that sounds average. The viewing angle is believed to decent with acceptable levels of color reproduction as the handset incorporates an IPS panel.
Price :-
According to the Price that is Rs. 6499, Micromax Canvas A1 is maybe the Best Budget Smartphone Available right now and is a biggest competitor for the Xiaomi Redmi 1S.
You Can buy Micromax Android One from Amazon with a Free 8GB MicroHDSC Card, Use the below link.
")
")
")


")


")