")
Sony Xperia Themed ROM For Xiaomi Redmi 1S
Pure Xperia Performance
You Might Like :-
- CM11 Stable for Xiaomi Redmi 1S
- AOSP ROM for Xiaomi Redmi 1S
- Stock ROM/Firmware for Xiaomi Redmi 1S (MIUI V5 ROM)
- Android 4.4.4 Kitkat ROM (Mokee) For Xiaomi Redmi 1S
- Paranaoid Android 4.6 ROM For Redmi 1S
- MIUI 6 ROM For Xiaomi Redmi 1S
- Baidu Cloud OS ROM For Xiaomi Redmi 1S
- Pac-Man Rom for Xiaomi Redmi 1S
ROM Features :-
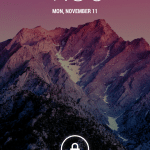
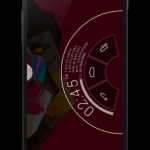
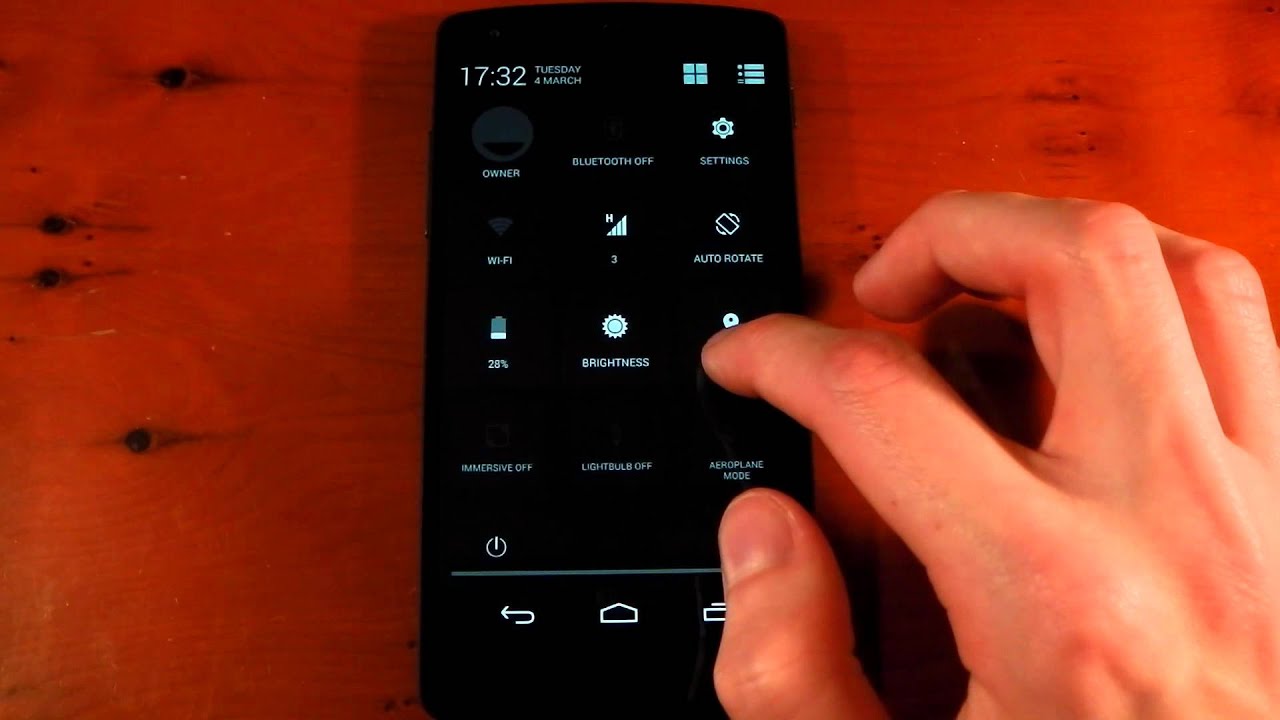
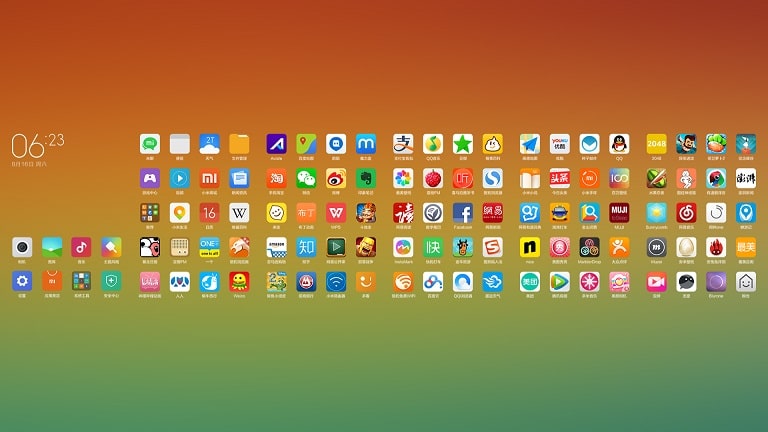
- Xperia Z2 theme ported from different system UI’s and themes
- New complete Xperia framework
- Performance maximised ( 350 – 400 mb ram all the time )
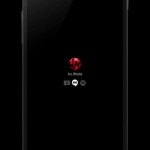
- Changed boot animation .
- Added noFrills cpu app .
- Pre-Rooted
- Deodexed
- Bloatware removed
- Busybox Installed
- Better Performanve
- Better Ram Management
- Less Heating
- Stock cwm and allowance to get OTA update even after installing this rom
- Some Xperia Apps
- Smooth Gaming MODs
- Enhanced battery life
- Best ROM for photography, many editing apps installed which are also uninstallable
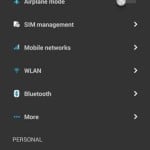
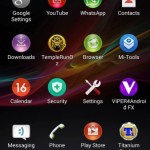
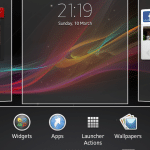
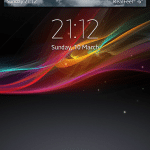
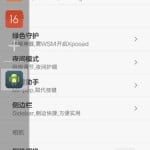
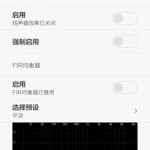
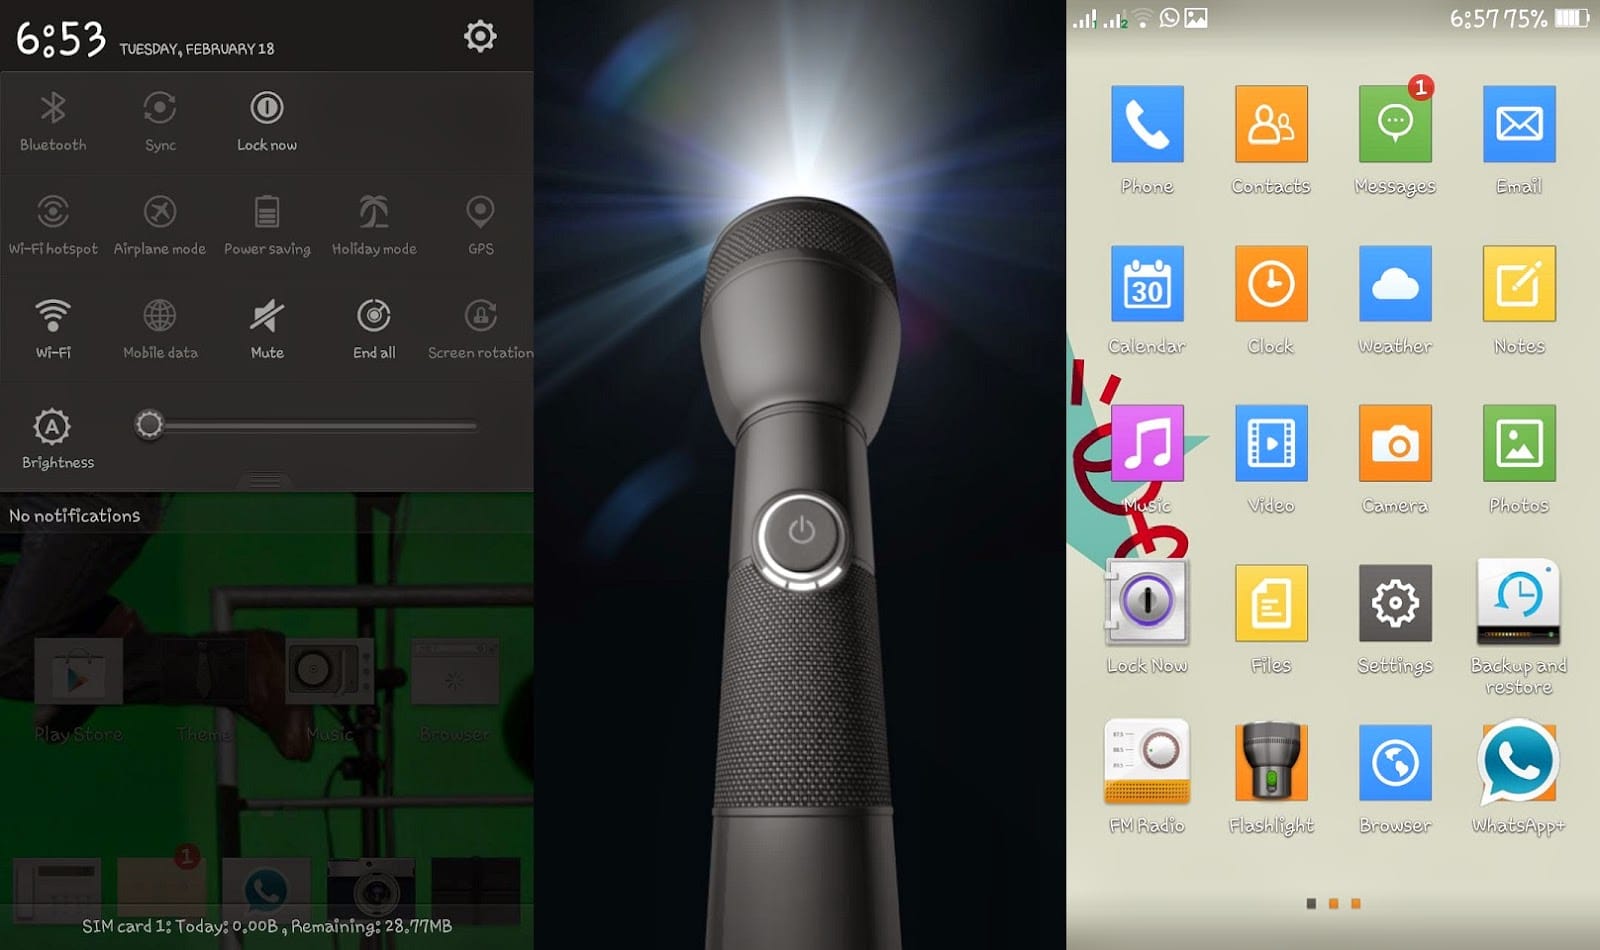
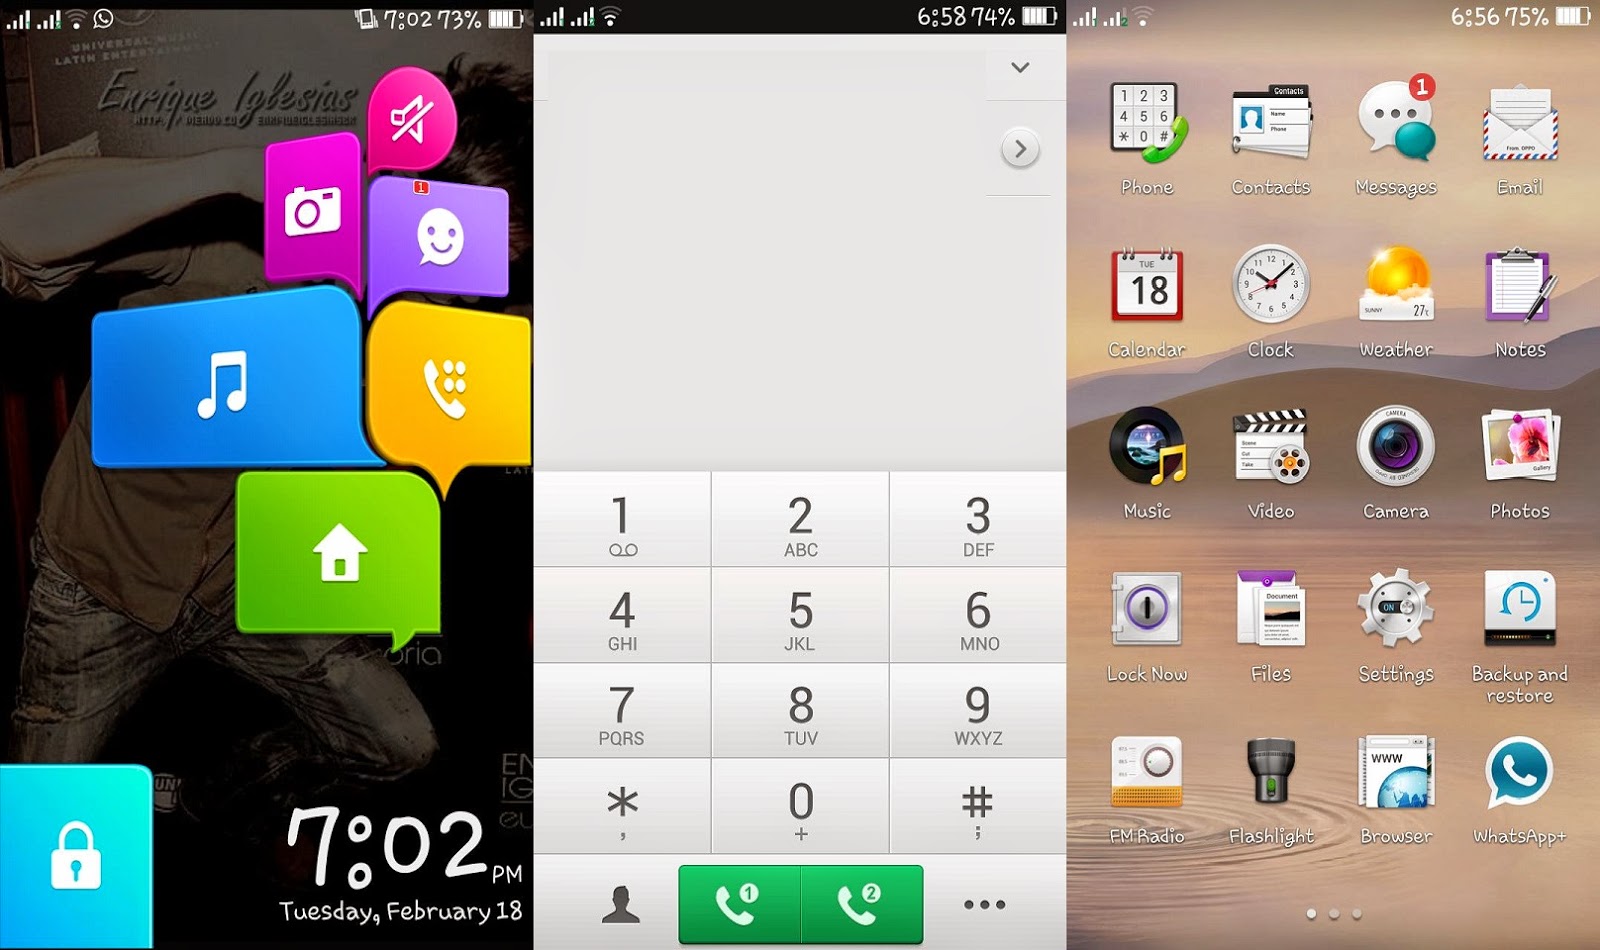
Screenshots :-


Installation Instructions :-
Note :- Before proceeding further please make sure that you have installed CWM Recovery in your device, if not then install it from here.
Step 1 :- Copy Rom.zip on SD Card
Step 2 :- Boot into Any Custom Recovery ( i recommend CWM )
Step 3 :- Do a complete Wipe Data/Factory Reset
Step 4 :- Now select Install ZIP from SD card and select downloaded rom zip file.
Step 5 :- Wait for it to flash and then Reboot.
That’s it, Enjoy Xperia Experience.
Downloading :-
Credits :-
- Jeeko
- 4peace from MiUI forums
- Himanshu Garg
- Yashwant Artist
- Venkat
Share you experience with this ROM in the comment section below.
If you face any problem then please comment below.
Subscribe to our Mailing list for more Xiaomi Redmi 1 S Roms.
Like Our Facebook Page for Development and Support about Xiaomi Redmi 1S
")


")


")

")
")


")


")