More
    Home Blog Page 187

    Asus Fonepad 7 (FE375CL) got updated with PixelMaster camera & SonicMaster dual speakers

    0


    Asus Fonepad 7 FE375CL

    Introduction
    Asus has yet again updated the Fonepad 7 series, with its newest sibling, the FE375CL with 4G LTE support. The company unveiled the 3G version of its newest Padfone iteration back in January with the  model number of FE171CG.

    Design language
    Asus continue the sleek and thin design language on its newest Fonepad FE375CL. This phablet is only 9.8mm thick with only 299g of weight. With only 109mm wide, this device can be handled with one hand quite well. Asus has equipped this tablet with a 7-inch 800×1280 pixels IPS screen with Asus Spendid technology, which Asus claimed it will give an ‘improved clarity, lighter and beautiful vivid color’ to the display. Asus is kind enough to incorporate dual front facing speakers with its SonicMaster technology. Asus also introduced the ‘View Folio Cover’ for keeping the user updated while protecting the tablet at the same time.

    folio

    Performance
    This device is powered by the new and powerful 64-bit Intel Atom Z3530 chipset running quad-core at 1.3GHz. The 3G version FE171CG is only powered by a dual-core Intel Z2520. The chipset was supported by 2GB of RAM. The battery is rated at 15Wh or 3,950mAh, which capable of 12 hours of 720p HD video, 22.5 hours of 3G call and 16 days of standby time. It support 7 LTE bands (700/800/900/1700/1800/1900/2100) which essentially compatible with any mobile network in the world.

    pixelmaster

    PixelMaster camera
    Asus first introduced the PixelMaster moniker when it unveiled the Zenfone 2 during 2015 CES. This tablet was equipped with a 5MP PixelMaster main camera and a 2MP front shooter. Asus claimed that the camera will be able to ‘deliver incredible image quality’ and ‘produce professional quality photo’.

    Other specs
    The device comes with 8 & 16GB of internal storage, with expendable microSD card storage up to 64GB. Connectivity options include 4G LTE, Wi-Fi 802.11 b/g/n, Bluetooth 4.0, GPS/A-GPS, GLONASS, and Micro-USB. Sensor wise, there will be a G-sensor, E-compass, Proximity & Light-sensor, Hall sensor and Vibrator. It will be shipped out with the latest Android Lollipop 5.0 on top of Asus ZenUI suite and will be first available in Taiwan with $250 price tag.

    Source

    Official MIUI 6 Update For Xiaomi Redmi Note 4G

    0

    Official MIUI 6 Firmware Update For Xiaomi Redmi Note 4G (dior)

    Official MIUI 6 Firmware Update via OTA

    So finally after two months of its launch in india Xiaomi brings its official MIUI 6 update on Redmi Note 4G, however everyone thought that the MIUI 6 for Redmi Note 4G will be on Android 5.0 Lollipop, but for that Redmi Note users have a little more. The current update which rolled out in India and Taiwan is based on Android 4.4 Kitkat.

    MIUI 6 Firmware Info :

    MIUI firmware version: MIUI 6.3.5.0 (KHIMIBL) | Stable

    File size: 577MB

    Android version: 4.4.4 KTU84P (Android KitKat


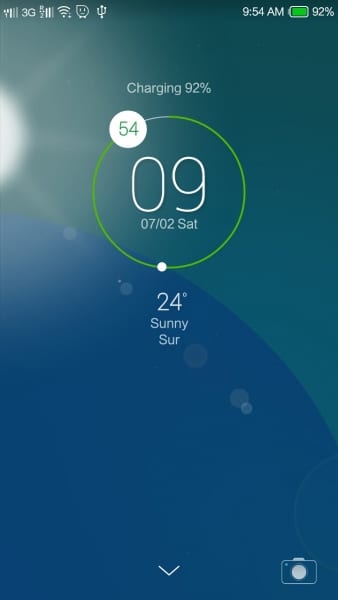
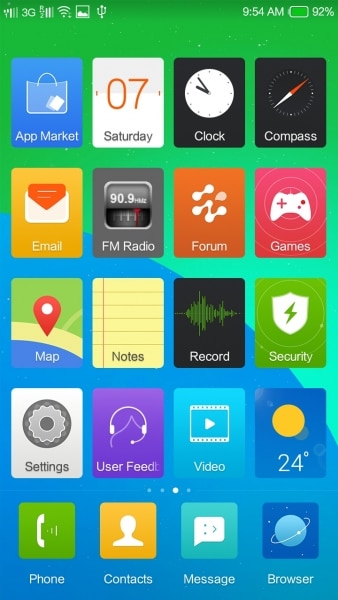
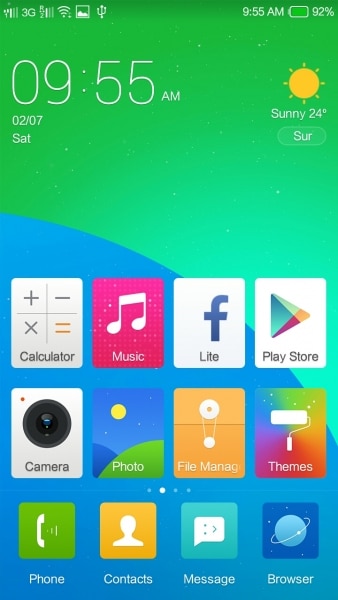
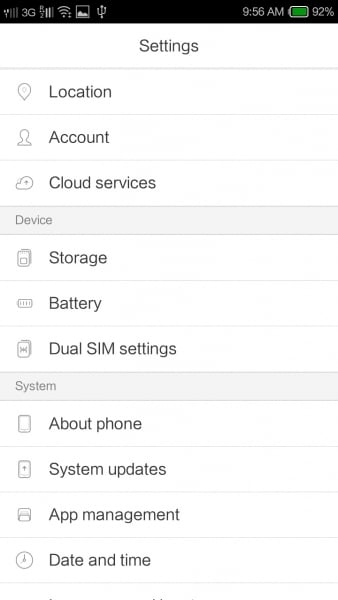
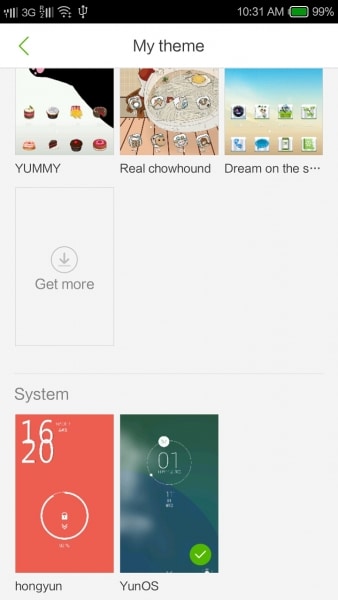
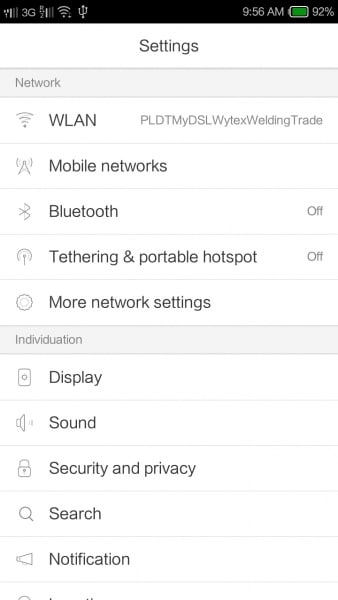
    Below are few of the screenshots from the latest MIUI 6 Firmware in Redmi Note 4G.


    How to install?

    This MIUI V6 update can be installed in two different ways one is through OTA update and another is manually by flashing through MIUI Rom Flashing Tool.

    Installing Through Official OTA Update :

    You can install MIUI V6 update directly from you phone, for this you must be on 3G or Wifi because it will download around 577 MB of firmware, Go to settings in your phone and then go About Phone and click on Check for updates, you will see an MIUI 6 update, click on it to download and after downloading just click ok to install it, it will be automatically installed within ten minutes, that’s it.


    Manual Installation with MIUI Rom Flashing Tool :

    If you are on any other Custom Rom then i would recommend using this method.

    For this first of all download the latest MIUI 6 firmware from their site, use the below button to download.

    If you face any problem in the whole process then feel free to comment below.

    Subscribe to our Mailing list for more Xiaomi Redmi Note Roms.


    Like Our Facebook Page for Development and Support about Xiaomi Redmi Note


    Pac-Man AOSP Rom for Micromax YU Yureka (Download & Install)

    1

    Pac Man Android 4.4.4 Kitkat AOSP ROM For Micromax YU Yureka

    Pac-Man ROM

    PAC-man ROM 4.4 is a ROM build from scratch from AOSP with our own tweaks and options, including picks and features from the best ROMs out there!

    Why choose among ROMs, when you have All-in-One !!

    Before proceeding further please make sure that you have a rooted device and have installed a custom CWM or TWRP Recovery, if not then follow the below guide to do so.

    ROM Features :-

    PAC MAN ROM Features


    Screenshots :-

    Pac-Man Rom for Xioami Redmi 1S
    Pac-Man Rom for Micromax Yu Yureka


    Installation Instructions :-

    Step 1 :- First of all install CWM/TWRP recovery from here.

    Step 2 :- After installation reboot into recovery mode.

    Step 3 :- In Recovery Mode do a complete wipe of data, cache and dalvik cache.

    Step 4 :- Now choose install zip from SD Card and select downloaded rom zip file and then after flash GApps.Zip file.

    Step 5 :- That’s it, wait till the installation finishes and then reboot your device and start using PAC-MAN ROM.


    Downloading :-


    Credits :-


    Share you experience with this ROM in the comment section below.

    If you face any problem then please comment below.


    Subscribe to our Mailing list for more Micromax YU Yureka Custom Roms.


    Root and install CWM/TWRP Recovery in Micromax Yu Yureka

    0

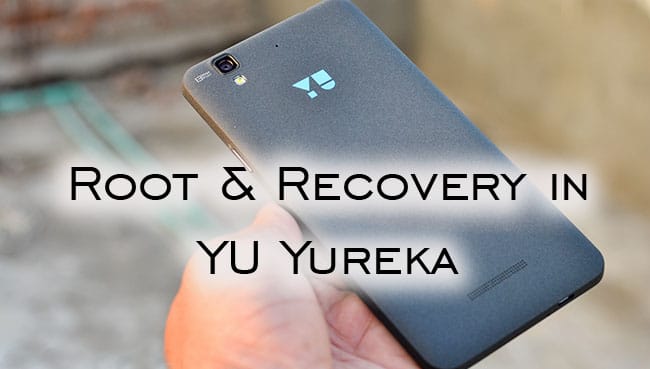
    How to root and install custom recovery in Micromax YU Yureka

    The Micromax Yu Yureka is priced at Rs 8,999/– the first Indian smart phone with Cyanogen OS.  Cyanogen OS is focused around the Android working framework, famous for the host of customization and peculiarities it gives over stock Android. It’s a well known fact that Micromax needs to show the world best of the best phone so that it rises its stocks again and hence we think it has taken a clever move by launching the Yureka smart phone, we have listed the the features. You can read our full review of Yu Yureka here.
    How to Unlock Bootloader and Root Micromax Yu Yureka?

    Unlocking Bootloader :

    Step 1 : Download the file ADB from the download section below and extract it to a folder on your desktop. Now Switch off your Micromax Yureka Android smartphone.

    Step 2 : Next connect your to the PC with USB cable and the LED near the speaker at the top goes red.

    Step 3 : As soon as the LED glows keep the vol up button pressed. You will see the fastboot screen.

    Step 4 : Now in your computer, open the downloaded folder ‘ADB’ and hold Shift button and right click anywhere in the folder and select “Open Command prompt window here”.

    Step 5 : Now in the command prompt window type the following command.

    fastboot -i 0x1ebf oem unlock

    This may delete all your data including the internal memory. Your bootloader is now unlocked.


    Custom Recovery :

    Installing CWM Recovery :

    Now the next step is to install the CWM recovery. Download the CWM recovery from the download section below and save/copy it on your ADB folder. Again hold Shift button and right click on the empty space of the folder and select “Open Command prompt window here”.

    Step 1 : Now type this on your command window:-

    fastboot -i 0x1ebf flash recovery recovery-yu.img

    You have successfully Install cwm recovery now ! Just press Volume up + Volume down + Power button to access CWM mode !


    Installing TWRP Recovery :

    As TWRP Recovery in now officially available for Yu Yureka, you can flash it directly from their android app. just make sure that you have root permissions and then install TWRP Manager app from play store.


    In the app choose you device and then click on install to flash TWRP Recovery.


    Rooting Guide :

    Before proceeding further please make sure that you have successfully installed CWM Recovery.

    Step 1 : Firstly Download the Superuser.zip file from the download section below and move the file on your phone SD card .

    Step 2 :  Once the SuperSu zip file is moved on your phone. Switch off you phone and boot in CWM recovery mode. To boot in CWM Recovery press volume up + volume down + power button .

    Step 3 : Now your phone will boot on Recovery mode, for the main screen of the recover main menu Select Install zip from Sd card and Select Superuser.zip file that you copied on your phone Sd card.

    Step 4 : Once the files is installed, Reboot your Device. That’s it, your device has been rooted now you can enjoy your root permissions.


    Downloads :


    Source : XDA Forums


    If you face any problem then comment below.

    Subscribe to Our mailing list for custom ROMS and other Tutorials for this device.

    Xperia Lized Rom For Micromax A114 Canvas 2.2

    24

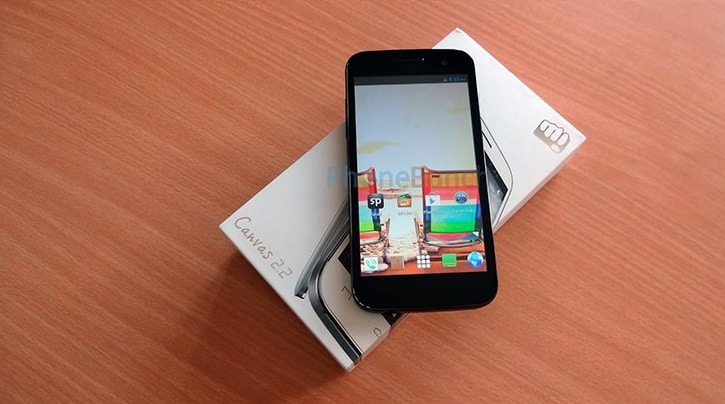
    Sony Xperia Lized Custom ROM For Micromax A114 Canvas 2.2

    Before proceeding further please make sure that your handset is rooted and have install CWM Recovery, if not then visit below links to do so :-

    This is a Custom Rom for Micromax Canvas 2.2 A114 and MyPhone Agua Cyclone (As both of these phones have same specifications).

    Xperia Lized Rom


    Rom Features :-

    • Apps2sd
    • dolby+walkman
    • special tweaks for camera
    • dolbyshot added
    • better ram management
    • better battery backup
    • Fully Rooted
    • Deodexed
    • Init.d Supported
    • Zipalign
    • Hidden Tweaks on-board(do not add tweaks,it may caused conflicts)
    • Bug Free(if you see one,then let me know)
    • Many more…


    Screenshots :-


    Installation Instructions :-

    Step 1 :- Please make sure that you have rooted device and installed CWM Recovery.

    Step 2 :- Backup your current ROM using CWM Recovery.

    Step 3 :– Download the ROM zip file from download section below.

    Step 4 :– Put the zip file in the root of your sdcard.

    Step 5 :- Now go to Recovery Mode and do a Wipe data/factory reset, Go to advance and wipe dalvik cache.

    Step 6 :- Now Select Install Zip from SD Card and then select downloaded zip file and flash it.

    Step 7 :- Reboot your device and that’s it start using Xperia Themed ROM.

    Downloading :-

    Credits :-


    More Roms for Micromax Canvas 2.2 A114 and MyPhone Agua Cyclone

    More Roms for Micromax A114 that you might like :-

    Our Official Thread on XDA Developers Forums for Micromax A114 Roms.

    If you face any problem regarding this Rom then please comment below and also share your feedbacks.

    For More Micromax A114 Canvas 2.2 ROMS Subscribe to our Mailing List below.

    Mokee Rom For Xiaomi Redmi Note 4G (Kitkat ROM for dior)

    1

    Android 4.4 UnOfficial Mokee Rom For Xiaomi Redmi Note 4G Indian

    Mokee ROM For Xiaomi Redmi Note 4G

    dior is the codename for Xiaomi Redmi Note 4G

    ROM Features :-

    • Completely Android 4.4.4 Kitkat ROM
    • Based on Unofficial CM11 Port
    • No Bugs at all
    • Both SIM Working
    • 3G Working
    • Regular OTA Updates
    • Improved Call Quality
    • CM11 Custom Themes Support
    • CM Settings UI, Launcher, Lock Screen and lots more
    • No Bloatwares
    • Built in CM Android 4.4.4 Kernal
    • Stable Build
    • Pre-Rooted
    • More Free RAM
    • Installable with CWM/TWRP Recovery


    Hands on Video :-


    Installation Instructions :-

    Step 1 :- First of all install CWM/TWRP recovery from here.

    Step 2 :- After installation reboot into recovery mode (by pressing Vol Up + Vol Down and Power Button simultaneously).

    Step 3 :- In Recovery Mode do a complete wipe of data, cache and dalvik cache.

    Step 4 :- Now install the downloaded zip file.

    Step 5 :- That’s it, Now reboot your device and start Using Mokee ROM.


    Downloading :-


    Credits :-

    • Syhost
    •  

    Share you experience with this ROM in the comment section below.

    If you face any problem then please comment below.


    Subscribe to our Mailing list for more Xiaomi Redmi Note Roms.


    Like Our Facebook Page for Development and Support about Xiaomi Redmi Note

    Lenovo P70 With A Month Standby Time; First Impression, Features, Review and Specs

    0

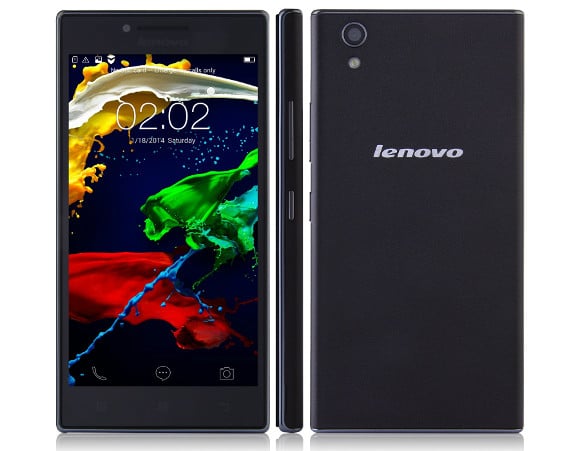
    Lenovo P70


    Introduction: 

    Today, Lenovo has announced a brand new phone, the P70, which will only available in China. The main features that was highlighted is the gigantic 4,000 mAh battery, with 32 days standby time, claimed the company. This is a LTE-enabled phone, supporting Cat.4 download speed of 150Mbps and 50Mbps upload.

    Massive battery, a month standby
    Even though the Lenovo P70 has a massive 4,000 mAh battery, it keeps a thin profile at 8.9mm with weight only 149g. Lenovo has cramps this kind of battery madness before when it launched the P780 back in June 2013, but the phone was 10mm thick with 176g in weight. Lenovo claimed that the P70 will last up to 32 days on 2G, 29 days (3G) and 30.5 days (LTE). Talk time is rated at 46 hours (2G) and 18 hours for 3G call. With that massive battery, you can charge your other devices with USB-OTG function on board.

    True8Core
    This phone is powered by the MediaTek True8Core 64-bit Cortex-A53 (MT6752) with 8 core running concurrently at 1.7GHz. All those power will be coupled with Mali T760MP2 GPU and ample 2GB of RAM for ‘seamless responsiveness’. The internal storage for this device is at 16GB, but by swapping one of the SIM tray, you can put in a microSD card for expandable storage option.

    Get ready for a #selfie
    It seems like a progressing trend for Lenovo devices right now, by having a #selfie ready 5MP front facing camera with ‘auto-beautification features’. On the rear side, there is a 13MP main camera with auto-focus and LED flash. The camera software features multiple shooting modes, along with gesture control to snap a picture.

    HD IPS display
    This phone is equipped with a 5-inch 720p IPS screen with ‘nearly 180-degrees of wide-angle viewing’. Having had a Lenovo phone before, I’m guessing the screen will be vibrant and gorgeous for photo, video and games. Lenovo P70 will run Android 4.4 Kitkat on top of Lenovo VibeUI 2.0 suite.

    gsmarena_001

    Conclusion
    Lenovo P70 is a great mid-ranger phone with decent specs and great additional features. The massive battery is a huge plus, along with it’s 5MP front facing camera, and the octa-core processor. This phone is priced at CNY 1,399 ($224/€198/INR13,999/RM811) and currently only available in mainland China.


    What if Google Was a Guy? – Video

    0

    What if Google was a Guy whom you meet him in person to ask your weird things?

    Well if that would have happened then it would be just like the below videos.

    These videos were uploaded by College Humor on YouTube and they went this viral that the 1st video got more then 11.2 million views, 2nd one got more then 12.5 million views and 3rd one just the double of them and its still counting.

    So, enjoy these videos and do share this post with others.

    Part 1 :


    Part 2 :


    Part 3 :

    Sony Xperia E4 Budget phone; First Impression, Features, Review and Specs

    0

    Sony Xperia E4

    Description :-

    This is Sony first phone that was launched in 2015. Sony Xperia E4 will be available in two variants; the single SIM (E2003) and also dual SIM (E2033) version. Both version will be powered by MediaTek quad-core processor running at 1.3GHz, supported by 1GB of RAM. This phone will be the first from Sony to be running Android Lollipop (5.0) out of the box.

    This phone is essentially an upgrade to its Xperia E budget series; Xperia E1 & E3. The screen size was bumps up to 5-inch, compared to 4.5-inch on Xperia E3. The storage was also double in this newest iteration, up from just 4GB in E3 to 8GB in this E4.

    Camera wise, it got a 5MP back shooter with 1080p video recording capability, plus a decent 2MP front selfie camera (720p video), a serious improvement over the VGA front camera on E3. This phone will only supported 2G and 3G HSPA bands, with no LTE support. There will be two color options to choose from: White and Black. No pricing or availability information was given, as the phone was ‘silently’ announced by Sony.

    gsmarena_001gsmarena_002

    Video :-

    [youtube http://www.youtube.com/watch?v=Phmu_Vra_bw]

    Source 1 | Source 2 

    BQ Aquaris E4.5 Ubuntu Edition: First Impression, Features, Review and Specs

    0

    BQ Aquaris E4.5

    After the failed Ubuntu Edge $32 million campaign almost two years ago, here come the first publicly available Ubuntu phone, The BQ Aquaris E4.5  Ubuntu Edition.

    About BQ

    BQ is a Spanish consumer electronics and software development company. It is one of the main European technology players, with a presence in more than 40 countries. It operates in the sector of multimedia devices, 3D printing and educational robotics and is one of the companies most committed to the DIY and open source philosophy.

    This phone is actually a mid-range device, with a 4.5-inch IPS screen with 540×960 pixel resolution, protected by the toughened alkali-aluminosilicate Asahi Dragontrail glass. It is powered by a 1.3GHz quad-core MediaTek Cortex-A7 (MT6582), with 1GB of RAM and 8GB of internal storage.  Interestingly, this phone features a 5-megapixel front facing camera along side with 8-megapixel dual-LED main shooter out back. Given the price of €169.90 ($192, INR 11,900), this phone is rather ‘expensive’ compared to its specs and other contenders, like the Xiaomi Redmi Note, Micromax Yu Yureka or the Meizu m1. Plus, this phone looks cheap with its huge bezel and small screen-to-body ratio.

    BQ said that they have no intention to sell this phone outside Europe. Well, I would pass either way.

    ubuntufirst

    BQ Aquaris E4.5 Unboxing and Hands On :-

    [youtube http://www.youtube.com/watch?v=mPbNbdhoGS4]

    Source