Before proceeding further please make sure that you have rooted your device and have successfully installed CWM Recovery,if not then follow the below link to do so.
This Rom is for Micromax A120 Canvas 2 Colours and is developed by MIUI India Team.
Rom Features :-
Fully MIUI Themed
Based on the Official MIUI Build
Improved Battery Life
New Gallery and Improved Camera
Google accounts and Play Store support
Graphics & performances tweaks
OTA Support
Nokia X Keyboard
Extreme Scrolling
Init.d supported
Zipaligned
New Ringtones, New Boot Animation
New and Better System UI
New Notification bar
Xiaomi Cloud and Xiaomi Store
Sleek and edge to edge design and Many More
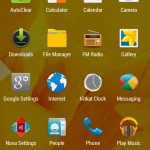
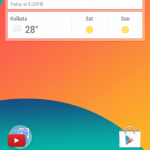
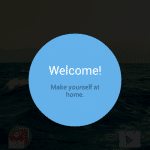
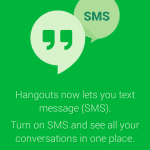
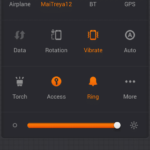
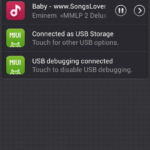
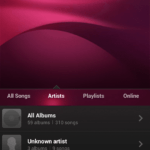
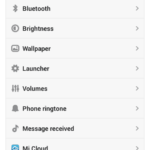
Screenshots :-
Click on any image to view its larger screenshot.
Installation Instructions :-
Step 1 :- Please make sure that you have rooted device and installed CWM Recovery.
Step 2 :-Backup your current ROM using CWM Recovery.
Step 3 :– Download the ROM zip file from download section below.
Step 4 :– Put the zip file in the root of your sdcard.
Step 5 :- Now go to Recovery Mode and do a complete wipe of cache, data, dalvik cache and system and then Select Install Zip From SDCard and Flash MIUI Zip File.
Step 6 :- That’s it, Now Wait for it to flash and then Reboot you device.
Enjoy MIUI Experience.
Step 7 :- Now Download and Flash Lenovo Super Camera and Gapps (Optional).
As you might have already heard the WordPress Platform, it is one of the most popular and most used blogging platform and is available for free, We can install WordPress on our Server with database connectivity and we can also install it on our PC with some third party software like Xampp.
But have ever thought that WordPress can be installed on a portable USB Pen Drive, yes it can be done.
I am posting this step by step tutorial so that you can install WordPress on a USB Device and can view your site from any PC. So, let’s start.
Things You Need:-
A USB Pendrive of atleast 1GB
Working Internet Connection
A Windows PC
A little bit on Mind
How to Install WordPress on a USB Pendive :
Installing XAMPP on a USB :-
Step 1 :- Firstly download XAMPP Lite Portable Version from the below link. (XAMPP is a software package containing Apache web server, PHP, MySQL, and phpMyAdmin)
Step 2 :- Once you have downloaded the XAMPP portable file, you need to double click on the file to run the installation. During the installation you will be asked to select the location where you want to install XAMPP. You need to click on the folder icon, and then select your USB drive.
Step 3 :- Click on next to continue the installation and follow the install wizard till it finishes.
Step 4 :- After the installation completes, go to your USB drive and then open the XAMPP folder.
Step 5 :- To launch XAMPP, you need to run xampp-control.exe from your USB drive. This will bring up the XAMPP Control Center on your screen.
Step 6 :- Now start Apache web server and MySQL by clicking on the start button next to them. You will be prompted by Windows Firewall, just allow both the applications.
Step 7 :- Next open a web browser and type http://localhost/ in the address bar. You will be greeted by the XAMPP splash screen. This means that you have successfully installed XAMPP on your USB drive and you can use it on any PC.
Installing WordPress :-
Step 8 :- Now download latest version of WordPress by clicking on the below link.
Step 9 :- Now open your USB drive and go to the htdocs folder in your XAMPP installation directory. Create a new folder in the htdocs. This folder will be your local WordPress site. You can name it anything that you like. For the sake of this tutorial let’s name it wordpress.
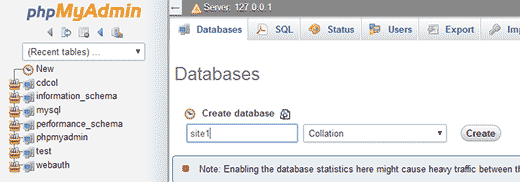
Step 10 :- Now open your web browser and enter http://localhost/phpmyadmin in the address bar. This will open phpMyAdmin which is a web based database management software. Now you need to create a database for WordPress to create Click on the Databases on the top menu bar, and then provide a name for your database before hitting the Create button.
Creating a Database with PHPMyAdmin
Step 11 :- Now Extract the downloaded WordPress zip on your desktop and open it.
Step 12 :- Now copy the contents of that extracted folder and paste them into the /htdocs/wordpress folder on your USB drive.
Step 13 :- Once you have copied WordPress files, you need to run the WordPress installation by accessing your site at http://localhost/wordpress in a web browser.
WordPress will inform you that it didn’t find the WordPress configuration file, so you need to create one by clicking on the Create a Configuration File button.
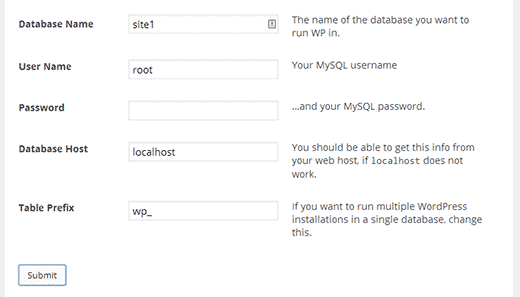
Step 14 :- On the next screen, provide the database name you created earlier. In the username field you need to enter root, and leave the password field blank. Hit the submit button to proceed.
WordPress Configuration on Localhost
Step 15 :- WordPress will now try to connect to your database. Upon success, it will show you a success message. Click on the Run Install button to proceed installing WordPress.
Step 16 :- That’s it, it will install the WordPress and in the end it will ask for general details like site name, username and password just fill them up.
Now you can run your WordPress site from any computer just by entering http://localhost/wordpress in the browser.
If you face any problem then please comment below.
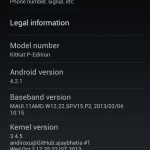
Today on 2nd July 2014, Gionee released its Official Android 4.4.2 Kitkat Update for its flagship smartphone Elife S5.5 over OTA and is available for users to install.
Android 4.4.2 Kitkat Update in Gionee Elife S5.5
Android 4.4.2 Kitkat Update ChangeLog in Gionee Elife S5.5 :-
Android 4.4.2 KitKat Update
Complete New Layout
Remove many bloatwares like the World Cricket Champion and Real Football game.
Added Du Speed Booster
Updated Amigo Paper with a brand New UI
Updated Game Zone with a New UI
Updated GioneeXender
Update all Google Apps with 4.4.2
Updated UC Browser
Updated NQ Mobile Security
Updated Kingsoft WPS
Removed Settings Shortcut from Notification Panel
Theme and Wallpaper will be reset to Default after System Update, but Data will not be Lost.
How to Update Gionee Elife S5.5 with Android 4.4.2 Kitkat :-
Step 1 :- Please Make sure that your device is charged more then 50% and you have taken a back up your data.
Step 2 :- If you are on a Custom Rom or you have a rooted device then you need to unroot it and install stock firmware for Kitkat update.
Step 3 :- Now for downloading Kitkat Update you need to Settings >> About phone >> System updates >> Check for updates, Now Download the Android 4.4.2 Update and install it.
Its and automated process you just need to download the update and then it will ask for confirmation to install it, just tap OK to install the update.
While Updating you don’t need to worry about you data because it remains safe, while some of the settings get reset, including the wallpaper, which you can reselect.
Android 4.4.2 Kitkat Update for Gionee Elife E7 is scheduled for the upcoming week, so stay tuned.
If you face any problem then please comment below.
Before proceeding further please make sure that you have rooted your device and have successfully installed CWM Recovery, if not then follow the below link to do so.
Micromax A120 is a re branded device from MyPhone Rio and both of these phones are exactly same in specs and even in design.
Today i am posting this Stock Rom of Myphone Rio device and is working flawlessly on this Micromax A120 and is also much better than stock Micromax’s ROM as it has little less RAM usage and probably less heating, personally I prefer Rio Rom over Stock Micromax Rom because Rio Rom has stock AOSP UI and no bloatwares(useless pre-installed apps).
Installation Instructions :-
How to Install MyPhone Rio Stock Rom in Micromax A120 Canvas 2 Colours :-
Step 1 :- Firstly make sure that your device is charged more then 50%, after that make a backup of your data.
Step 2 :- Download and Place Flashable Zip of Rom into root of your SD Card.
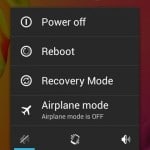
Step 3 :- Now go to Recovery by Pressing Vol+ and Vol – and Power Button simultaneously.
Step 4 :- Do a complete data wipe, cache and delvik cache clean.
Step 5 :- Go to mounts >> storage and format /system.
Step 6 :- After That go to Install Zip from SD Card and Select ROM File.
Step 6 :- Wait for it to Flash, after that reboot your device.
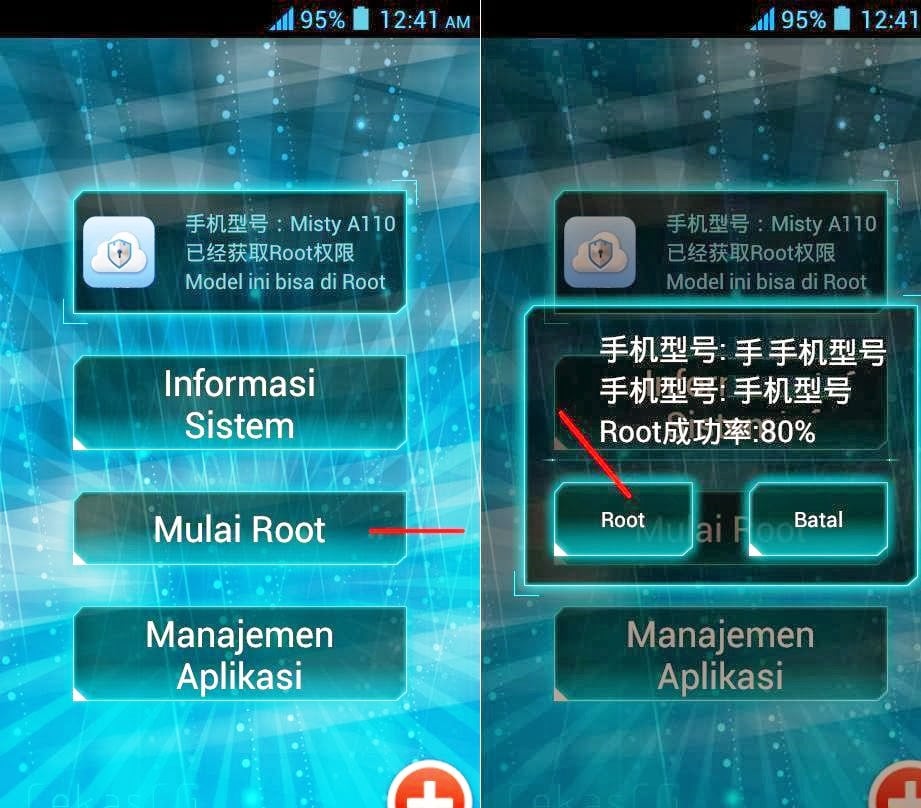
Micromax Canvas 2 A110 is one of the most successful Android Device of Micromax with over lacs of devices sold, today we are posting about the Rooting and Installing CWM Recovery Tutorial Without the use of PC.
Rooting Micromax A110 Canvas 2 {Without PC} :-
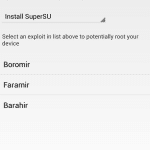
Method 1 :-
Step 1 :– Before proceeding further please make sure that your device battery is charged more then 50%.
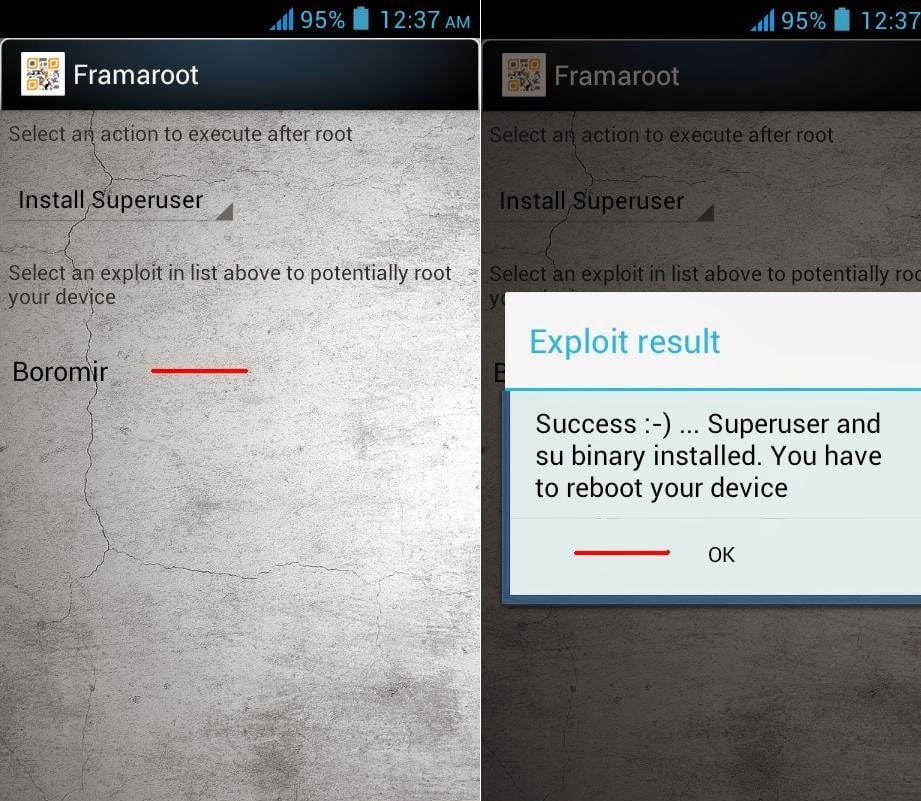
Step 2 :– Now download Framaroot 1.5.0 from the below link.
Step 5 :- From the MTL Tools App Select the Recovery Update option, now choose the recovery.img that you have just transferred to your Micromax A110 Canvas 2. click OK and wait for few seconds till the app flash CWM recovery on your A110.
CWM Recovery With MTK Tools on Micromax A110 Canvas 2
That’s it, Now you can Reboot in to your recovery mode and can flash various Custom Roms.
For a List of Various Micromax Canvas 2 A110 Custom Roms Visit Here.
If you face any problem then please comment below.
Step 2 :- Now Install CWM Recovery in your device from here.
Step 3 :- Now go to Recovery by Pressing Vol+ and Vol – and Power Button simultaneously.
Step 4 :- Do a complete data wipe, cache and delvik cache clean.
Step 5 :- After That go to Install Zip from SD Card and Select ROM File.
Step 6 :- Wait for it to Flash.
Step 7 :- After that Reboot your phone, First boot will take time.
Downloading :-
Filename: Galaxy S4 ROM for Micromax Unite 2.zip (By mistake the ROM has been named as S4, it is actually S5 based ROM and is working on My|Phone Rio Lite 2 and WIko Bloom too)
Micromax A1-6 Unite 2 is a very impressive low range smartphone which is really a great competitor to the letest Motorola Moto E. It feature powerful 1.3GHz quad-core MT6582 processor, 1GB of RAM, 5MP camera with flash, Mali-400MP2 GPU unit for faster game play, Dual SIM support and most amazingly it has got latest android 4.4.2 kitkat os.
Installing CWM Recovery in Micromax A106 :-
Step 1 :- Firstly Download the required tools for Installing CWM Recovery from the below links.
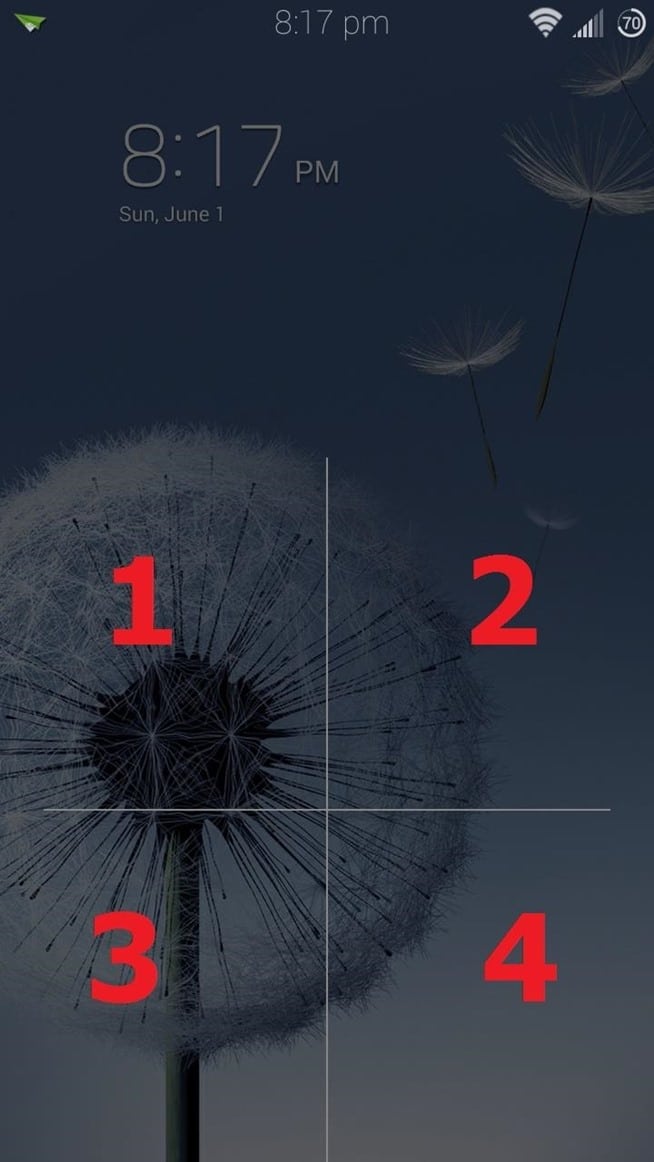
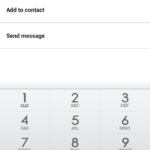
You might have recently heard about the LG’s Knock Code Lock Functionality on its various phones like G Pro 2 or upcoming G3through advertisements or maybe through your friends. LG’s Knock Code functionality is getting more popular day by day, basically Knock Code is a Lock Function introduced by LG which requires the correct pattern to unlock your device, in this you need to make a pattern by tapping on any four corners of your screen in the pattern and then when you unlock your device you need to do that same tapping again on the screen to unlock it.
Step 2 :- Now after installing Open it and Activate it on your device.
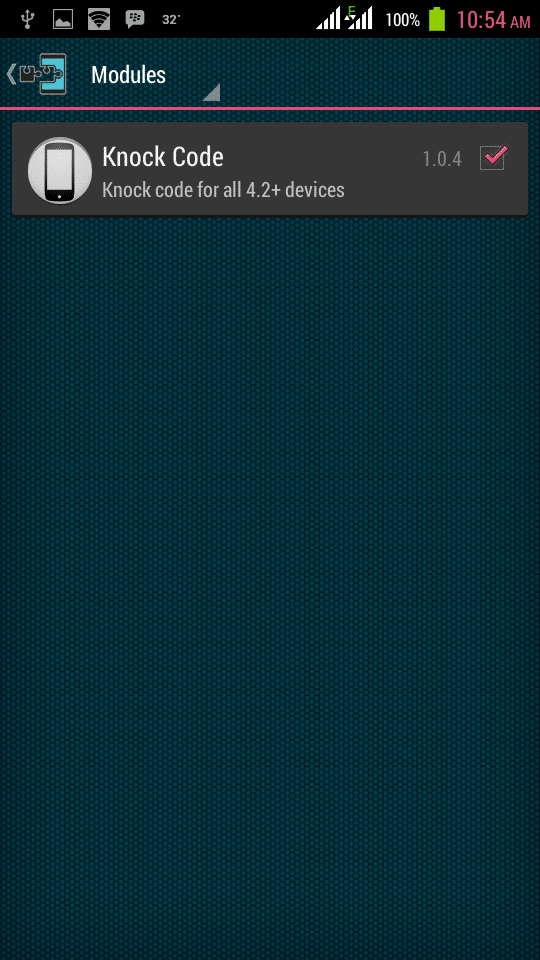
Step 3 :- Now from the Xposed Installer app, head to the Download section, search for Knock Code (while screen on), and install the latest version. You can also install the mod directly from here.
Step 4 :- Now after installing Activate the Knock Code (while screen on) by opening Xposed Framework App.
Knock Code Module in Xposed Framework
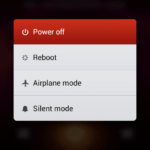
Step 5 :- Now Reboot your device.
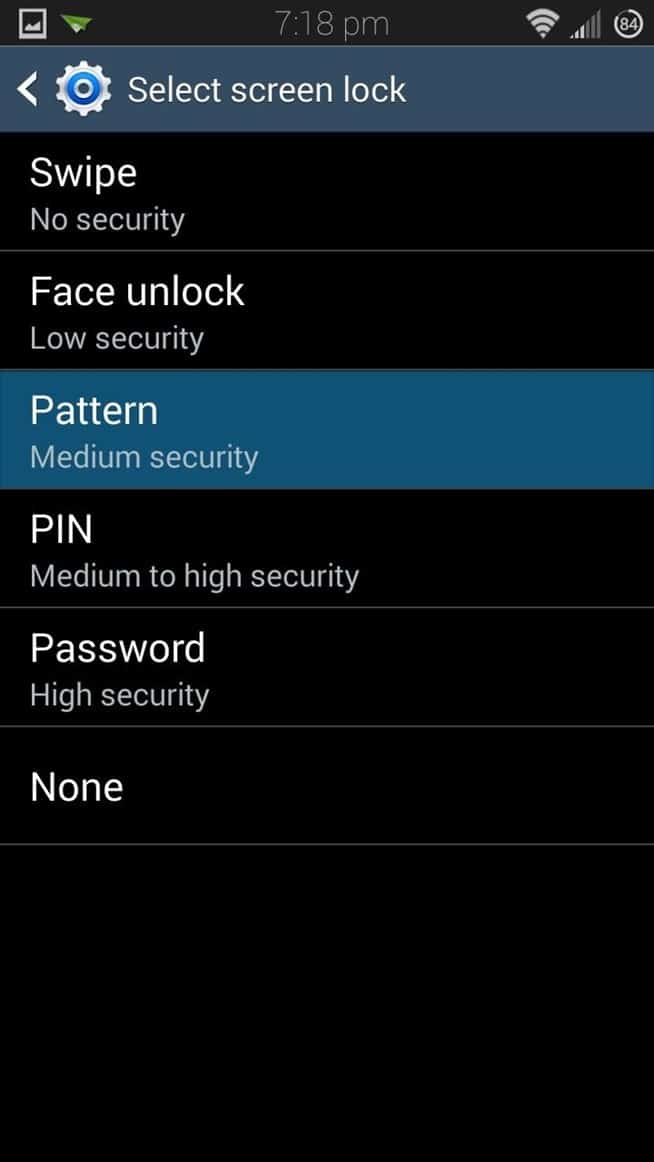
Step 6 :- After Rebooting please make sure that you have set Pattern Lock in your device if not then Go to your Device Settings >> Security >> Screen Lock >> and then add a Pattern Lock (This is for recovery, if you forgot your Knock Code Pattern).
Set Pattern Lock in your device
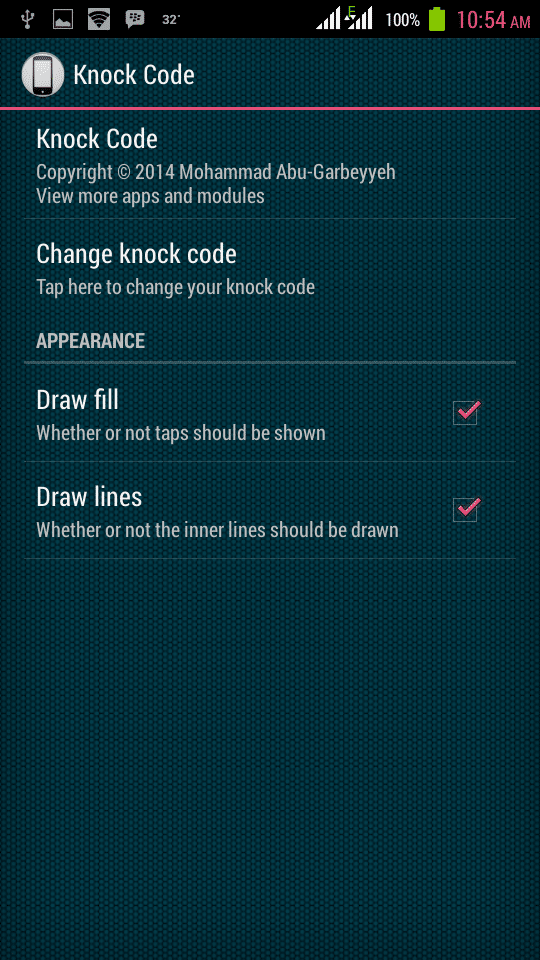
Step 7 :- After Setting the Pattern Lock open the Knock Code App from you app drawer and click on Change Lock Code option to set knock Code pattern.
Set a Knock Code Pattern
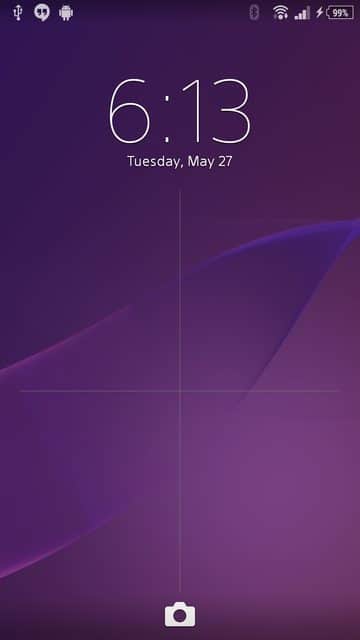
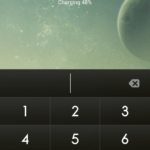
Step 8 :- Now the set the desired pattern you want to unlock your device.
That’s it, Now from next time when you unlock your device you will get four blocks on your screen, just tap the way you set them to unlock your device, isn’t this cool?
Share your feed backs and queries in the comment section below.


")