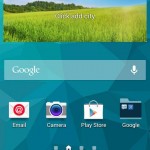
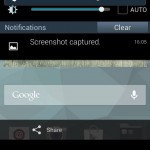
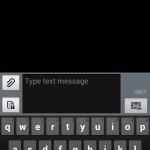
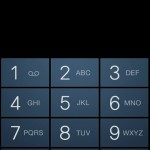
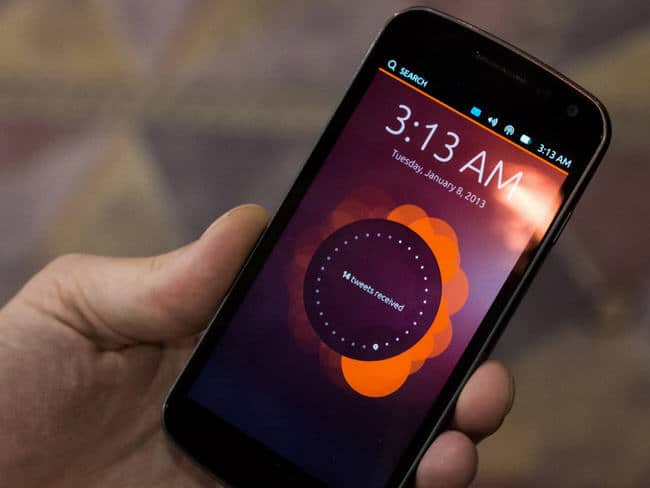
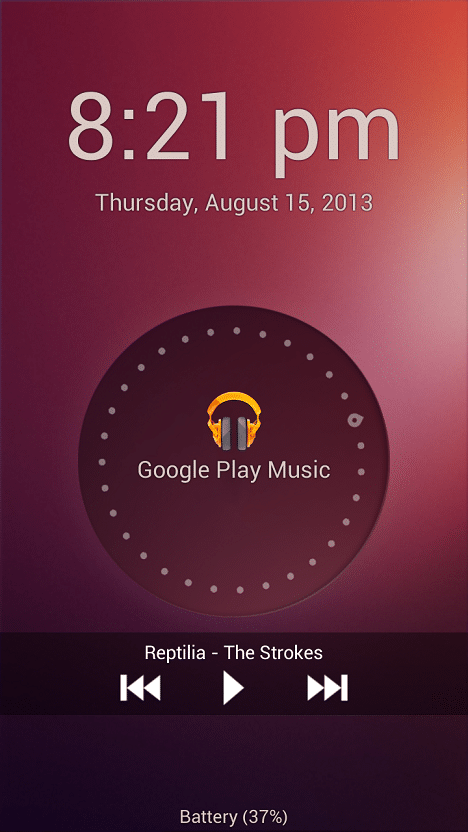
The main reason behind having an Android device is that its unlimited personalization. Today while going through play store i found an amazing app which converts your boaring Android Lock Screen into Amazing Ubuntu Phone Lock Screen.
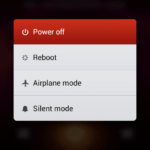
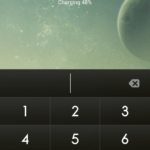
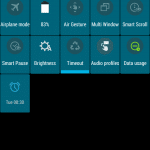
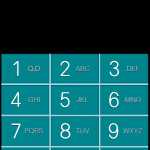
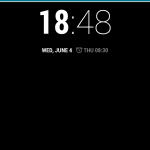
The Lock screen is pretty beautiful and well developed. So, below are few of the screenshots of Lock Screen in action :-
How to Get Ubuntu Lock Screen in your Android ?
Step 1 :- Go to Play Store from the below link and install this app in your Android Device.
Step 2 :– Now after installation Press the Home button and a pop-up will appear asking you which launcher to use, choose Ubuntu Lockscreen and then press Always.
Step 3 :- Now open the Ubuntu Lock Screen app from your app drawer and customize the lock screen as you like.
That’s it, Enjoy Ubuntu Experience and do share it with your friends.
If you face any problem then please comment below.
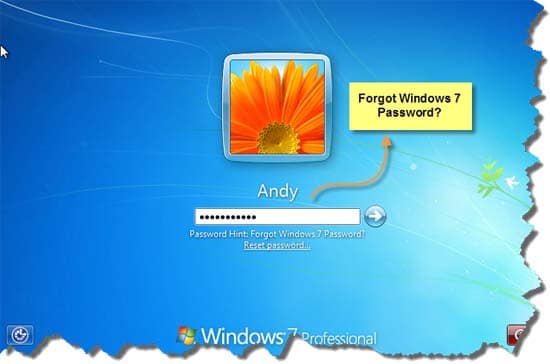
Many times we face a situation when we forget our windows login password and we are unable to access it anymore.
So to overcome this problem I am sharing this tutorial through which you will be able to remove the windows login password. Just follow the below step by step guide to get your windows back.
Note – This is for educational purpose only, don’t try it on any one’s computer without their permission.
How to Remove Windows Login password from Windows 7, 8 and 8.1?
Step 2: Now Unzip the download file (self-extracting archive) and you’ll get the pcunlocker.iso file.
Step 3: Insert a blank CD or USB flash drive into your computer.
Step 4: Now Download and install the ISO2Disc utility, launch the program.
Step 5: In the ISO2Disk Utility Click on the Browse button to locate your downloaded ISO image file, then click on the Start Burn button to burn the ISO image to your CD or USB flash drive.
Step 6: Now Insert the bootable CD or USB flash drive you just burned into your locked computer, then turn on or reboot your computer. When it is powered on, check the boot-screen for setup key (i.e. DELETE key, F8 key, F2 key, F12 or F10 key) to enter BIOS Setup Utility.
Step 7: Now from the BIOS Boot menu select and press Enter key on your bootable USB or CD.
Step 8: After booting from the CD or USB flash drive, the computer will load the WinPE operating system and then start the PCUnlocker utility.
Step 9: Now browse to your SAM registry hive in the second option, it’s under “C:\Windows\config\SAM” (see the below screenshot).
Step 10: After that, It will list all user accounts, Select an account and click the Reset Password button to remove the password.
Step 11: That’s it, now click on the Restart button and remove your bootable USB or cd and restart your computer.
If you face any problem then please comment below.
Gps.conf file modded for fast GPS lock [India only]
Zipaligned for better multitasking
Camera works perfectly 8mp at fulscreen preview
EPIC uses completely STOCK UI (AOSP)
Battery Drain overnight minimised to 1% maybe 0%
Stock ROM bootanimation
ROM is prerooted
Most Stable Bugless ROM Ever
Heavily Tweaked
Transparent Status Bar
Amazing Battery Life
Many More to discover
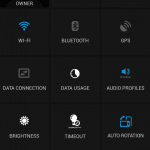
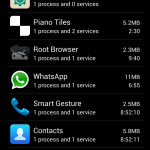
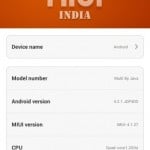
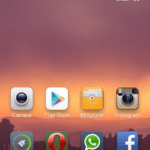
Screenshots :-
Click on any image to view its Full Screen Screenshot.
Installation Instructions :-
Step 1 :- Please make sure that you have rooted device and installed CWM Recovery.
Step 2 :-Backup your current ROM using CWM Recovery.
Step 3 :– Download the ROM zip file from download section below.
Step 4 :– Put the zip file in the root of your sdcard.
Step 5 :- Now go to Recovery Mode and do a Wipe data/factory reset, Go to advance and wipe dalvik cache and Go to mounts and storage and format /system.
Step 6 :- Now Select Install Zip from SD Card and then select downloaded zip file and flash it.
Step 6 :- That’s it, Now Wait for it to flash and then Reboot you device.
X-Flare V.3 ROM For Micromax A116 Canvas HD (Sony Xperia C Firmware 16.0.B.2.6)
Xperia ROM ForMicromax Canvas HD A116 / FLY IQ451 /MYphone 919i Duo / Wiko Cink 5 / Qmobile A600 (as all these phones have same specs)
Before proceeding further please make sure that you have a rooted device and have successfully installed CWM Recovery, if not then follow the below tutorials to do so.
Norton Antivirus by Symantec Corporation is is one of the most Popular and Trusted AntiVirus software for bot PC and Mobile Devices.
Earlier i posted about the GiveAways of various popular Antivirus softwares like McAfee and Bitdefender but now this time its Norton.
When you purchase Norton Antivirus 2014 you will get it for approx Rs. 550 for one PC and we are giving you this for absolutely free, isn’t this a deal to grab?
To know know more about how to grab this amazing offer follow the guide below.
Features of Norton Mobile Security :-
Norton Antivirus 2014 keeps your computer safe by updating the virus definitions every 5-15 minutes. This ensures that your system is safe from all the latest viruses as soon as they are discovered.
It scans only the files that are new or suspicious. It has an excellent mechanism that leaves the files that were found safe earlier and are unchanged.
Saves battery of your portable device when it’s not plugged in. This is done by disabling activities that are not required by your system when it is running on battery power.
It prevents you from phishing attacks that are performed using Facebook. It scans your Facebook news feeds and your Facebook wall for links that are suspicious and can cause harm to your computer or steal your passwords.
Identity Safe is a feature in Norton Antivirus that can store your usernames and passwords and enters them on the login page of the websites. Your passwords are secure which makes sure that they are safe from attackers and cannot be stolen.
How to get 6 Months of Subscription of Norton 2014?
There is no License file or key for this trial, you need to download their pre-activated copy of Antivirus.
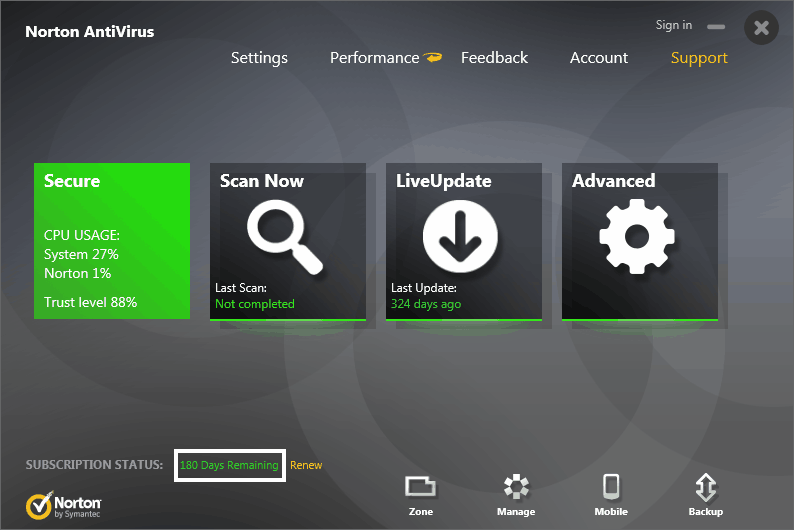
You can download Norton Antivirus 2014 both as an online or offline installer. The application you will get will already be activated with a 180 days trial. The program will ask you for your email address to add the product to your Norton account and to activate the subscription. If you already have a Norton account then you can login using that too.
Custom ROM Rainbow for Micromax A120 Canvas 2 Colours.
Before proceeding further please make sure that you have rooted your device and have successfully installed CWM Recovery, if not then follow the below link to do so.
Click on any image to view its Full Screen Screenshot.
Installation Instructions :-
Step 1 :- Please make sure that you have rooted device and installed CWM Recovery.
Step 2 :-Backup your current ROM using CWM Recovery.
Step 3 :– Download the ROM zip file from download section below.
Step 4 :– Put the zip file in the root of your sdcard.
Step 5 :- Now go to Recovery Mode and do a Wipe data/factory reset, Go to advance and wipe dalvik cache and Go to mounts and storage and format /system.
Step 6 :- Now Select Install Zip from SD Card and then select downloaded .zip file and flash it, wait for it to flash and then Reboot.
Step 6 :- That’s it, Enjoy Rainbow ROM in your canvas 2 colours.
Unofficial CM 11 Port for Micromax A116 Canvas HD (Android 4.4.2 Kitkat ROM)
CM11 ROM ForMicromax Canvas HD A116 / FLY IQ451 /MYphone 919i Duo / Wiko Cink 5 / Qmobile A600 (as all these phones have same specs)
Before Proceeding further please make sure that you have a rooted device and have successfully installed CWM Recover, if not then follow the below tutorials to do so.
MIUI V.5 ROM ForMicromax Canvas HD A116 / FLY IQ451 /MYphone 919i Duo / Wiko Cink 5 / Qmobile A600 (as all these phones have same specs)
Before Proceeding further please make sure that you have a rooted device and have successfully installed CWM Recover, if not then follow the below tutorials to do so.
This is far best and Most Stable Rom for Micromax Canvas HD A116 / FLY IQ451 /MYphone 919i Duo / Wiko Cink 5 / Qmobile A600 (as all these phones have same specs)
Before Proceeding further please make sure that you have a rooted device and have successfully installed CWM Recover, if not then follow the below tutorials to do so.