Reolink is one of the few camera brands that still ships a proper desktop application, and it’s genuinely good. While Eufy and Ring make you jump through browser hoops, Reolink’s Windows and Mac clients let you view live feeds, play back recordings, adjust detection zones, and update firmware without ever touching a phone. I run three Reolink cameras on a dedicated viewing PC in my office, and this guide covers the exact setup that works — including the RTSP trick for pulling streams into VLC or Frigate.
Everything below reflects Reolink Client v8.21.4, released June 2026. If your version looks different, update from Reolink’s download center first — older clients (v7.x) have a completely different interface.
What You Can Do With Reolink on PC
- Live view up to 36 cameras in a grid
- Play back recordings stored on the camera’s SD card or an NVR
- Configure motion detection zones, sensitivity, and schedules
- Pull raw RTSP streams into third-party software (VLC, Frigate, Home Assistant)
If you’re coming from our Xiaomi Mi camera guide or the Tapo on PC walkthrough, Reolink is a step up — those rely on unofficial workarounds or browser emulation, while Reolink gives you first-party software.
Step 1 — Download Reolink Client
Head to Reolink’s official software page (reolink.com → Support → App & Client) and grab:
- Windows 8.1 or later — v8.21.4, roughly 120 MB installer
- macOS 10.13 or later — same version number, separate download
Avoid third-party “download hub” sites — Reolink’s own page always has the current build, and the client auto-updates itself afterward anyway.
Step 2 — Connect Your Camera to the Network First
The PC client discovers cameras on your local network, but only if the camera already has an IP address. If you’ve been using the mobile app, your camera is already on Wi-Fi and you can skip ahead. If it’s fresh out of the box:
- Connect the camera to your router via Ethernet (PoE models) or set up Wi-Fi using the Reolink phone app once
- Note the camera’s IP address from the phone app: Device Settings → Network Information
- Make sure your PC is on the same network segment (same router)
Step 3 — Add the Camera in Reolink Client
- Launch Reolink Client and click the + icon (top right area)
- Choose Add Device → LAN search. The client scans your network and lists every Reolink camera it finds
- Select your camera. Default credentials are admin with a blank password — the client forces you to set one during first login. Use something strong; this password also protects your RTSP streams
- Click OK. The live feed appears within a couple of seconds
Remote access note: if you want to view cameras away from home, add the device by UID instead of LAN scan — each Reolink camera has a UID printed on its sticker. Same client handles both; just pick “UID” as the connection type and log in with your Reolink account.
Step 4 — Multi-Camera Grid View
To watch several cameras at once, drag feeds from the device list into the main window grid. Right-click any tile to switch between live view and playback, or hit the layout button (grid icon) to choose 4-up, 9-up, or 16-up arrangements. On my three-camera setup I use the 4-up layout and leave the fourth tile for a rotating full-screen view of whichever camera had the last motion event.
Step 5 — Pull the RTSP Stream Into VLC (or Anything Else)
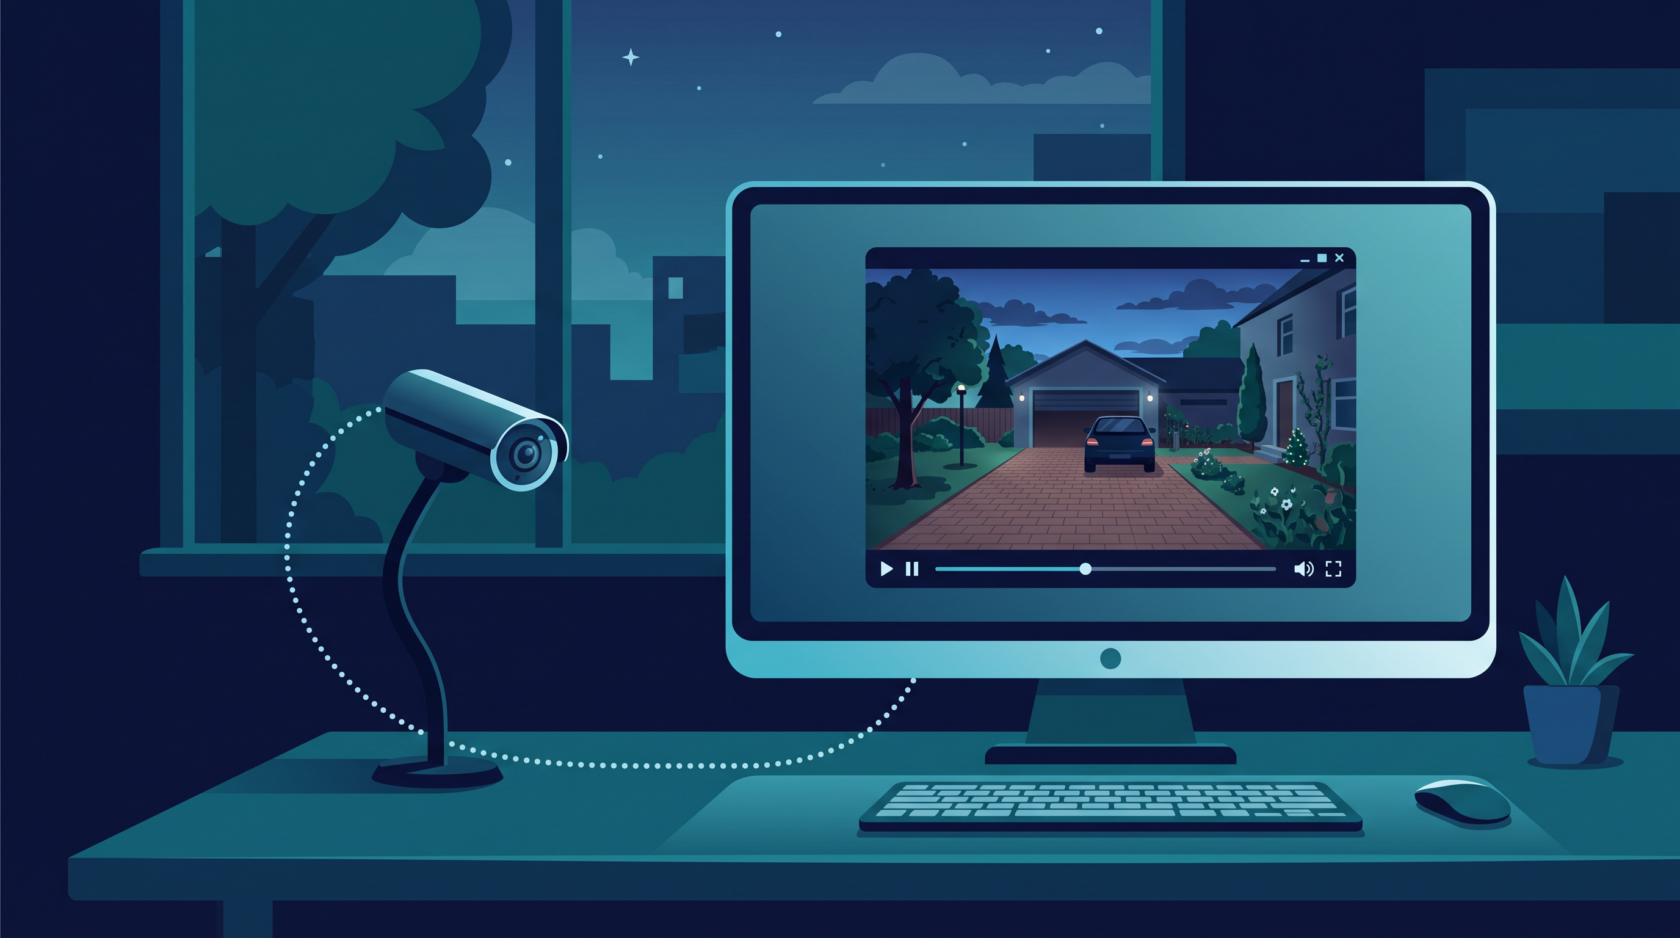
This is where Reolink shines compared to locked-down brands. Every Reolink camera exposes standard RTSP streams on port 554:
Main stream (high quality):
rtsp://username:password@camera-ip:554/h264Preview_01_main

Sub stream (low bandwidth):
rtsp://username:password@camera-ip:554/h264Preview_01_sub
Open VLC → Media → Open Network Stream → paste the URL. Video starts instantly. This same URL format is exactly what you’d feed into Frigate NVR or Home Assistant if you’re building a self-hosted recording setup — Reolink cameras are among the easiest brands to integrate because they don’t fight you on it.
For dual-lens models (Duo, TrackMix), append /main or /sub differently per lens channel — check Reolink’s RTSP support article for your exact model, since the channel numbering varies.
Playback and Storage Notes
If your camera has an SD card inserted, the client plays back directly from it: select the camera, click the calendar/playback tab, scrub to any time. For continuous 24/7 recording, though, SD cards wear out fast — pair the system with an NVR or move streams into Frigate on a mini PC. We covered hardware choices for that in the Frigate guide linked above.
Troubleshooting Common Issues
Camera not found in LAN search: nine times out of ten it’s a subnet mismatch — PC on 192.168.1.x, camera on 192.168.0.x because it connected to a mesh node’s isolated guest band. Check both IPs match the same range.
Login failed after firmware update: some updates reset passwords. Use the “forgot password” flow in the client with your device UID.
RTSP stream shows black video but connects: your password contains special characters (@ : /) that break URL parsing. Create a second user with an alphanumeric-only password specifically for RTSP use.
Laggy playback over Wi-Fi: switch the tile to sub stream instead of main. Main stream at 4K needs serious bandwidth; sub streams exist precisely for multi-camera grids.
Final Thoughts
Among consumer camera brands, Reolink offers the most complete desktop experience — native app, standard RTSP, no subscription walls. If you’re choosing a brand specifically because you want PC-based monitoring, it’s the safest bet right now. And if you outgrow the official client, the same cameras slot straight into Frigate or Blue Iris without adapters or hacks.
Questions about a specific Reolink model? Drop them in the comments — I answer everything.