KernelSU has quietly become my preferred way to root Android devices in 2026. It’s not that Magisk is broken — it works fine — but KernelSU runs at a lower level, inside the kernel itself, which means fewer detection vectors for banking apps and stricter integrity checks. If your device has an unlocked bootloader and ships with a GKI 2.0 kernel (5.10 or newer), this method works without touching Magisk at all.
The latest stable KernelSU release (as of June 2026) supports kernels up to 6.12, covers every GKI 2.0 Android device on the market, and installs through either a prebuilt kernel image you flash via fastboot, or by patching your existing boot image with the KernelSU manager app. I’ll cover both approaches below.
What Makes KernelSU Different
Magisk modifies the boot ramdisk to inject its own init scripts. That works well but leaves traces in userspace that sophisticated root-detection libraries can spot. KernelSU takes a different approach — it patches the actual Linux kernel running underneath Android. Root privileges get granted from inside the kernel, before Android even boots up.
Practical benefits:
- Fewer apps detect it because there are no Magisk-specific files in the ramdisk to find.
- Module system is compatible with most Magisk modules — they work as-is through the KernelSU module loader.
- No need for Zygisk or DenyList configuration for basic hiding; it just doesn’t show up the same way.
- Supports profile-based per-app root permissions with fine-grained control.
Trade-offs worth knowing: KernelSU only works on GKI 2.0 devices out of the box (kernel 5.10+). Older phones need custom-built kernels, which is beyond most casual users. And if your specific device model has a weird kernel variant, you might need to hunt for community builds on XDA.
What You’ll Need Before Starting
- An unlocked bootloader. Unlocking wipes your data — back up everything first. See our bootloader unlock guide if you haven’t done this yet.
- A GKI 2.0 device — basically any phone launched 2022+ with kernel 5.10 or newer. Check with
adb shell uname -r. - Your stock boot.img extracted from firmware.
- KernelSU Manager APK from github.com/tiann/KernelSU/releases.
- Platform-tools (adb + fastboot) installed on your PC.
Method A — Patch Your Boot Image (Easiest)
This approach doesn’t require downloading any custom kernels. You patch your own boot image using the KernelSU manager app, similar to how Magisk patches init_boot.
Step 1 — Get Your Stock boot.img
Download the factory image for your exact build number and extract boot.img from the inner archive. On Pixels this lives inside image-*.zip. For Xiaomi, check the images/ folder of the fastboot ROM.
Note: unlike Magisk on modern Android, KernelSU still uses boot.img, not init_boot.img. Make sure you’re grabbing the right file.
Step 2 — Install the Manager and Patch
Sideload the KernelSU Manager APK onto your phone:
adb install KernelSU_v1.x.x.apk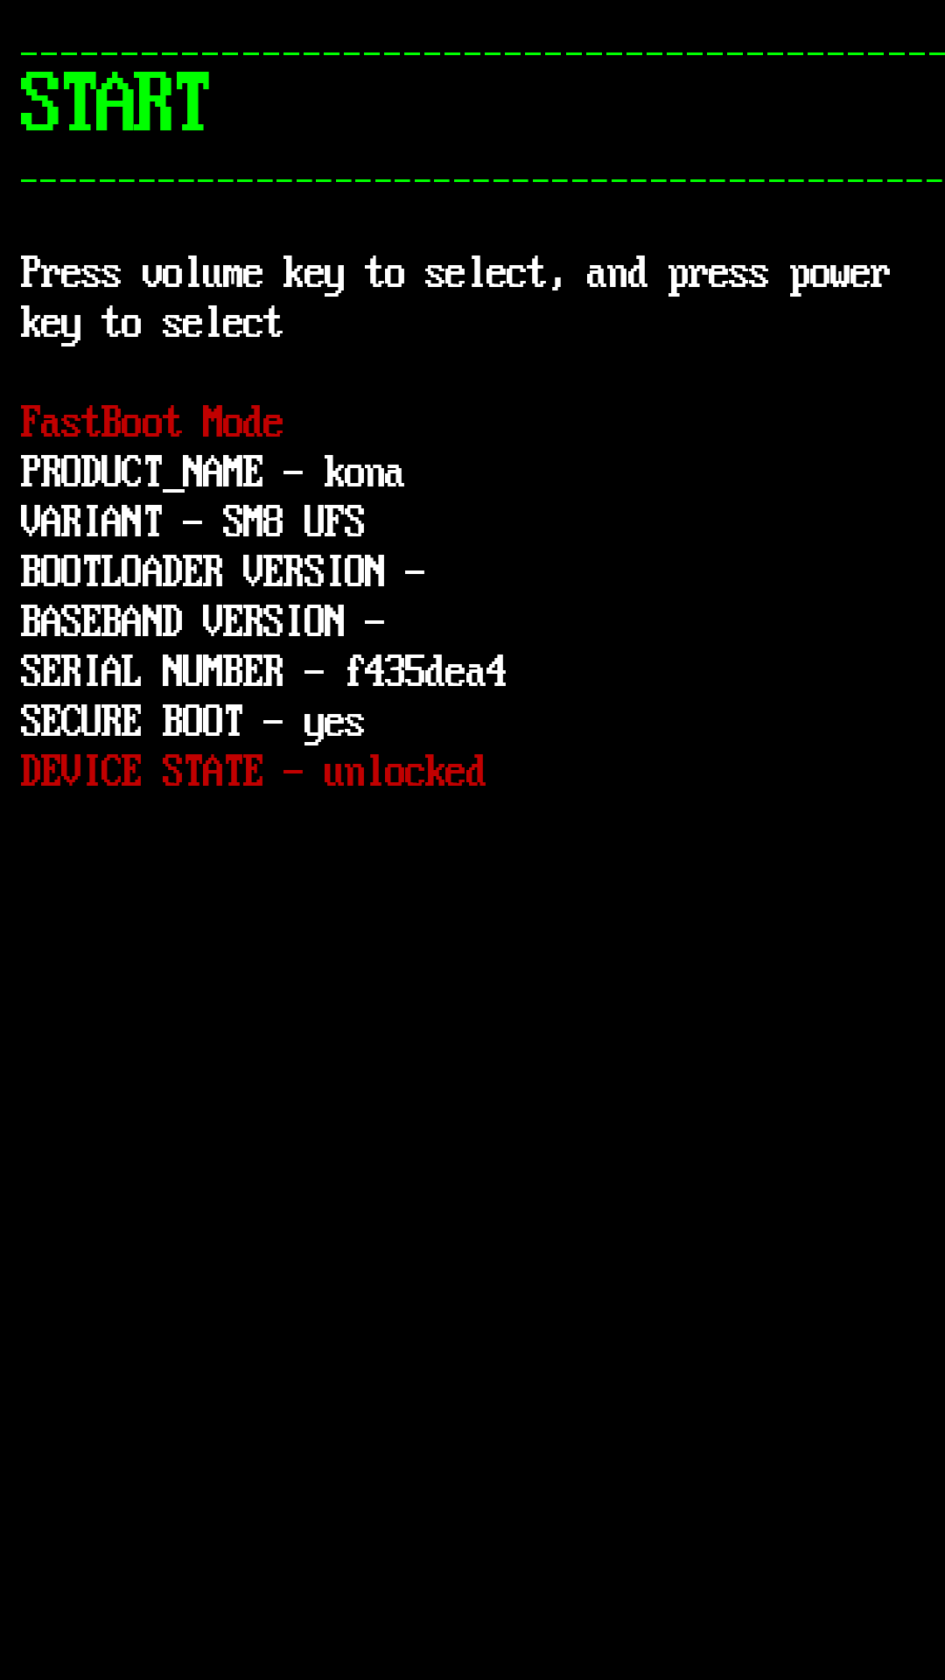
Open the app. It’ll say “Not Installed” since we haven’t flashed anything yet. Tap the install button and select “Select a file to patch.” Choose your boot.img. The app generates a patched version in Downloads.
Step 3 — Flash the Patched Boot
Pull the patched file to your computer:
adb pull /sdcard/Download/kernelsu_patched_xxxxx.img .Reboot into bootloader mode and flash:
adb reboot bootloader
fastboot flash boot kernelsu_patched_xxxxx.img
fastboot reboot
First boot takes longer than normal. Let it finish optimizing.
Step 4 — Verify Root
Open KernelSU Manager. It should now show “Working” instead of “Not Installed.” Try installing a root-requiring app like AdAway — you should see the KernelSU permission prompt appear.
Method B — Flash a Prebuilt KernelSU Kernel
For popular devices (Pixels especially), community members publish prebuilt KernelSU-enabled kernels on XDA. This replaces Method A entirely — you flash someone else’s kernel that already has KernelSU baked in.
Pros of this route: cleaner, often better performance tuning, sometimes includes extra features like KPM (KernelSU Patch Module) support. Cons: you depend on whoever built the kernel to keep updating it, and flashing a wrong-kernel-version file can brick your device.
If you go this route, search XDA Forums for “[KERNEL] [KernelSU]” plus your exact device model. Read the entire first post before flashing anything.
Managing Root Access With KernelSU
Once rooted, open KernelSU Manager and tap the shield icon to see pending superuser requests. Each app gets its own toggle, so you can grant root to AdAway while denying it to random games that try to snoop.
Modules work through the same interface. Download a .zip module, open KernelSU → Modules → Install from storage, pick the zip. Most Magisk-compatible modules load fine — LSposed, Uperf, various font replacements all work as expected.
Troubleshooting Common Issues
“Unsupported” shown in Manager: your kernel isn’t GKI 2.0. Check uname -r — if it’s below 5.10, you need Method B (custom kernel) instead.
Bootloop after flashing patched boot.img: hold power + volume down to force restart. Boot back into fastboot and re-flash the original unpatched boot.img to undo.
Banking apps detect root anyway: some use hardware attestation now. Software-level hiding won’t beat hardware checks. Accept it or don’t root.
OTA updates fail: same as Magisk — restore stock boot.img, take the OTA, then re-patch against the new build.
Is KernelSU Right for You?
If you want the cleanest possible root setup on a modern Android device, yes. It’s less intrusive than Magisk, harder to detect, and the module ecosystem has matured enough that you’re not missing functionality. If you’re on an older device (kernel under 5.10), stick with Magisk — KernelSU support requires custom kernel builds that aren’t beginner-friendly.
Not sure which one fits your situation? I’ve put together a full comparison covering KernelSU vs Magisk vs APatch that breaks down the differences in detail.