Rooting Android 15 is different from rooting Android 12 or 13. Google changed how the boot partition works starting with Android 13, and if you’re still following a guide from two years ago that tells you to patch boot.img, you’ll end up with a bootloop on half the devices out there. The correct file to patch nowadays is init_boot.img — at least on Pixel and most GKI 2.0 devices. Samsung users have their own path entirely.
This guide covers the current working method using Magisk v30.7 (the latest stable release) on any Android 15 device with an unlockable bootloader. If you’d rather use KernelSU instead of Magisk, I’ve written a separate KernelSU rooting guide that walks through that process step by step.
Before You Start — Read This First
Rooting wipes your phone. Not might wipe — will wipe. Unlocking the bootloader triggers a factory reset on virtually every device, so back up everything before touching fastboot: photos, WhatsApp backups, authenticator app seeds, saved game data, the lot. I’ve had readers email me about losing two-factor codes they never exported, and there’s nothing anyone can do to recover those.
- Charge your phone above 60%. Fastboot flashing with a dead battery mid-write can brick the device.
- A Windows, macOS, or Linux PC with platform-tools installed (adb + fastboot).
- A quality USB cable. Half of all “fastboot not detecting device” complaints come down to a charge-only cable.
- Your device’s stock firmware image — you’ll extract
init_boot.imgfrom it. - Magisk APK v30.7 from the official GitHub releases page.
Also worth knowing: unlocking the bootloader voids your warranty on most brands, trips Knox on Samsung permanently (which kills Samsung Pay and Secure Folder), and may affect banking app compatibility until you hide root properly.
Step 1 — Enable Developer Options and USB Debugging
Open Settings → About phone and tap Build number seven times. You’ll see a “You’re now a developer” toast. Head back to Settings → System → Developer options and toggle on:
- OEM unlocking
- USB debugging
The OEM unlocking toggle is what actually permits bootloader unlocking. If it’s greyed out, your device is carrier-locked or the manufacturer has blocked it — no third-party tool can work around that.
Step 2 — Boot Into Fastboot Mode
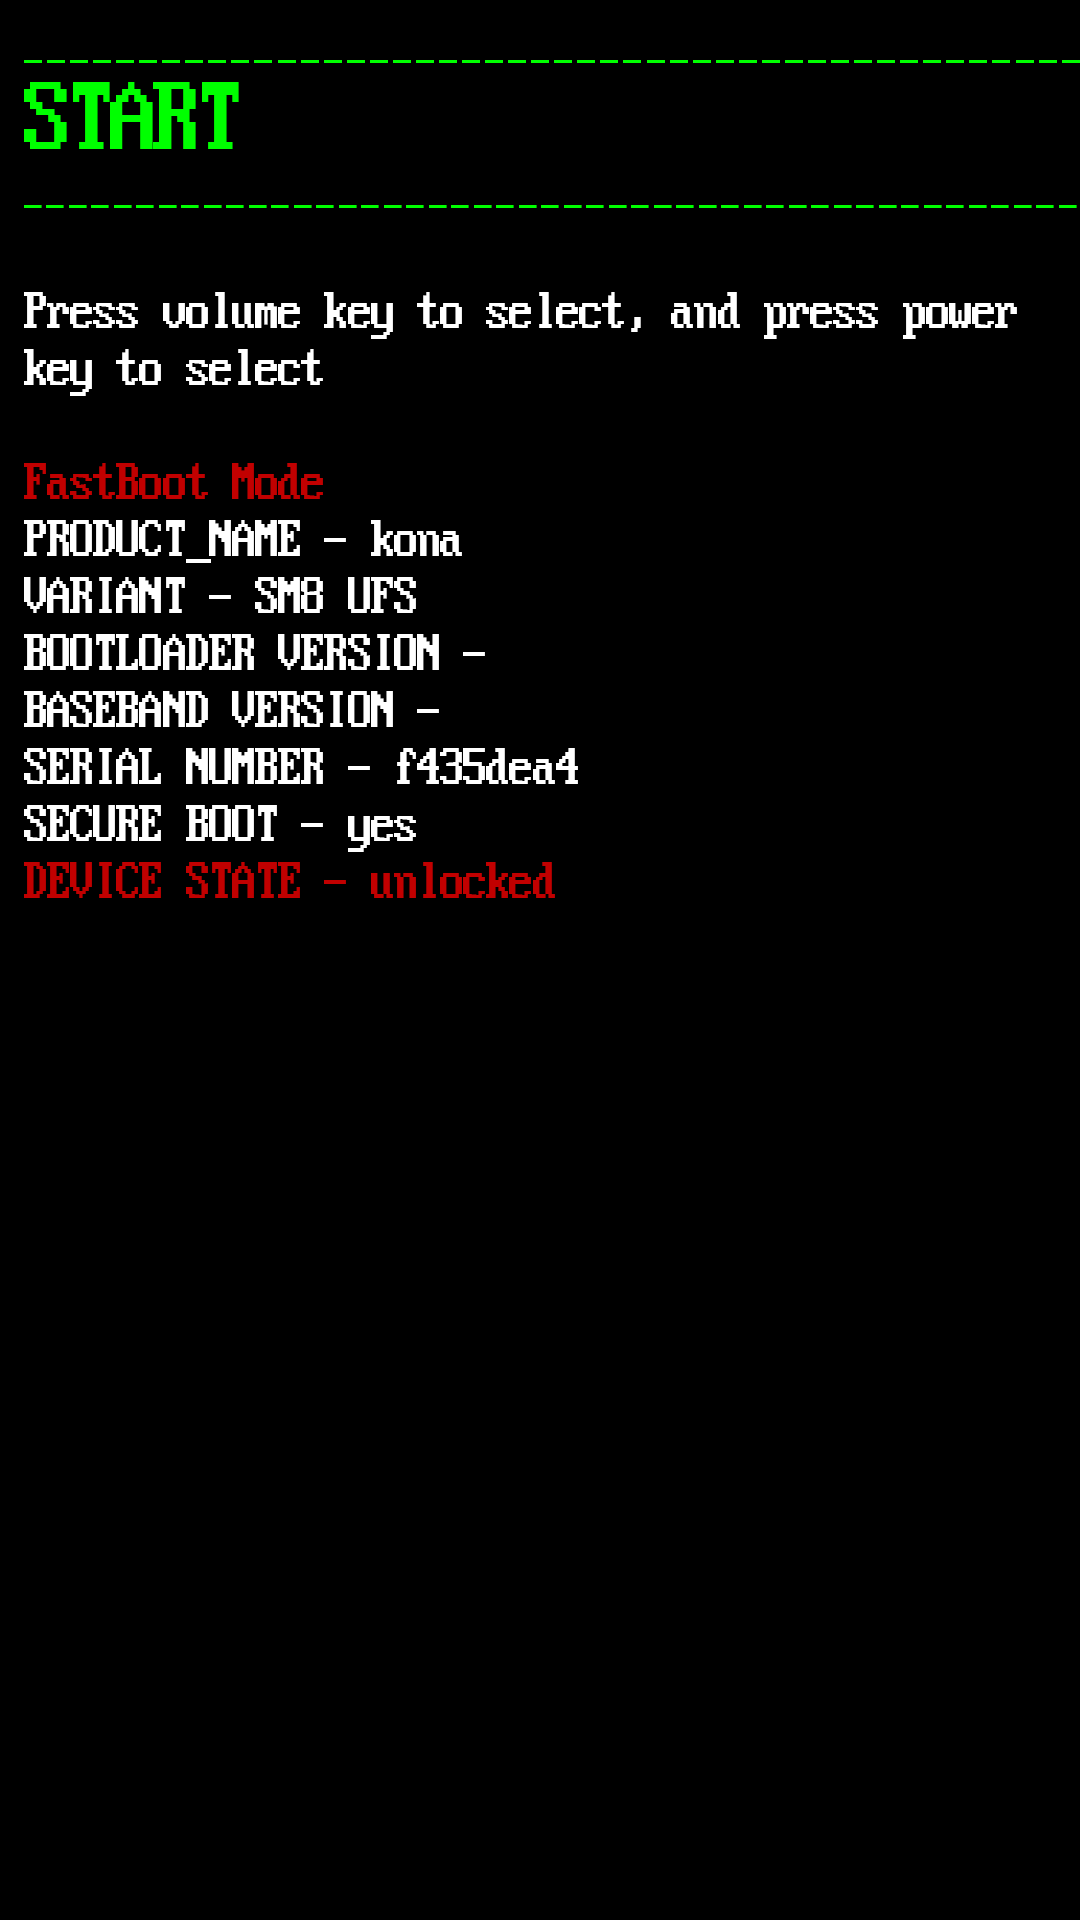
Connect your phone to the PC via USB, open a terminal or command prompt in your platform-tools folder, and run:
adb reboot bootloaderYour phone should restart into a screen that says “Fastboot Mode” (Pixel), “Download Mode” (Samsung — but Samsung uses Odin, not fastboot, so this guide doesn’t apply), or something similar depending on brand. Verify the connection with:
fastboot devicesYou should see a serial number followed by “fastboot”. If it shows “unauthorized” or nothing at all, re-install the USB drivers (Windows) or try a USB 2.0 port instead of 3.0.
Step 3 — Unlock the Bootloader
Run this command:
fastboot flashing unlockOn some devices it’s fastboot oem unlock instead. Your phone will show a confirmation screen asking if you really want to unlock. Use the volume keys to highlight “Unlock the bootloader” and press power to confirm.
The device wipes itself and reboots into setup. Go through initial setup again (skip Google account sign-in for speed), re-enable Developer Options and USB debugging, and reconnect.
Step 4 — Extract init_boot.img From Firmware
This is where Android 15 differs from older versions. Since Android 13, Google moved root access out of boot.img and into a separate partition called init_boot. On Pixels, you grab this from the factory image ZIP downloaded from the Google Developers site. Inside the main archive you’ll find another ZIP named like image-husky-xxxx.zip — inside that lives init_boot.img.
For other brands, look for your firmware on the manufacturer’s site or a community mirror like XDA. Copy init_boot.img to your phone’s internal storage.
Step 5 — Patch init_boot With Magisk
Install the Magisk APK on your phone (allow “install unknown apps” when prompted). Open Magisk, tap Install next to Magisk in the home card, choose Select and Patch a File, and browse to your copied init_boot.img.
Magisk writes a patched version to your Downloads folder — usually named magisk_patched-30700_XXXXX.img. Pull it back onto your PC:
adb pull /sdcard/Download/magisk_patched-30700_XXXXX.img .Step 6 — Flash the Patched Image
Reboot back into bootloader mode:
adb reboot bootloaderThen flash the patched init_boot:
fastboot flash init_boot magisk_patched-30700_XXXXX.imgOnce it finishes, reboot:
fastboot rebootThe first boot after flashing takes noticeably longer than usual — anywhere from 90 seconds to five minutes depending on the device. That’s normal; Android is optimizing apps against the modified partition.
Step 7 — Verify Root Access
Open Magisk. It should show “Installed: 30.7” under the Magisk card without prompting to reinstall. Download a root checker app from Play Store (or just try installing a module that needs root) and grant permission through the Magisk superuser prompt.
If everything works, congratulations — you have a rooted Android 15 device. If it bootloops, hold power + volume down for 10–15 seconds to force restart. If it still bootloops, boot into fastboot and flash the original unpatched init_boot.img to undo the change:
fastboot flash init_boot init_boot.imgHiding Root From Banking Apps and Games
Out of the box, Magisk DenyList handles most detection. Open Magisk → Settings → enable Zygisk, then configure DenyList and add your banking apps. For stricter checks (Google Wallet, Netflix HD, some games), install the Play Integrity Fix module via Magisk — it spoofs device fingerprints well enough to pass basic integrity checks as of early 2026.
Common Problems on Android 15
“Your device is corrupt” warning at boot: cosmetic on Pixels, harmless. It appears because the verified boot state changed. Tap power to continue.
OTA updates fail after rooting: expected. To take an OTA, restore the stock init_boot.img first, let the OTA install, re-extract the new firmware’s init_boot.img, patch, and flash again.
Samsung devices: this method won’t apply. Samsung splits things differently and uses Download Mode + Odin (or Heimdall on Linux). Search XDA for your specific model — the process involves patched AP files rather than init_boot.
Is Rooting Android 15 Worth It?
Honest answer: it depends on what you need. If you want ad-blocking system-wide (AdAway), custom fonts, advanced automation with Tasker, better backup control with Swift Backup, or modules like LSposed, yes. If you just wanted to remove a preinstalled app or two, ADB debloating achieves that without tripping SafetyNet or losing warranty.
Got questions or ran into an issue on a specific device? Drop a comment below — I read every one and can point you toward the right fix.