Xiaomi has recently launched its official app for managing security cameras. Let us look into how to connect NAS storage in Xiaomi Mi Security Cameras. This method should work with all Xiaomi Home Security Cameras, and the app might also work with security cameras from other companies. We are using a Windows system for this guide, so all the steps mentioned here are with respect to the windows os.
Recommended:
- How to Install Mi Smart Security Camera App on PC
- How to Live View Mi Security Camera on Your Computer
How to Connect NAS Storage in Xiaomi Mi Security Camera

Pre-requisites:
Both the system and the cameras must be connected to the same WiFi network. Otherwise, the feature won’t work. Ideally, you should set this up with a low-power system which runs 24/7 so that the camera can save the footage. If your router supports a USB port, you can connect a portable hard disk or USB to share it on the Network. It’s not necessary to use a system that runs 24/7. The camera will save the files in the folder when the system is up and running again and connected to the network.
Mi Home App. Download and install it on your device.


Step 1: Create a Folder
Open file explorer and navigate to the directory on your computer where you would like to save your files and create a folder. Rename the folder to something relevant like “MiSecurityFootages” or “SecurityCameraFootages”. This folder will be used to save all the clips from the camera.
Step 2: Assign Permissions
The next step is to assign permissions to the folder for it to be able to access and save the footage.
- Right Click on the folder -> Properties.
- Then, click on Sharing -> Advanced Sharing -> Share this folder
- Click on Permissions, and under Permissions for Everyone, click on Full Control
- Click on Apply and then OK.
Assigning permissions is essential because it enables the folder to be shared through the network. If permissions are not assigned, the app won’t be able to detect the folder and you won’t be able to save the files on your hard drive.
Step 3: Turn on CISF File Sharing Support
Search for “Turn Windows features on or off” on your computer and turn on “SMB 1.0/CISF File Sharing Support“.
Without this, the cameras won’t be able to save the footage on the hard drive. Save the settings and restart your computer.
Step 4: Configure the Storage on Mi Home App
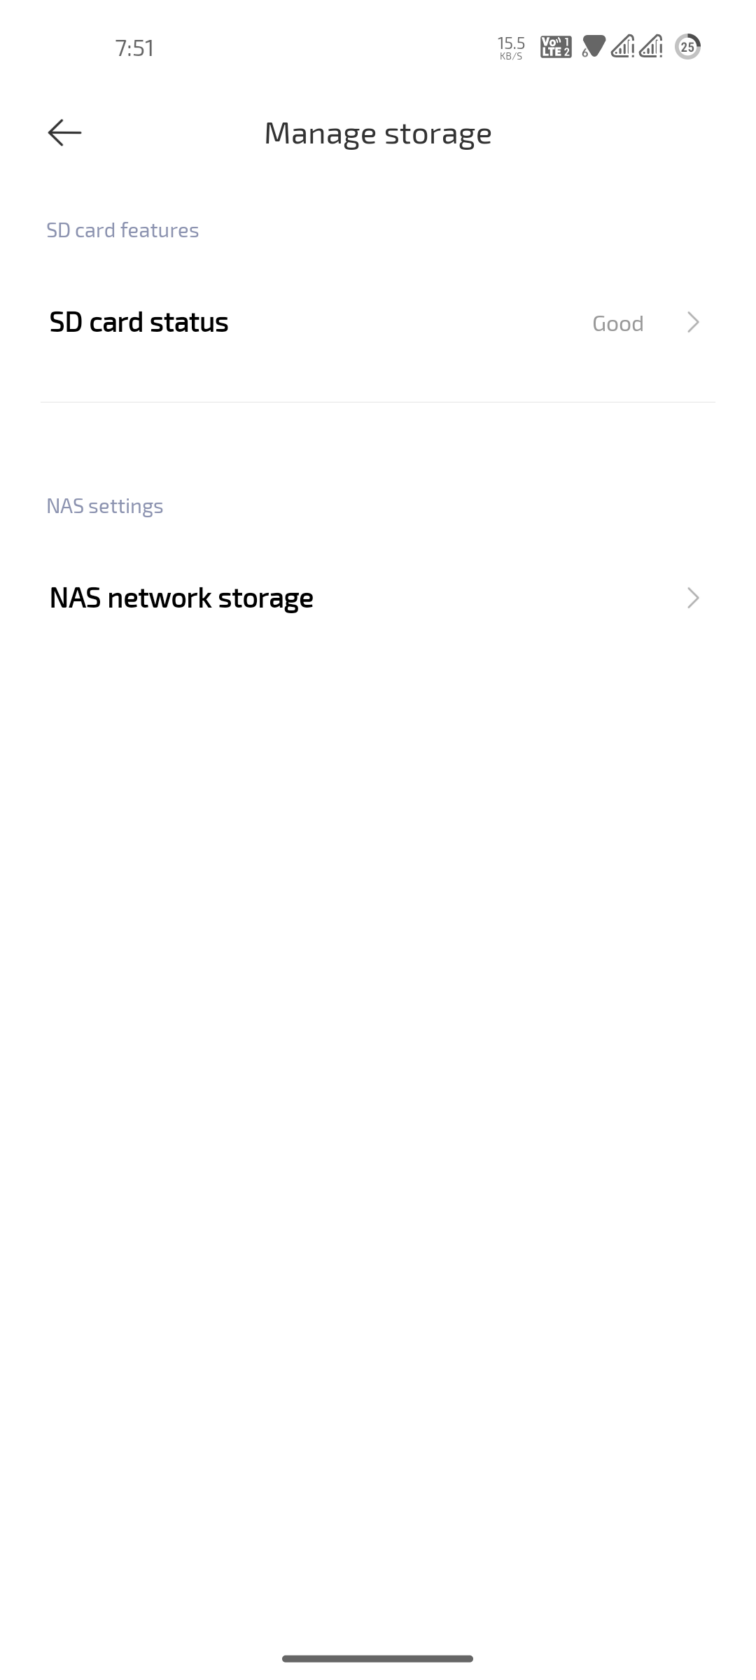
On your smartphone, open the Mi Home App and open the settings menu -> manage storage.
Click on NAS Network Storage, and you should be able to see the shared storage.
After completing every step you will successfully how to connect NAS storage in Xiaomi Mi Security Camera.
If you can’t see the storage, try the following steps.
- In the settings, go to Network Status -> Sharing Options.
- Click on Private and turn on network discovery for all the network profiles.
- Click on Guest or Public and turn on file and printer sharing.
- Next, click on All Networks and turn on Password Protected Sharing.
Now, back to the app. Navigate back to settings and NAS Network Storage and click on the storage.
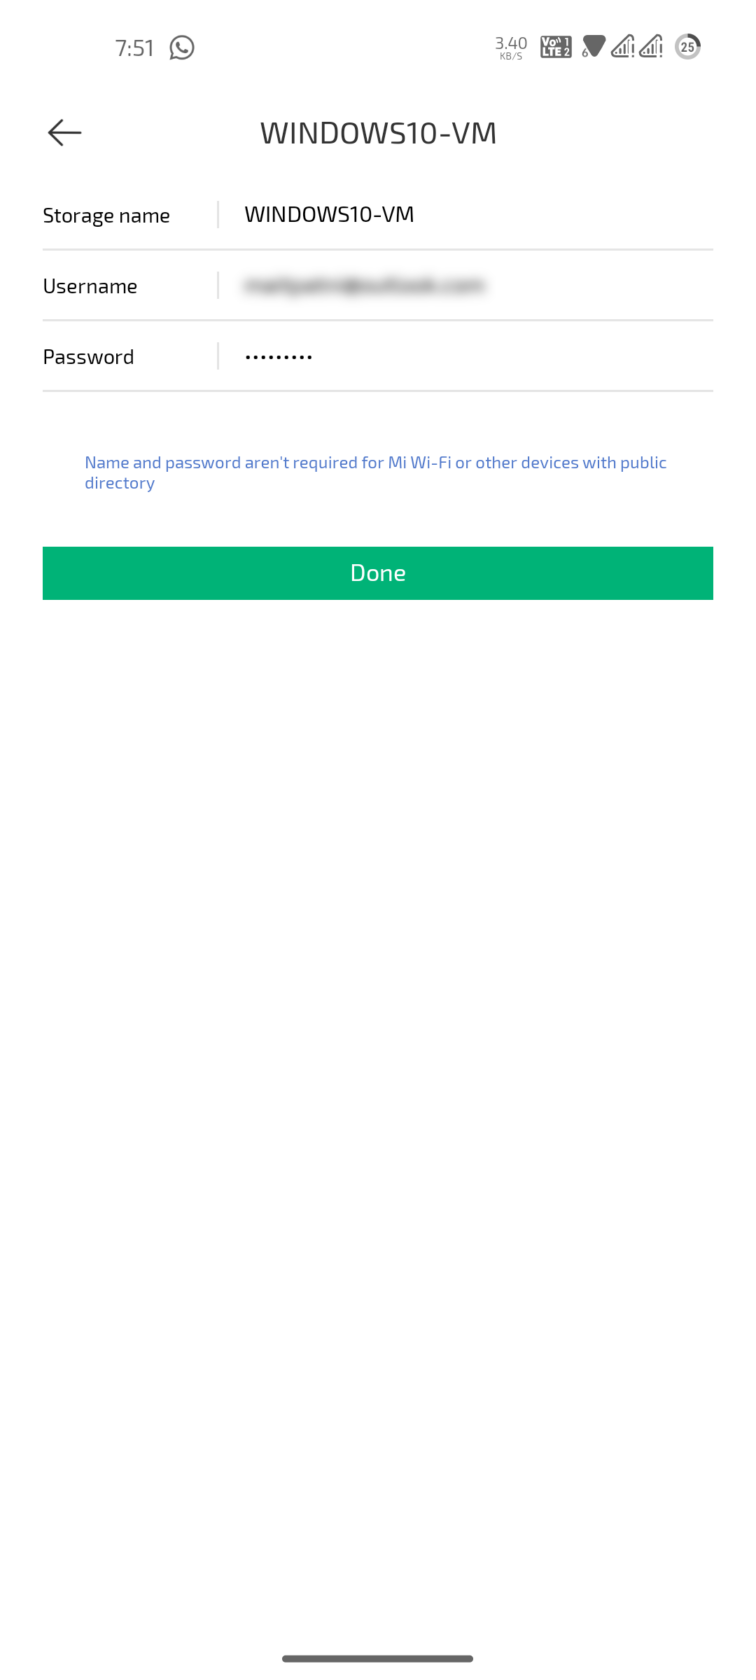
In the next screen, enter your username and password, which is your default Windows username and password and click on done.
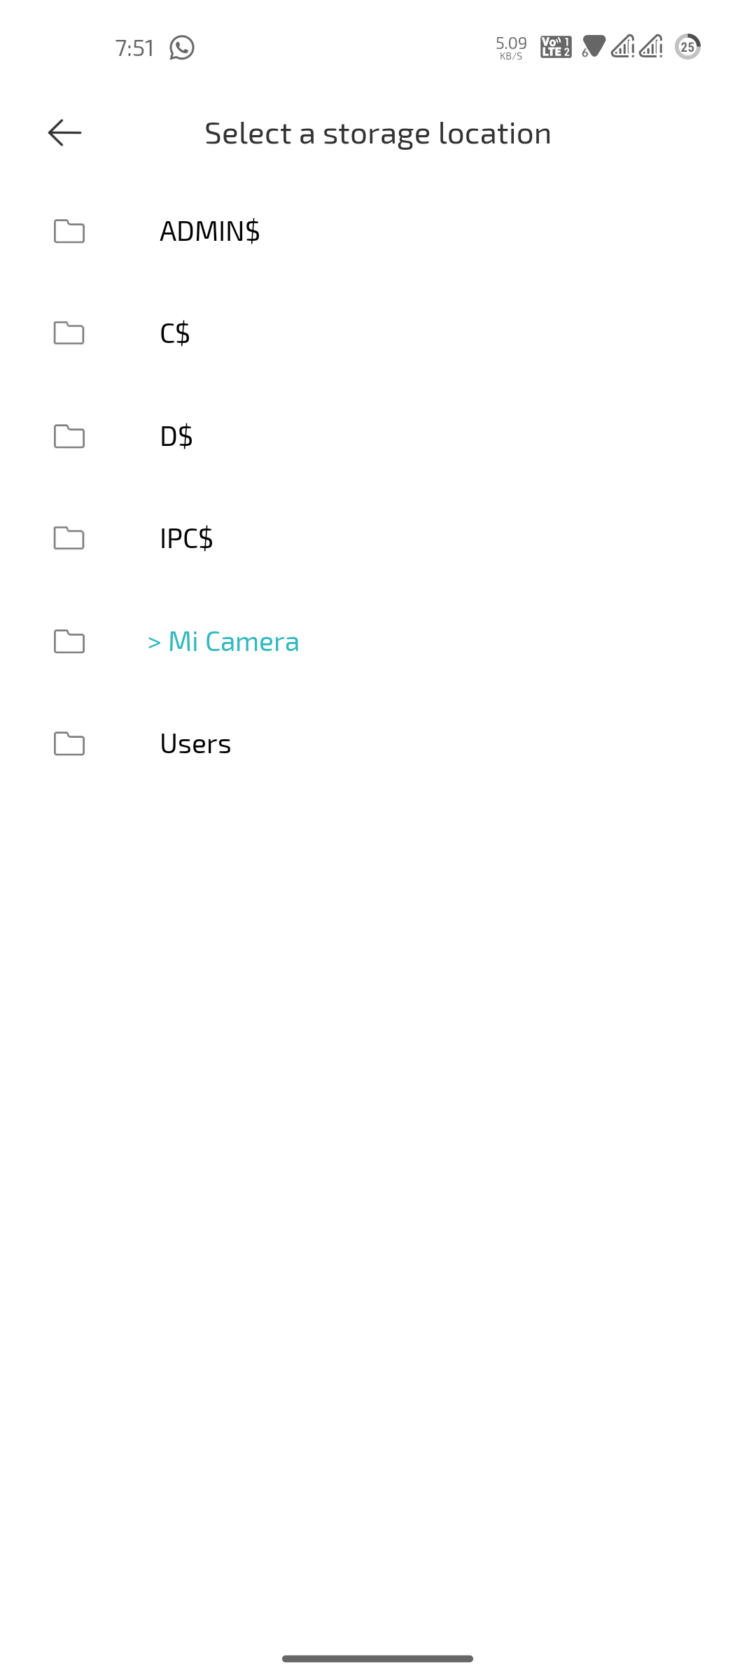
Navigate to the shared folder you created, and the setup is successful.
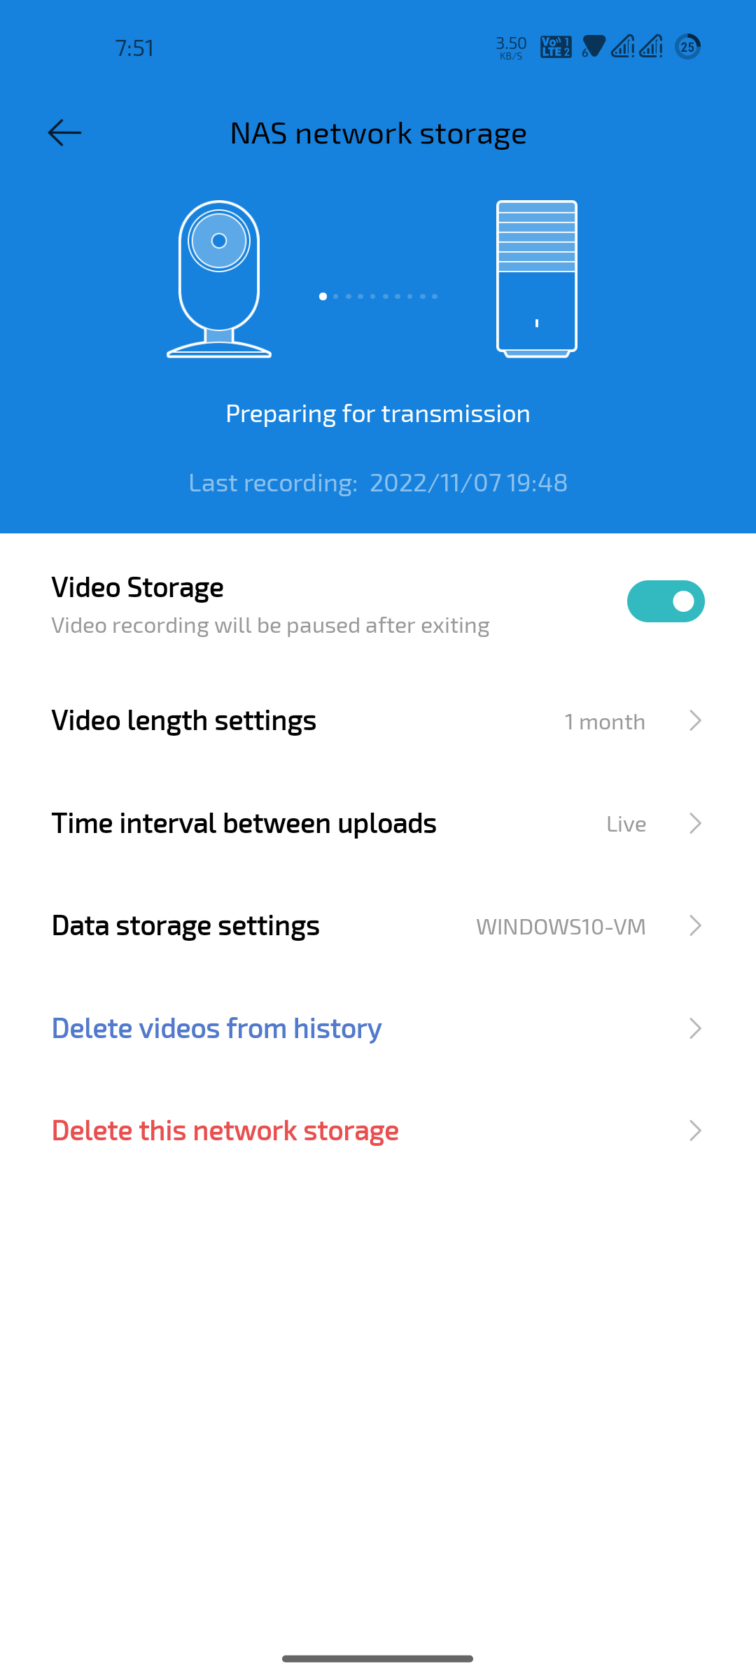
You can adjust various settings, such as time intervals and video length.
It will show “Transmission is normal” when the connection is stable and saving files in the shared folder.
All the footage from the cameras will now display in the shared folder. Now you know how to connect NAS storage in Xiaomi Mi Security Camera. If you have any doubts or confusion, leave a comment!

Hi, I have been using the camera since more than 2-3 years, but I have setup the SMB Server using my router, the issue is that even when I select Video Length setting to 1 week, the videos in my SMB is from last 3months till date. Do I have to keep deleting the old videos from SMB? or let me know how to just keep 1 week of videos in my SMB and not more than that. I am using 3 cameras with 64GB storage card in them, In also want few recent videos in my SMB (here 1… Read more »
MI app does not automatically delete the recordings from NAS storage, you need to manually delete those.
is it true that the mi home app should be always open for the NAS option to work continuosly? isnt that what is stated in the app? “video recording will be paused after exiting”. if so, doesnt this make the NAS option useless?