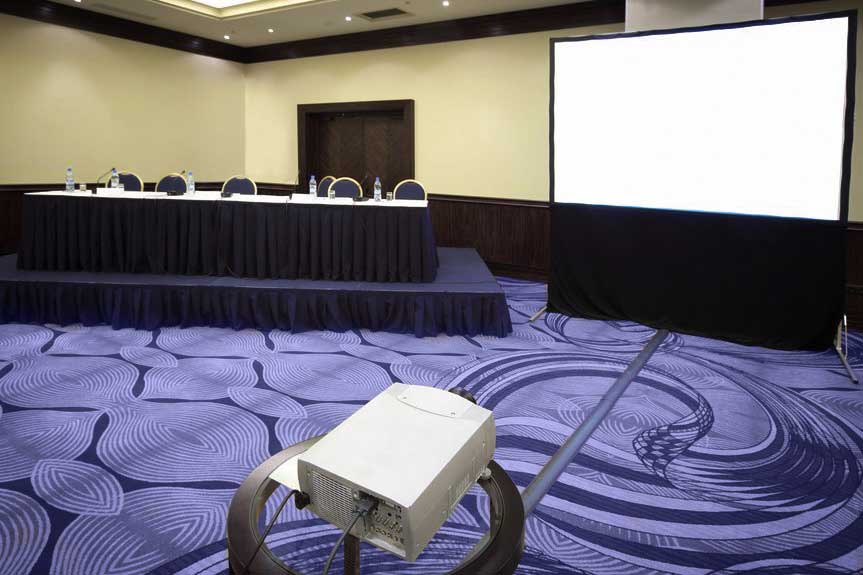
Are you installing a retractable projector screen for the first time but confused about how you will accomplish the task? Well, don’t worry as we have laid out the whole process with all the specifics. To start with this project, you will need some equipment to complete the task. Let’s take a look at them:
Equipment
- Retractable screen (obviously).
- Electric drill.
- Screwdriver and screw.
- Cardboard and a pencil.
- Measuring tape.
- Hook and bolts.
Step 1: Find a Good Screen

At first, you need to find out the ideal location to set up the retractable screen in your room or dining hall. You should try to fit in an area that will offer an unobstructed view while you are sitting in your couch or bed. If it is possible to try to free large walls as it will not only provide comprehensive coverage but will also give you space to expand the screen. Try to locate it in a dark area where it gets a minimal amount of light interference as it will affect the quality.
Note: Avoid installing the screen over a window especially if it receives direct sunlight because it will jeopardize the whole setup. Moreover, sunlight will damage the screen material which will result in a weak output. And one more thing, don’t hesitate to buy the best screen for your projector even you need to spend some extra money because the quality of the images will depend on the projector screen as well. You may check the projector screen guide from Gadget Lounge.
Step 2: Find a Perfect Location
Now after finding the perfect location, you will have to decide whether you want to opt for ceiling mount or wall mount installation. If you have ample free wall space on your room and won’t mind drilling some holes in the wall, then wall mount is the best bait. However, if you have wall space scarcity or don’t want to ruin the decorated wall, then the ceiling mount serves as a feasible option.
Step 3: Install the Screen
So after deciding what type of mount you will choose, you need to measure the top of the screen and mark the length on the wall or ceiling accordingly. Then depending upon the measurement, you need to make a hole on the wall or ceiling so that it coincides with the hole in the screen’s bracket. You should adequately mark the spacing between the holes; otherwise, you will end up making more holes on the wall or ceiling. For convenience, you can even use cardboard to use it as a template, and it will help you to make holes with even spacing.
Now comes the central part where you will have to drill holes in the marked points in the ceiling or wall. We recommend you to use a power drill with 3/16 drill bit and dig thoroughly until the drill bit hit the concrete or stud of the wall or ceiling. You can use an ordinary copper or any metal wire to check whether you have reached the stud. After making a hole, you should try to clear all the debris from the hole; otherwise, you will have an issue in installing the screw.
However, if you fail to find firm ground for installing the big screen, then you can use 2X4 to attach it to the wall or ceiling. This will not only offer a steady installation but will also distribute the overall weight.
Step 4: Adjust the Screen
When you are over with the making holes, you will need to lift the screen and attach it to the wall or ceiling. You need to ask anyone from your family to help you in lifting as it not possible to raise the screen and attach the screw at the same time. Now ask your partner to hold the one end, and you will have to lift the screen from the other end. The screen should be lined up correctly with pre-drilled holes. Then using the drill, you need to tighten the screw of both the end. Remember, you shouldn’t over tighten the screw and leave a little amount of room.
After you have finished attaching the screen, it is time to pull down the screen sheet and attach the string to a hook. The screen should be adequately stretched; otherwise, you will find wrinkles on the white space. Now switch on your projector and enjoy your new home-theatre experience.

