There are hundreds or maybe thousands of third-party software available on the internet for protecting Files and Folders in Windows with Password, but the main problem with them is that first we need to download them and after that, we need to install them and they even corrupts or deletes our files when we uninstalled them.
So, today I am sharing this amazing trick with notepad through which you can Password Protect any Folder in Windows PC and you can even use this as a portable locker.
How to Password Protect any Folder in Windows?
This method works on every version of windows including Windows 8.1 and XP and will also gonna work on Windows 9.
Step 1:- Firstly Create a new folder that will include your Password Protected Folder, in my case i Created a new folder on the desktop and named it “My Files”.
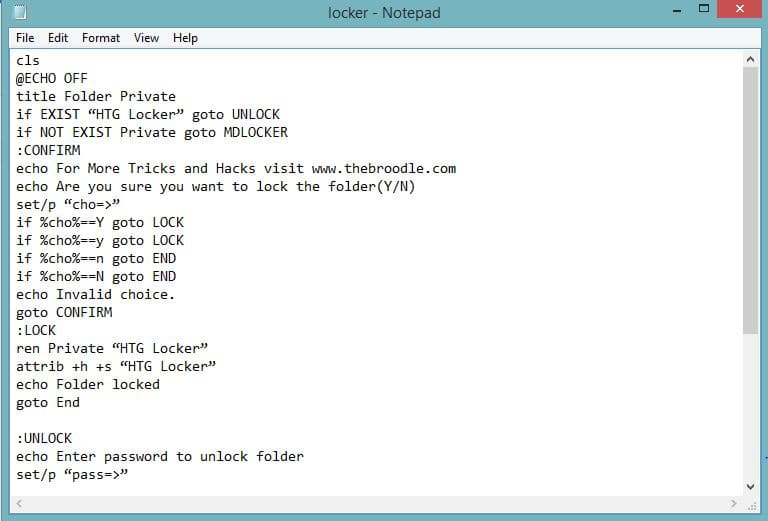
Step 2:- Now open Notepad and paste the below code in it.
|
cls :UNLOCK |
Step 3 :- Next Change the “PASSWORD_GOES_HERE” from the above code with your desired password.
Step 4 :- Now Save the notepad file as “locker.bat” in the folder you created (You will need to select “All Files” in Notepad’s saving window in order to save the file as .bat file instead of .txt)
Step 5 :- Now double click on the “locker.bat“, it will create a folder named “Private” in your Folder.
Step 6 :- Now Paste those files and folders that you want to be protected in “Private” folder.
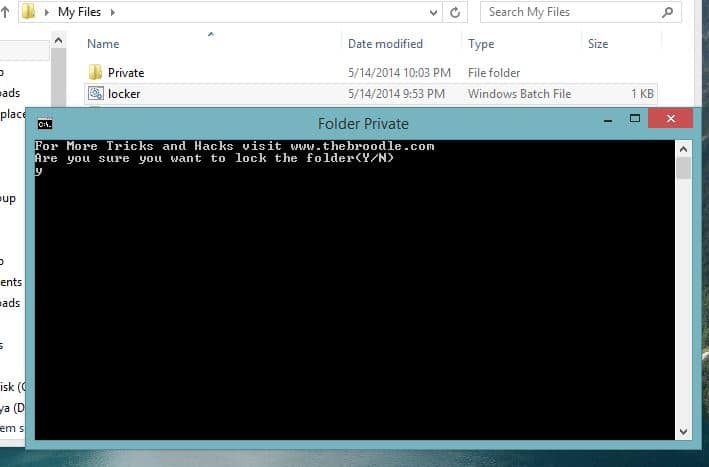
Step 7 :- After pasting all files and folders double click on “locker.bat” now this time it will ask for the permission that you want to lock the folder, type “y” and hit enter.
Step 8 :- That’s it, now you will see that the Private folder disappears, now if you want to unlock it just double click on locker.bat and type your password and hit enter.
That’s it, you can use this method to lock any amount of files and folders.
Do share your feed backs and queries in comments.


