In my Previous Article, I showed how to Find Your Computer’s Windows Installation Date and Time, and now I am gonna show you How to Change Windows Installation Date and Time Using the Registry Editor.
Change Windows Installation Date using Registry Editor:
Step 1: First of all Open “Run” dialog box. To do so you can either do it by typing “Run” in the Start Menu search or by pressing the “Win+R” key combination.
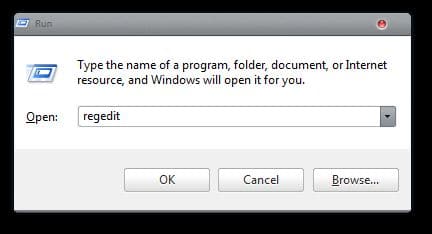
Step 2: Now type “regedit” in the box that appears and hit enter. You can also type “regedit” in the Start Menu search to open Registry Editor.
Step 3: Navigate to “HKEY_LOCAL_MACHINE > SOFTWARE > Microsoft > Windows NT > CurrentVersion > “ in the Registry Editor Windows.
Step 4: You will find a key named “InstallDate” in the Right sidebar as shown in below image.Just Double Click on it.
Step 5: A new popup box will appear showing numerical value. This is the number of seconds between 1/1/1970 and your installation time.
Step 6: To change your Windows installation date just add or subtract the duration by which you want to change your date. For Example – If you wish to add one day to your installation date, then add “60x60x24=86400″ to the value.
If I wanted to add one day to my installation date, I would change the value to “1350224291″. Now Click OK after that.
That’s it, Now go and Check your Installation Date and See the Difference.


NO LONGER WORKING, IN THE NEWEST WINDOWS 10 VERSION, THAT KEY DOES NOT EXIST!! NOV-2020
Sir, then how to change installation date please share with me
unix timestamp.. have fun xD
U need Dcode prog to decode time 😉
Sir, how to change installation date. Pl share with me I need help
# Generating a random date between Jan 1, 2011, and Dec 31, 2022 $start = [datetime]::new(2011, 1, 1) $end = [datetime]::new(2022, 12, 31) $randomDate = $start.AddSeconds((Get-Random -Maximum (($end - $start).TotalSeconds))) # Converting the DateTime object to Unix timestamp $unixTimestamp = [int][double]::Parse(($randomDate.ToUniversalTime() - [datetime]'1970-01-01T00:00:00').TotalSeconds) # Calculating LDAP/FILETIME timestamp directly $LDAP_FILETIME_timestamp = ($unixTimestamp + 11644473600) * 10000000 Set-ItemProperty -Path "HKLM:\SOFTWARE\Microsoft\Windows NT\CurrentVersion" -Name "InstallDate" -Value "$unixTimestamp" -Force Set-ItemProperty -Path "HKLM:\SOFTWARE\Microsoft\Windows NT\CurrentVersion" -Name "InstallTime" -Value "$LDAP_FILETIME_timestamp" -Force if ((Get-Service w32time).Status -eq 'Stopped') { Start-Service w32time } w32tm /config /syncfromflags:manual /manualpeerlist:"0.pool.ntp.org 1.pool.ntp.org 2.pool.ntp.org 3.pool.ntp.org" /update Restart-Service w32time ; w32tm /resyncno sirve en windows nunca cambia