The 3D pen is the future of drawing which anyone can use it to make any solid object. From modifying objects to make 2D sketches you can use them to create anything.
So, here are six tips that will help you to work with the 3D pen like a pro.
Introduction
The first step to work with the 3D pen is to know what it is and for which purposes you can use it for?
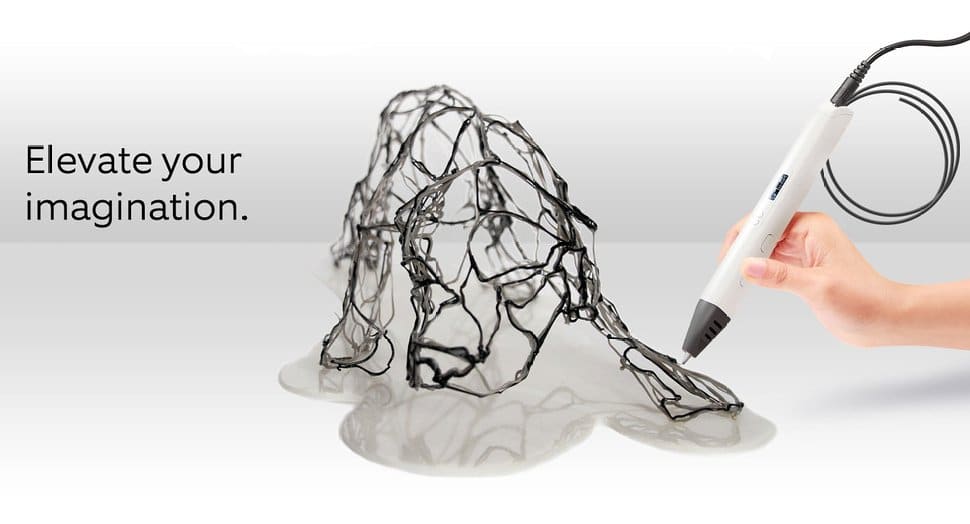
A 3D pen is like a miniaturized version of 3D printer that is used to make solid objects by free hand motion. It works on the heating element to eject melted plastic which solidifies quickly to take the shape user has given. It is very similar to how glue gun works but it uses plastic in case of glue that can take any shape and size. 3D pen can allow a user to effectively draw anything with plastic. The user can work on any surface or in the air to make 3D drawings. The 3D pen can be used for decorative purposes as well as to modify and repair other 3D printed objects.
Choosing a 3D Pen
The second part to work with 3D pen is figured out which type of pen you need?
If you are just a hobbyist who wants to design basic things and want to learn about 3D pen then having a 3D pen with basic temperature and speed setting is going to work for you. You can read out creopop 3d pen reviews, which is made for exactly the same purpose. But if you are a professional user who needs it for advanced users then buy a 3D pen which contains accessories like interchangeable tips and stands, rechargeable battery, and a USB charger.
Make a Plan
Be you start drawing 3D objects using 3D pen set up a basic plan in your mind which organizes tasks you need to do to create the 3D object e.g.
- Turn on the power by connecting 3D pen to the power supply.
- Select a filament that you want to make the object with.
- Select temperature setting that is appropriate for your project.
- Insert the filament and wait for the pen to start extruding melted plastic.
In this way, you can simply, work on your projects by know which steps to take next without forgetting anything.
Start with 2D Sketch
3D sketch
The easiest way to start working with 3D pen is first to draw 2D sketches and making 3D out of them. For that select a clean surface to draw on, user can use paper if he/she is a beginner with 3D pen otherwise any surface will work then extrude a small amount of melted plastic on that surface. This will be initial point and after that start drawing lines by moving your pen across that surface. Try to keep the tip of the pen as close to the paper/surface so that the extruded plastic doesn’t cool down in the air. In this way, you can create a 2D sketch of 3D object you want to make.
When the sketch is complete simply pull off the plastic from that surface. To trim rough edges, use a knife or a pair of scissors. If you edges are too rough then put the sketch in a toaster oven for few minutes this will partially re-melt the plastic and will soften the edges.
Assembling 3D Objects
One of the easy ways to make 3D objects is to assemble and connect 2D sketches e.g. to make a simple truss bridge, start your sketch from the sides then, make the bottom piece in the middle. In this way, sides will be even. Now, connect first side piece to next piece by applying a small bead of plastic at edge points. To make stronger connections draw lines between sides, after that you can attach the top piece. The final 3D object will hold itself together but if you want to trim rough edges and want to make a strong connection then add extra drops of plastic in the joints of the bridge, use a pair of scissors to trim off any points that are sticking out.
However, don’t put the whole 3D shape in the oven this will probably wrap your shape and distort the object you have made.
Creating Freehand 3D Objects
3D Object
The best thing about the 3D pen is their ability to freehand draw in space although it is not easy as it is sound. Making objects in space is extremely difficult but practicing can make you better. To draw 3D objects in space start with a solid point on paper or any surface then slowly lift pen into the air to make lines. If you want to make straight line try gently pulling plastic while extruding and when you reached the point where you want the line to end, stop extruding. In case of a curve, when you lift up the pen from paper move the pen in the direction you want the curve to make.
Try holding the pen for few seconds when you extruded about an inch of plastic, this will cool the plastic down and re-solidify it before it can support its own weight. Continue this process until you have completed a large section. The difficult part of freehand drawing is working at right speed you need to synchronous your speed with the speed at which the melted plastic extrudes otherwise it will sag. However, with practice, you will know when to move the pen around and when to hold it at a place for the cooling process.
Whether you want to learn how to work with 3D pen or become better at using it. The above points will surely help you to make your work better than ever.
Have fun drawing!