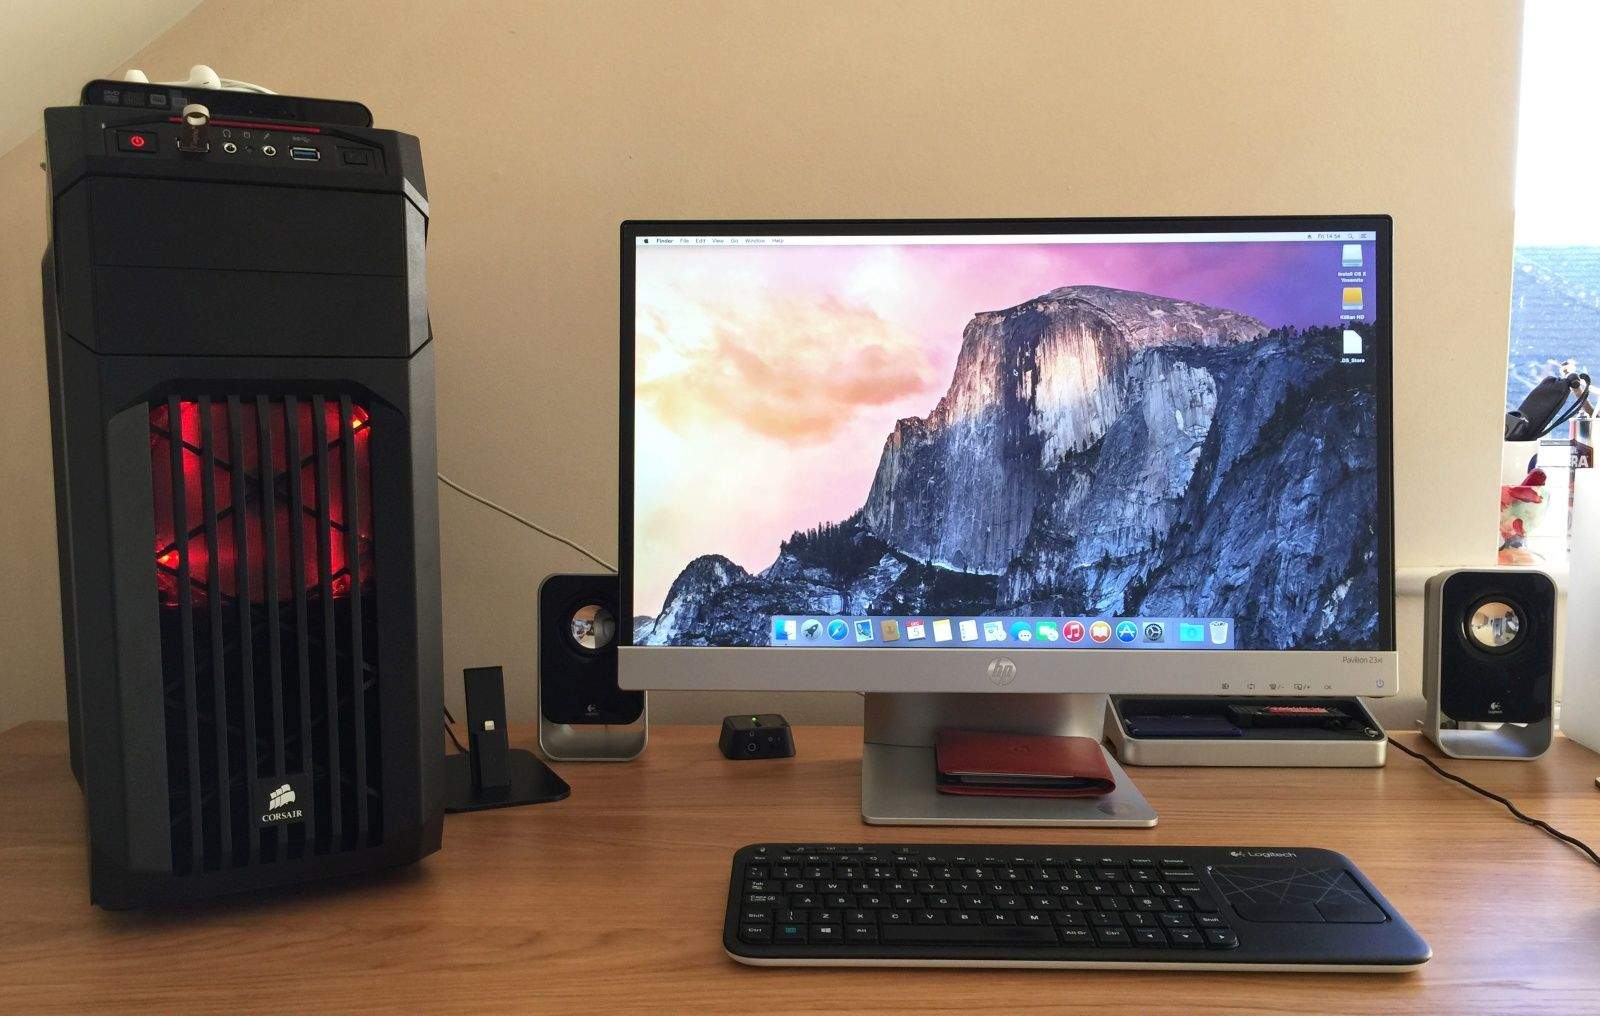
Hackintosh is a project related to running the macOS operating system on personal computers with x86 microprocessors. A similar direction was born in 2005 when Apple officially announced the full transition from the PowerPC platform to x86. In fact, from that time on, the hardware level of iron ceased to differ from most Windows computers.
Entire hacker communities are working on adapting and optimizing their own macOS builds, which can be installed on suitable computers.
Initially, the list of supported hardware was rather poor, but over time, Apple began to use various components, including their support into the system, and the developers learned how to run popular modules using so-called cakes (an analog of the driver).
What was the Hackintosh at the birth stage?
About ten years ago, I myself was deeply interested in this topic, I tried and experimented with installing macOS on an old home systemic.
I had to do a point upgrade, burn different assemblies onto dual-layer DVDs, and spend hours on finding cakes for installed PC components.
The impression is twofold. On the one hand, Apple’s operating system seemed like a breath of fresh air after working continuously with Windows. Easy and pleasant interface, the application as a single file without the need for installation, the absence of the system registry and, as a result, malicious viruses.
On the other hand, for comfortable work, we had to sort out one assembly of the system after another for a few days in a row, regularly experimenting and struggling with emerging problems.
At that time, my hardware didn’t allow macOS to work stably. I was lucky to see a real Mac, and the way the operating system worked on my system reader did not hold water.
What has changed today?
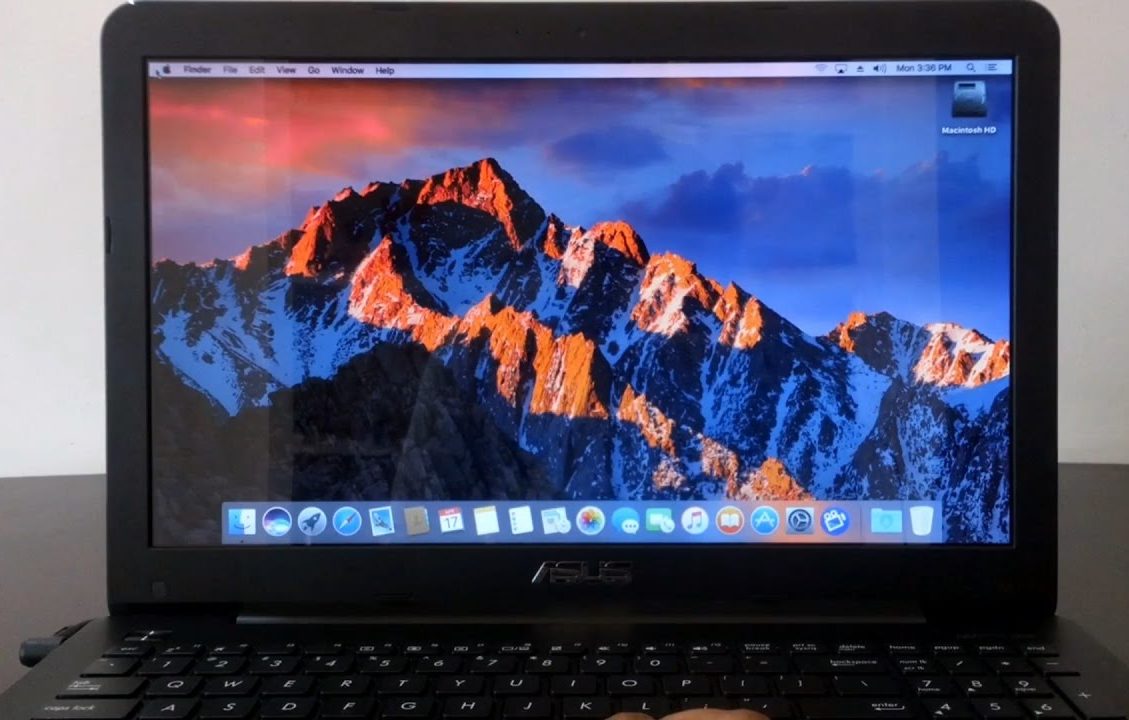
Now, when I have a good laptop with a suitable filling, I again decided to return to the topic of Hackintosh. Before that, I had been working on MacBook Pro and Mac mini for more than five years, I had a good understanding of macOS, and I already know how the system should ideally work.
Today, building a system unit for Hackintosh is not a problem at all. There are dozens of suitable components for each position, you can even choose the perfectly suitable accessories that Apple uses in Mac mini, iMac and Mac Pro.
Enthusiasts from all over the world have been building desktop computers for Hackintosh for a long time and get more performance for the cost of a Mac or a similar computer in terms of performance is several times cheaper.

Little different things are with laptops.
Why Hackintosh on a laptop?
Users who are trying to run macOS on laptops can be divided into two groups.
Some need an Apple operating system to develop. It is impossible to write applications for macOS or iOS from under Windows, and working in a virtual machine has many limitations.
Others just want to get a laptop with macOS for work cheaper than a MacBook.

The first ones are less limited in the choice of the model because it will easily survive the inoperability of one or several components. For example, problems with the work of a webcam or card reader will not worry much about a writing application for an iOS programmer.
The second for comfortable work should carefully choose a laptop on which it will turn out to start all the hardware without exception.
The third option is not given here. About any serious work with graphics or editing the form on a laptop with Hackintosh speech can not go. It is not yet possible to launch a discrete video card.
All existing options have too many nuances and shortcomings. Hackintosh for graphics or video – only stationary.
Otherwise, you can get suitable analogs MacBook / MacBook Air / MacBook Pro 13 ″.
What may not start?
Video card
About the discrete graphics, I mentioned above. It is better not to rely on it when working with Hackintosh. Either immediately choose a model with integrated graphics only, or completely disable the discrete card for macOS.
The third variant promises long hours of dancing with a tambourine and rather ghostly prospects.
Wi-Fi and Bluetooth
This module is at risk. With a high degree of probability, you will have to either buy an external USB block or change the internal board.
It’s easy to do it, suitable modules are sold on the same AliExpress and change in 10-15 minutes. At the same time, after installing such a block, it almost always turns out to launch all the pogrom chips like Handoff, Continuity, etc.
Card reader
It is quite problematic to replace the memory card receiver, and the chances of starting the native one are about 50/50. If this is one of the main requirements, it is better to immediately select a model with a 100% suitable block.

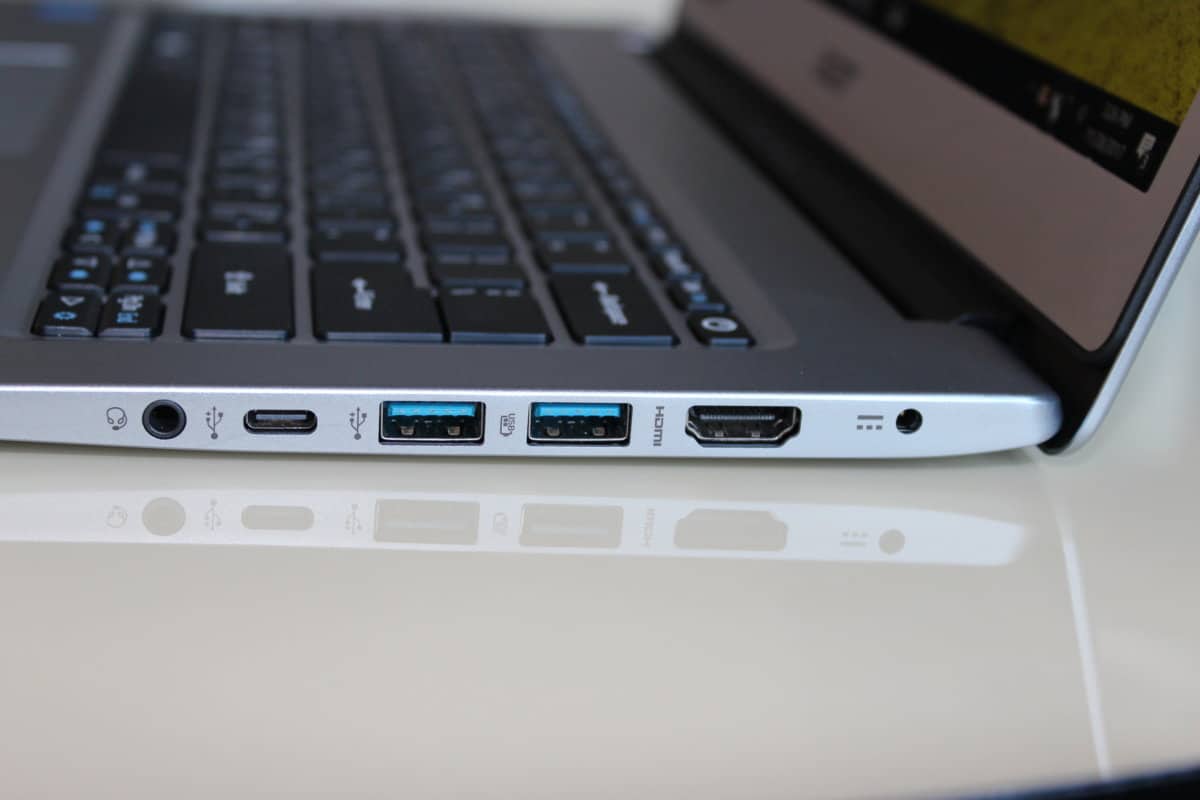
Type-C and HDMI
Another place for potential problems. Modules may have a specific connection scheme, which makes it impossible for them to work in macOS.
For example, an image via HDMI on laptops with discrete graphics can be displayed through a powerful card, and that, in turn, may not start up in Hackintosh.
Touchpad
Of course, even on the most suitable for Hackintosh laptops, it will not be possible to achieve the clarity and smoothness of the touchpad, like on a MacBook. The touchpad will either just work or refuse to start at all.
In any case, you should be prepared to cope with Magic Mouse or Apple Trackpad.
Webcam
The problems here are quite rare, but it happens that the connection method does not allow the module to work in macOS.
For example, I ran into such a problem: the camera in macOS stopped working after replacing the Wi-Fi module. It turned out that the new unit for wireless data transmission has a couple of additional contacts and intercepts a portion of the signal when it is loaded, preventing the camera from starting.
The solution is trivial – to carefully tape extra contacts with scotch tape.
I repeat once again that the problems described in this section can be circumvented if we correctly approach the choice of a device specifically for Hackintosh.
What will work?
Everything else will work without problems.
The keyboard starts (even with a digital block), the buttons clearly work out the brightness and volume control. You can even start the backlight and its smooth adjustment function buttons.
On my ASUS, in Windows with proprietary drivers, there are only 4 gradations of key illumination, and in Hackintosh, the glow can be changed within 10 positions.
The system is able to correctly fall asleep and wake up, reliably display the battery charge (on some models there are problems with this).
The display, processor, and drive work great. The last is required to enable TRIM.
ICloud, iMessage, FaceTime, Handoff starts up from software chips. AirDrop works with small interruptions (but who really uses it?). Of course, there are no problems downloading applications from the Mac App Store and sharing these programs through the cloud.
Even system updates can be installed without problems. It is recommended not to rush only with security updates. It is better to wait a couple of days after the release of the reaction on the thematic forums.
The main thing that I was afraid of in my past experience is low system performance. It turns out that all this is far in the past.
Now my ASUS perfectly impersonates the MacBook, in everyday tasks, there is no difference with the original Apple laptop at all. The only serious drawback can be considered the lack of a great apple touchpad.
How to install Hackintosh on a regular laptop?
The main difficulty that frightens many of the Hackintosh installations is the need to study sites and forums for a long time, to deal with images and cakes.
The installation process itself looks something like this:
1. We need a clean USB flash drive with 8 GB or more, Clover bootloader, and the operating system image itself (we’ll have to search for it ourselves).
2. When macOS is deployed to a USB flash drive, the first most complex process begins. It is necessary to achieve the launch of the system on our hardware. To do this, you have to constantly throw patches and fixes into the bootloader.
Everything you need can be found in one of the largest Hackintosh communities osx86project or on GitHub. Below are some of the popular ones:
3. If you got your UFI build with proper kexts then you will be booted into the usual macOS installed. Next, you have to follow the on-screen instructions to install the macOS.
4. After installation, it will be necessary only to add equipment for the equipment and peripherals to the system.
Now finding a good Hackintosh wizard is pretty simple. I myself in a few days found a man who, for an adequate price, helped with the installation.
Experienced professionals will even recommend specific models of laptops or computer components before purchasing or upgrading.
If you decide to use the services of the wizard, everything will be much easier:
- it will only be necessary to provide the specialist with a report on the components of the computer in order to prepare the installation image;
- then we will make a bootable USB flash drive according to its instructions;
- in the video call mode we will make the basic installation;
- The wizard will complete the final configuration and debugging on its own through TeamViewer.
In the future, these specialists are happy to advise on any errors or key system updates.
And also help install the bootloader to select the operating system when the computer starts.
This greatly saves time and effort, allowing you to get a computer with two operating systems at the output: macOS for everyday tasks and Windows for games, work with discrete graphics and specific applications.

